
Tile Crack Prevention Uncoupling Membranes Waterproof Uncoupling Membranes for Shower Systems
- Category: >>>
- Supplier: Hangzhou Tyco Industrial Co. Ltd.Hangzhou Ltd.
Share on (11000016573052):
Product Overview
Description

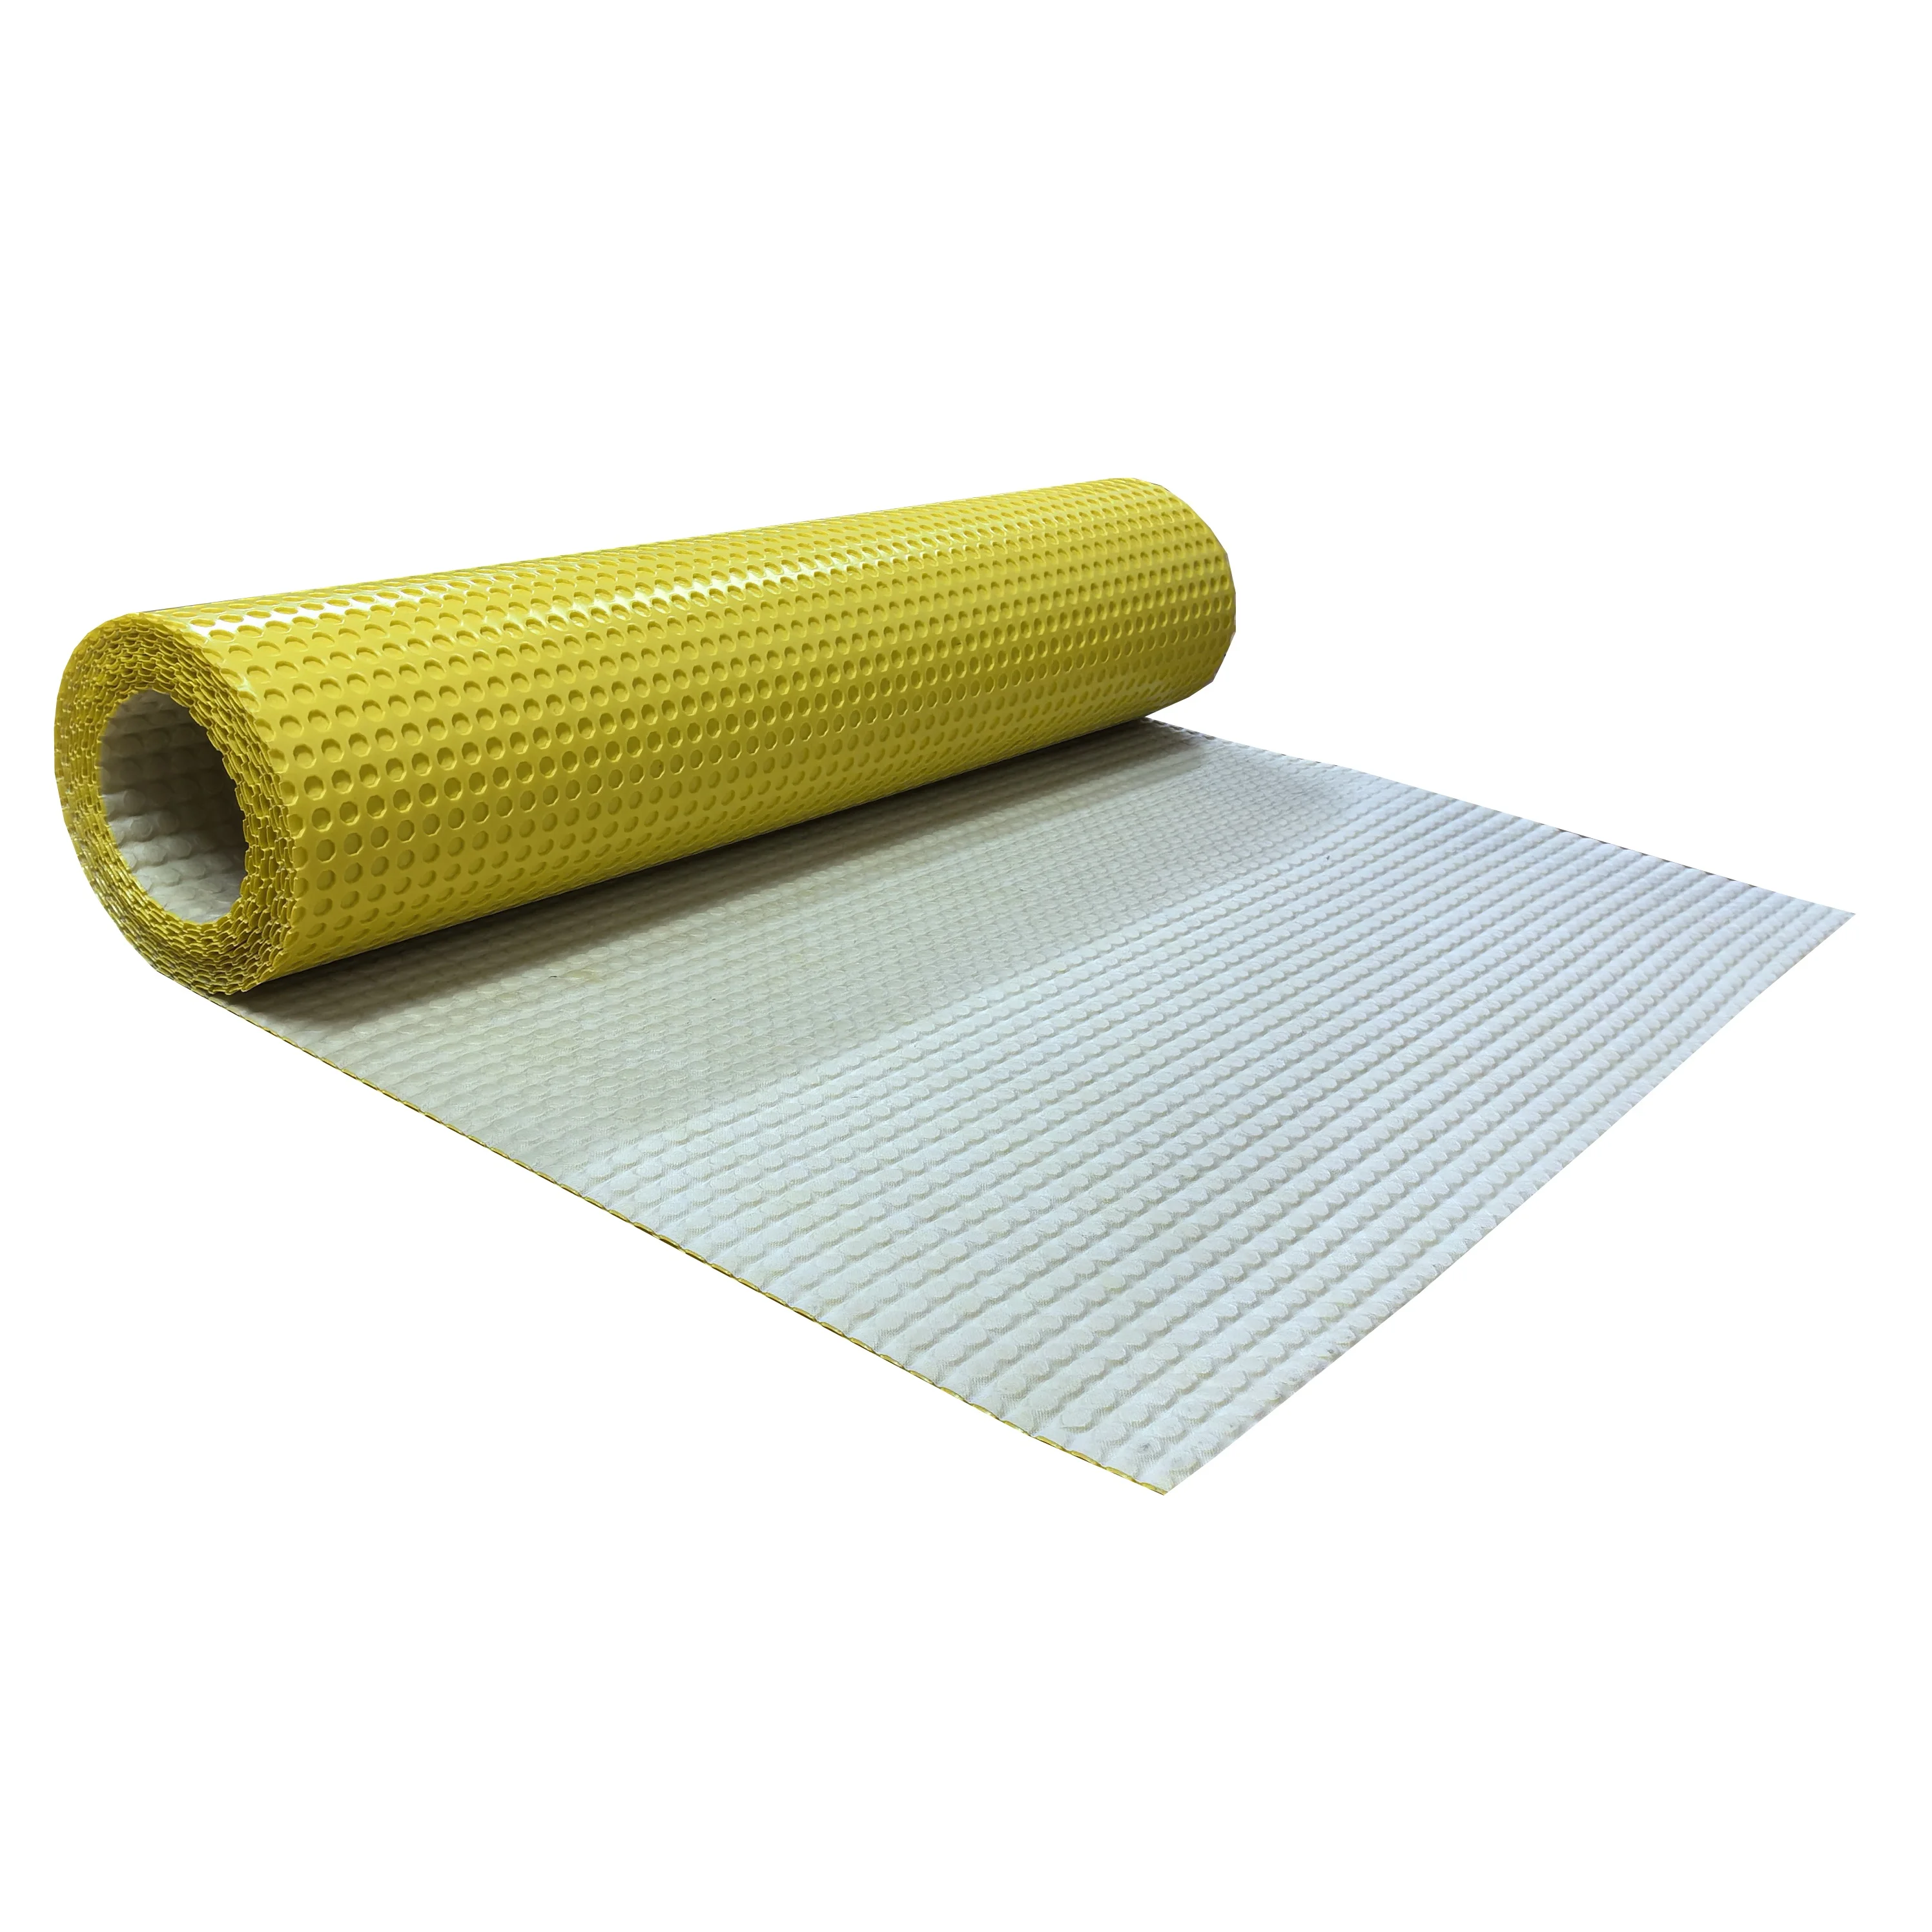
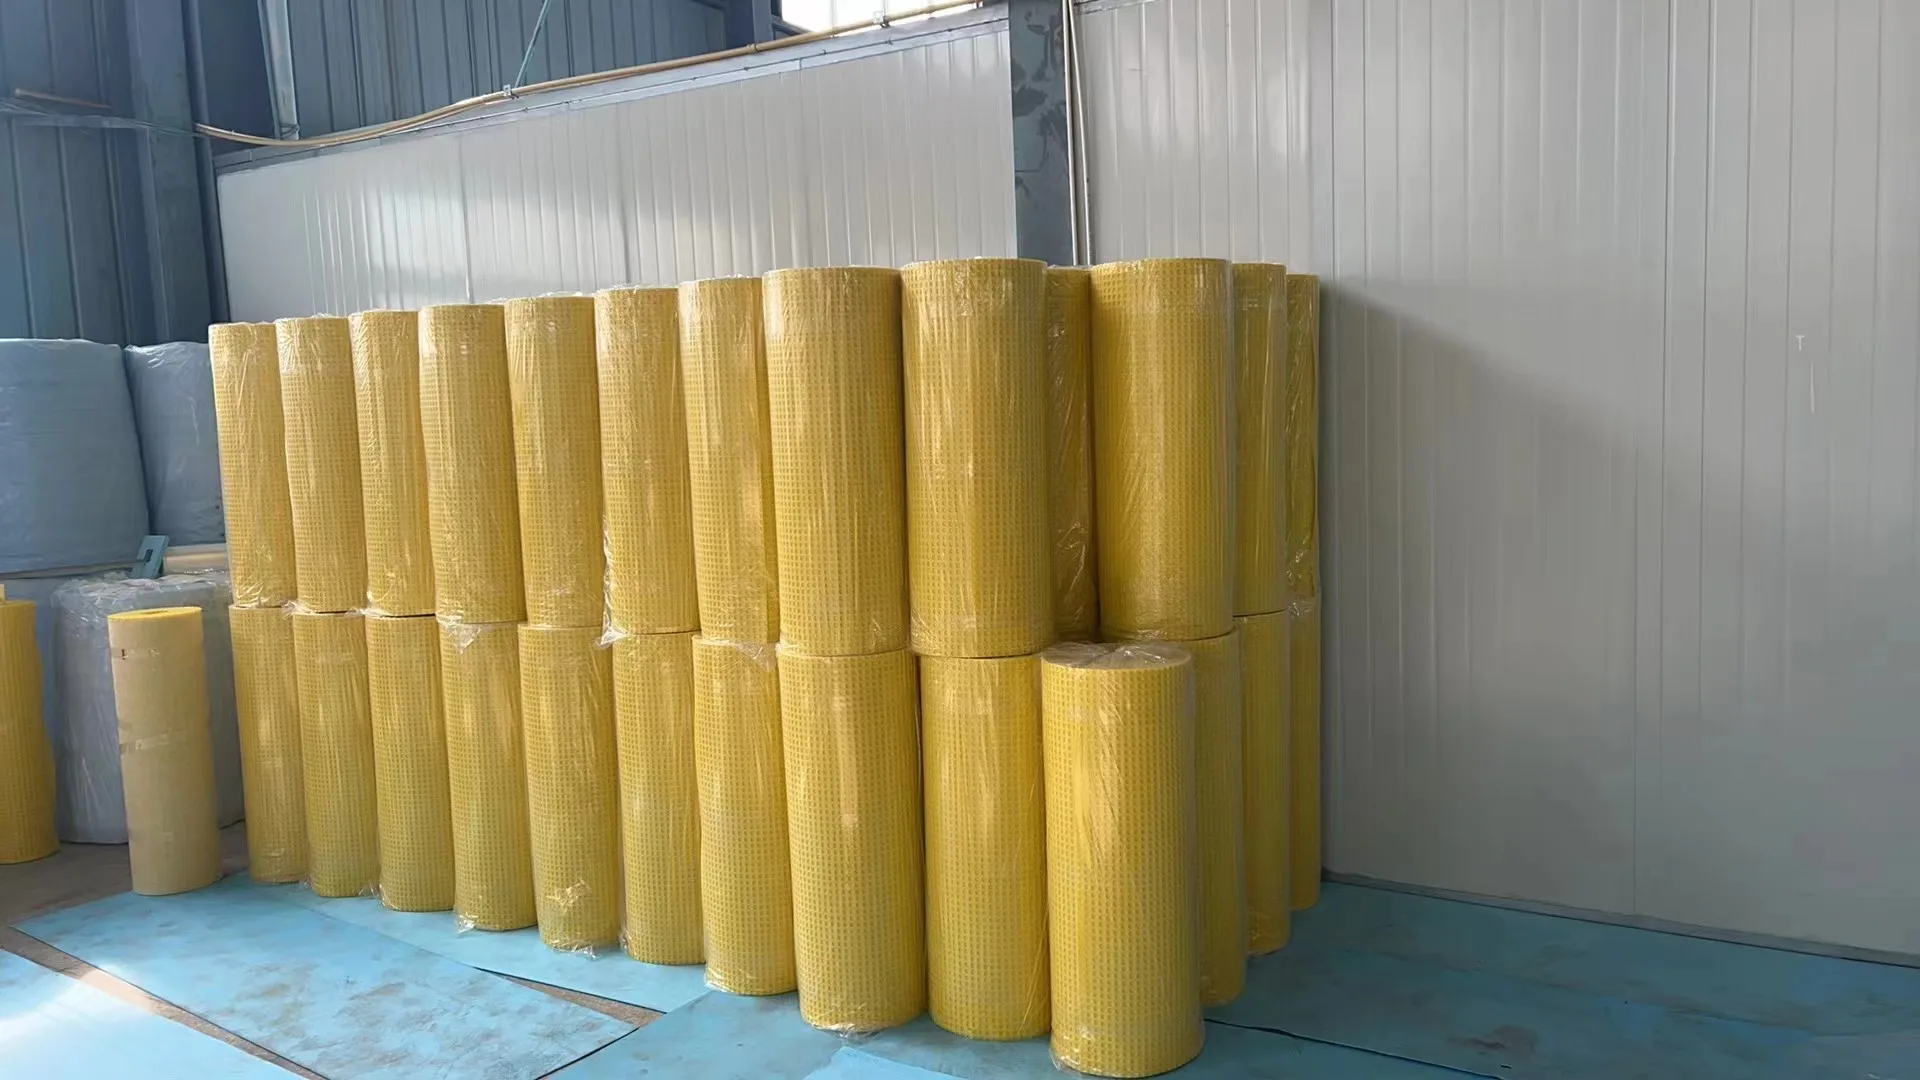
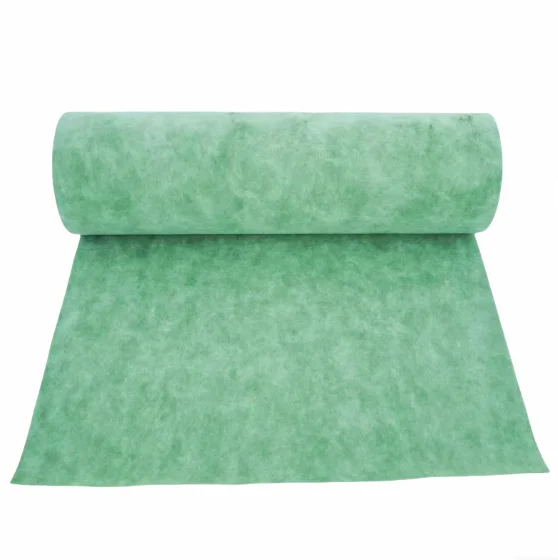
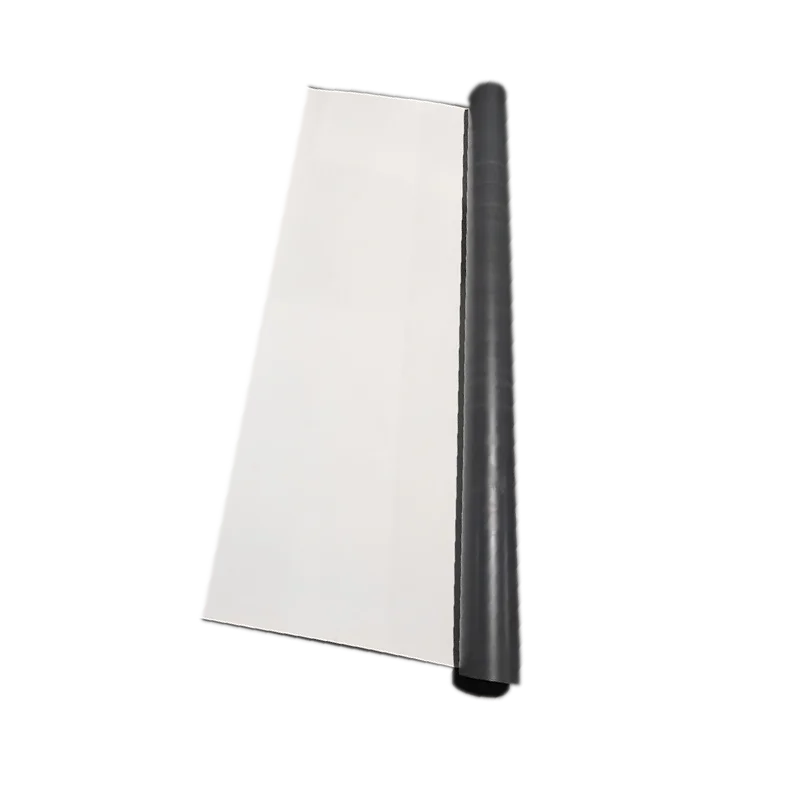
Waterproof Uncoupling Membrane
UNCOUPLING MEMBRANE is an installation membrane for ceramic or stone tile based on uncoupling technology. It is placed between
the tile and the substrate. Tile and membrane are bonded using appropriate mortar-based adhesives.
the tile and the substrate. Tile and membrane are bonded using appropriate mortar-based adhesives.
Features:
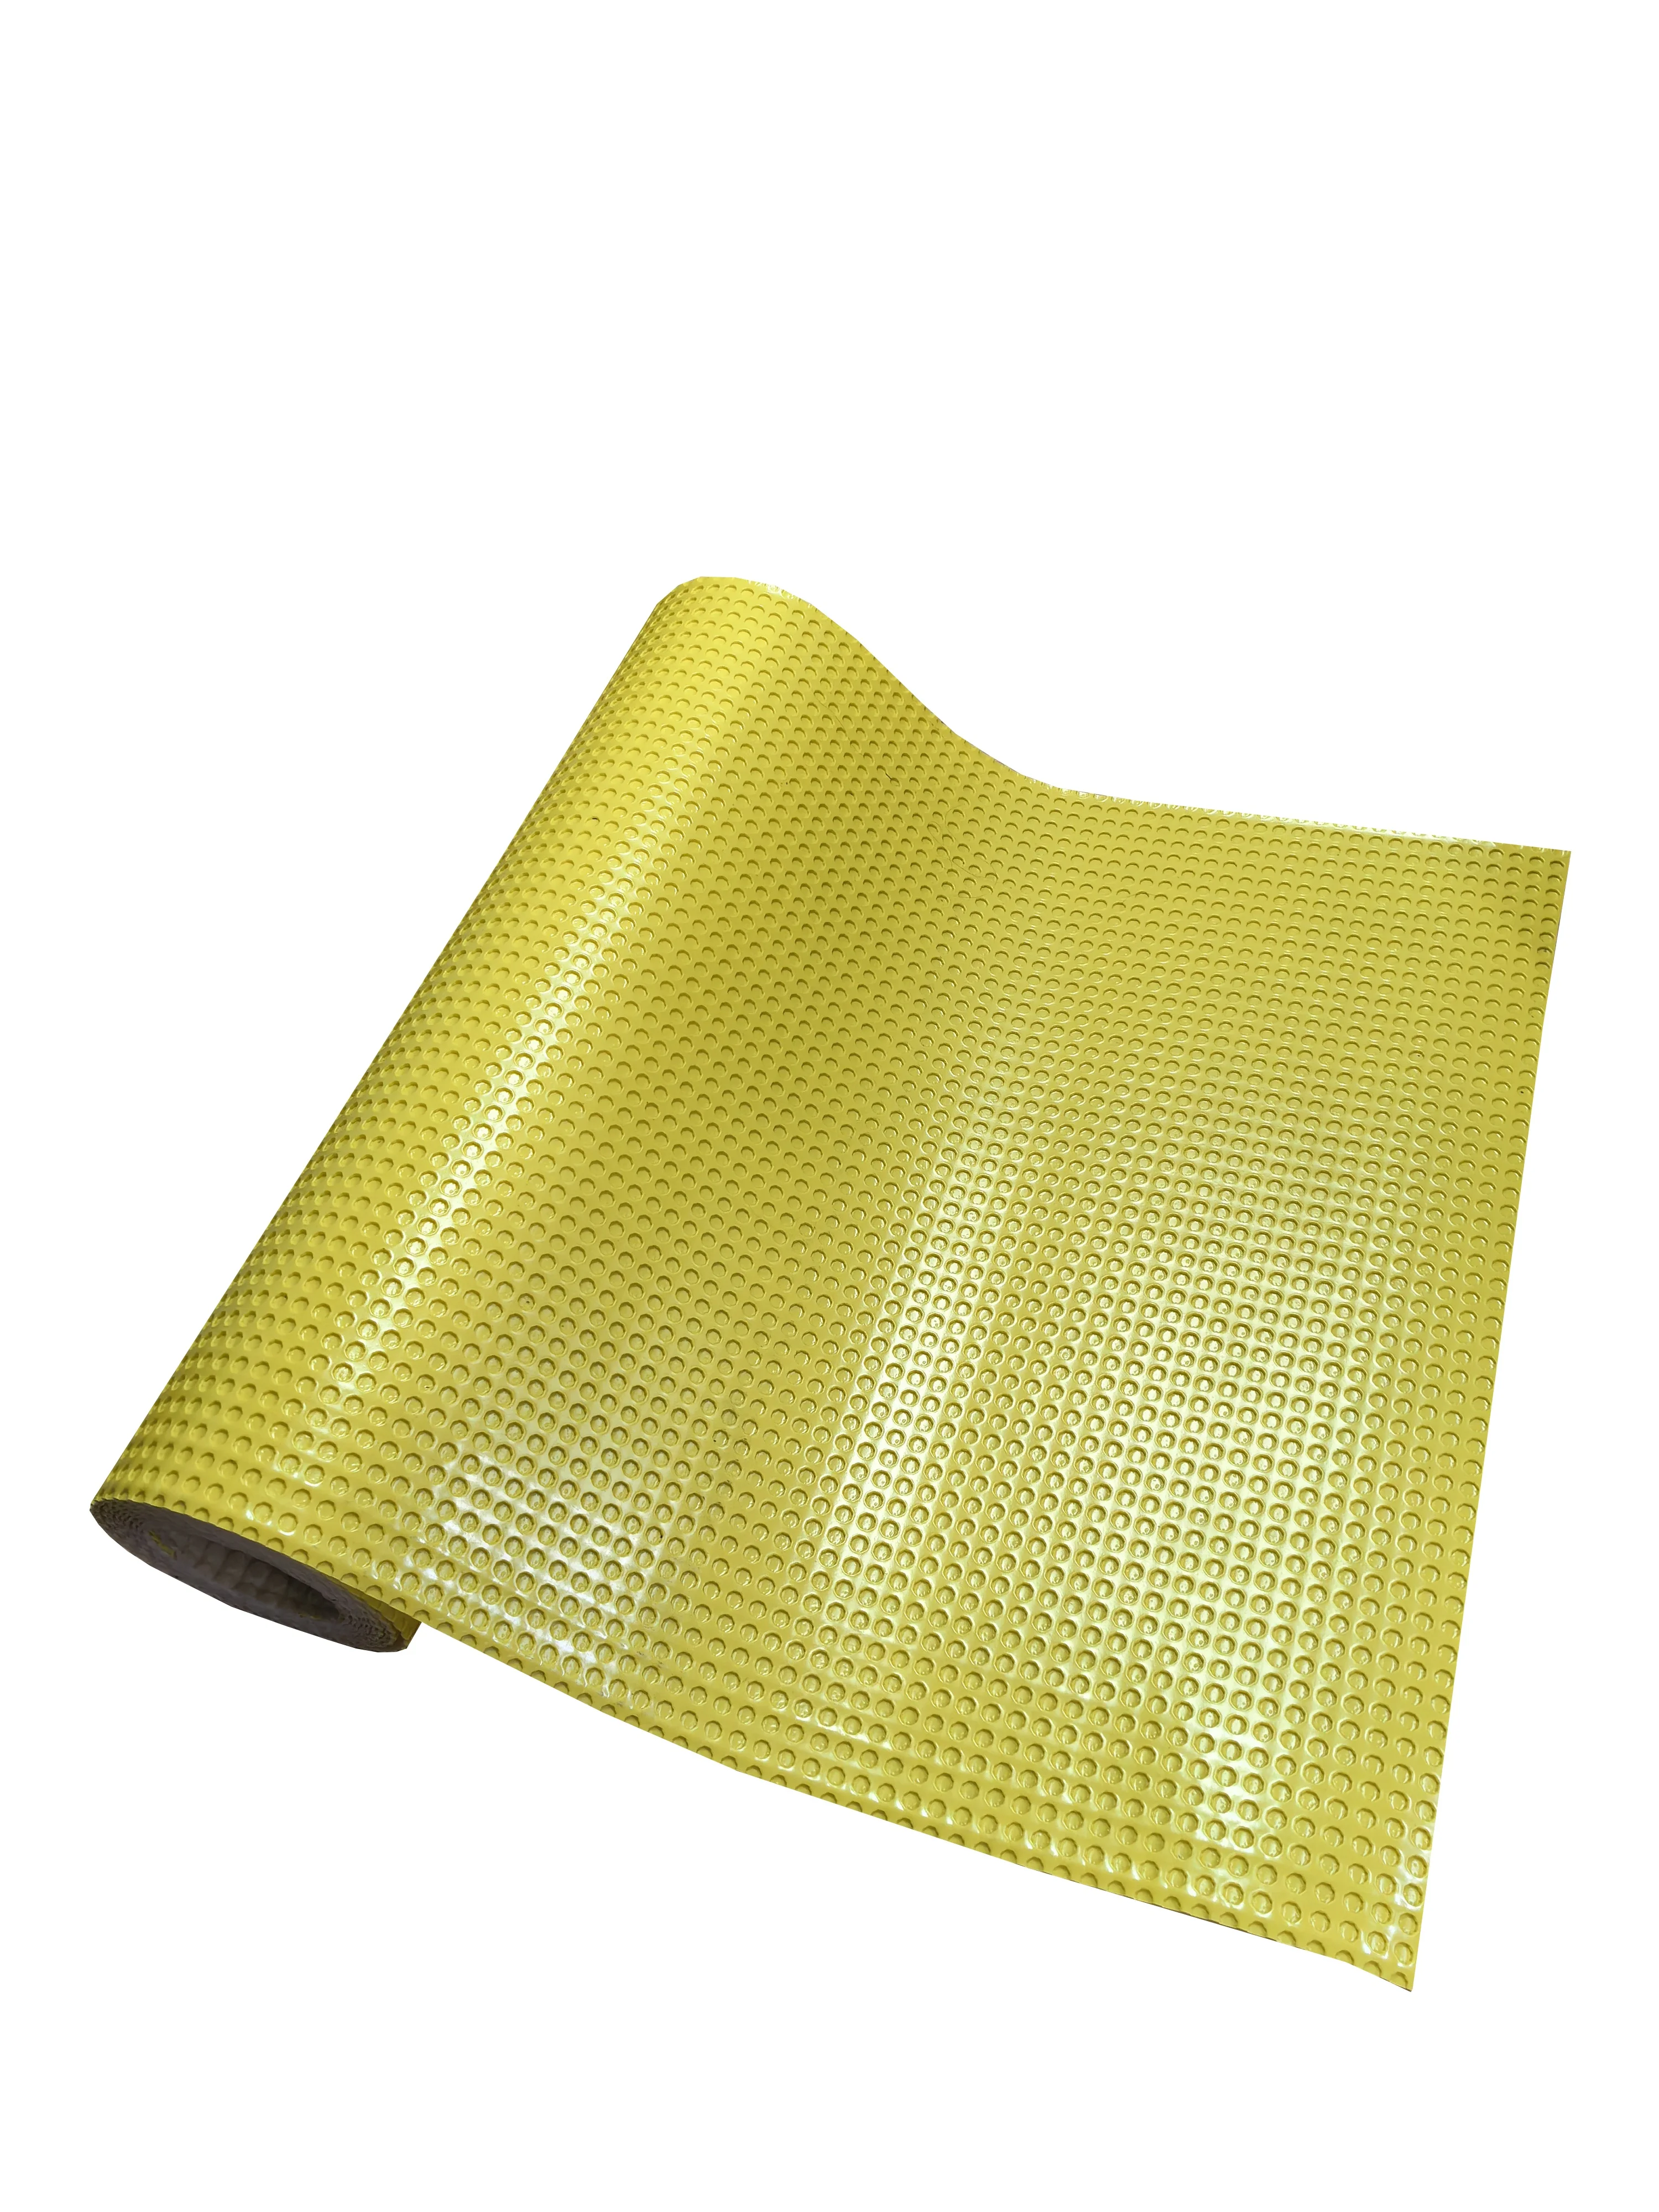
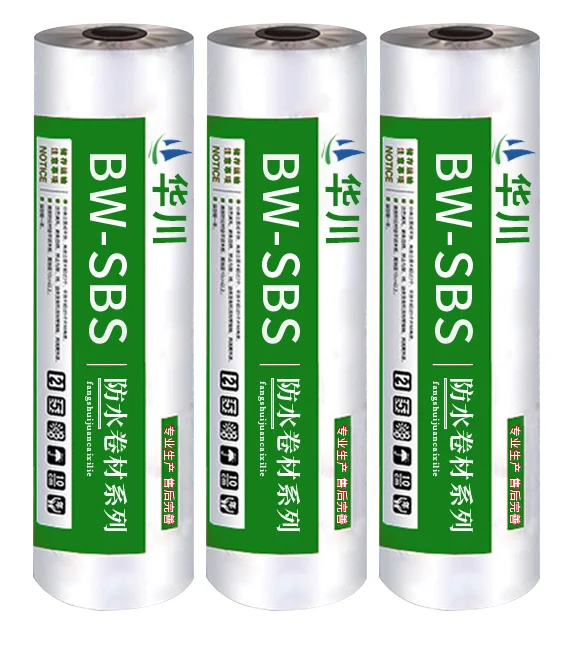
* Available in 30m rolls
* Anti Cracking
* Waterproof
* Absorbs Movement
* Anti Cracking
* Waterproof
* Absorbs Movement
- Quick and easy installation
- Maximum protection for tiling
- Ideal for new build and renovation projects
- Protects tiling against cracking
- High shear elasticity
- Maximum protection for tiling
- Ideal for new build and renovation projects
- Protects tiling against cracking
- High shear elasticity
Product | Waterproof uncoupling membrane |
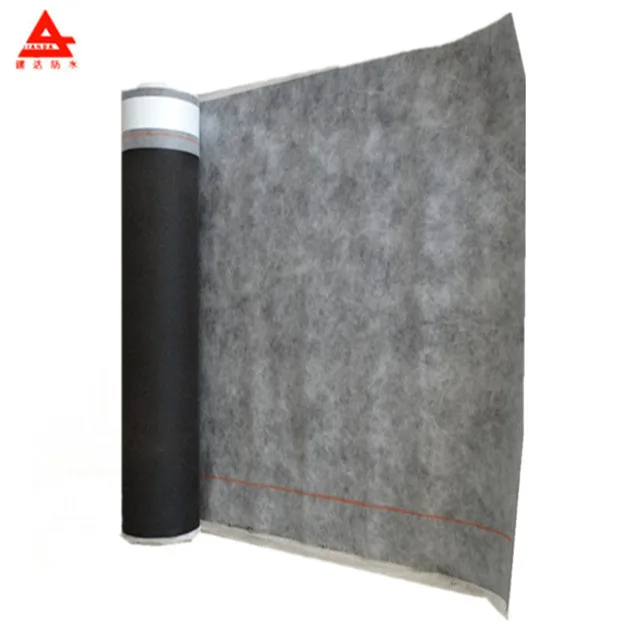
Material | polyethylene(PE)film; polypropylene (PP) nonwoven |
Roll Size | 1x10m, 1x20m, 1x30m etc |
Weight | 600~700g/sqm |
Thickness | approx 3mm |
Packing | wrapped in plastic film |
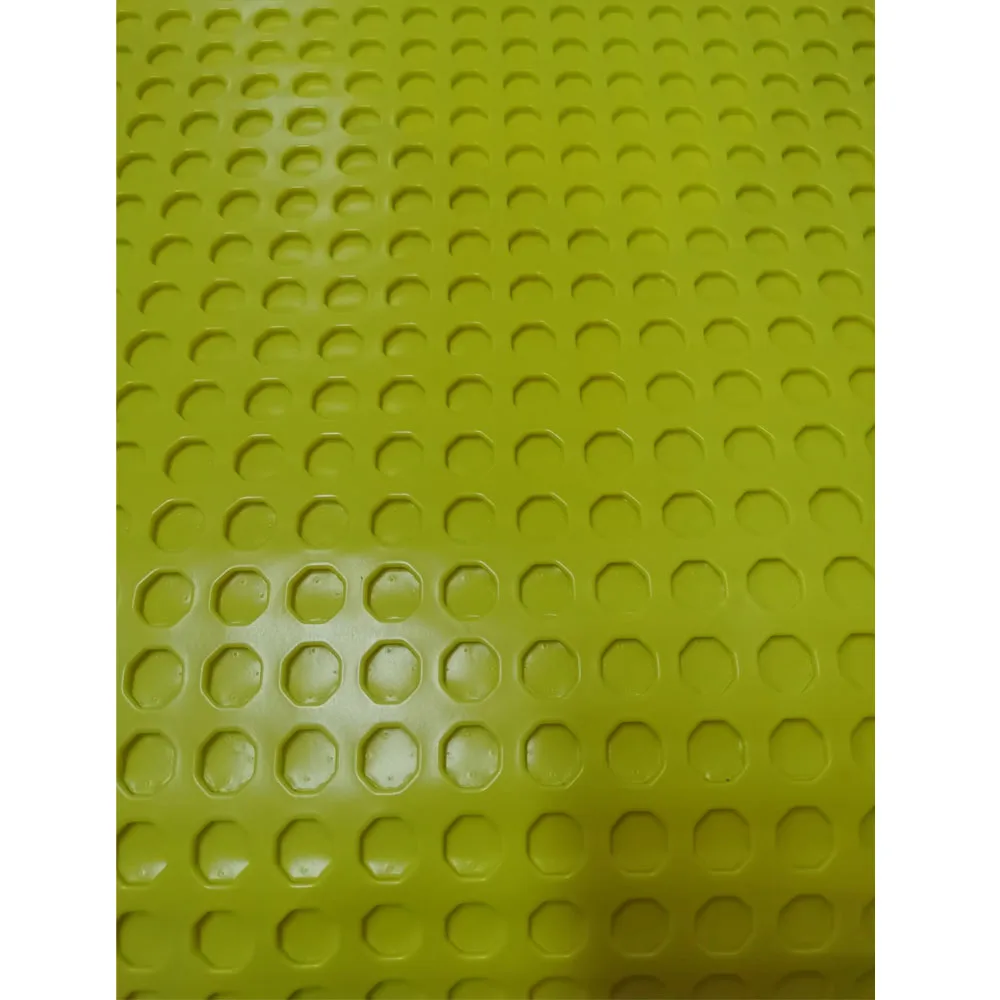
Color | Yellow |
ADVANTAGES
TENSION COMPENSATION. The membrane is able to compensate for differential movement in all directions, neutralizing tension between the substrate (concrete or wood structures) and tile.
VAPOR MANAGEMENT. he open cavities on the underside of the membrane provide pressure relief for moisture rising from the substrate allowing the tile flooring to be installed without waiting the usual curing time for concrete (28 days). LOAD RESISTANCE. The circular column support structure on the surface of the membrane provides increased load resistance compared to other-shaped columns: the mortar-based adhesive on the surface of the mat fills the circular cavities forming a solid column support structure.
WATERPROOFING. The membrane material, HDPE (high density polyethylene), is waterproof. The top layer of the membrane blocks water infiltration, facilitating the natural water evaporation process. The mortar bed is therefore protected from water percolation and not subjected to damage due to ice formation caused by low temperatures during the winter months.
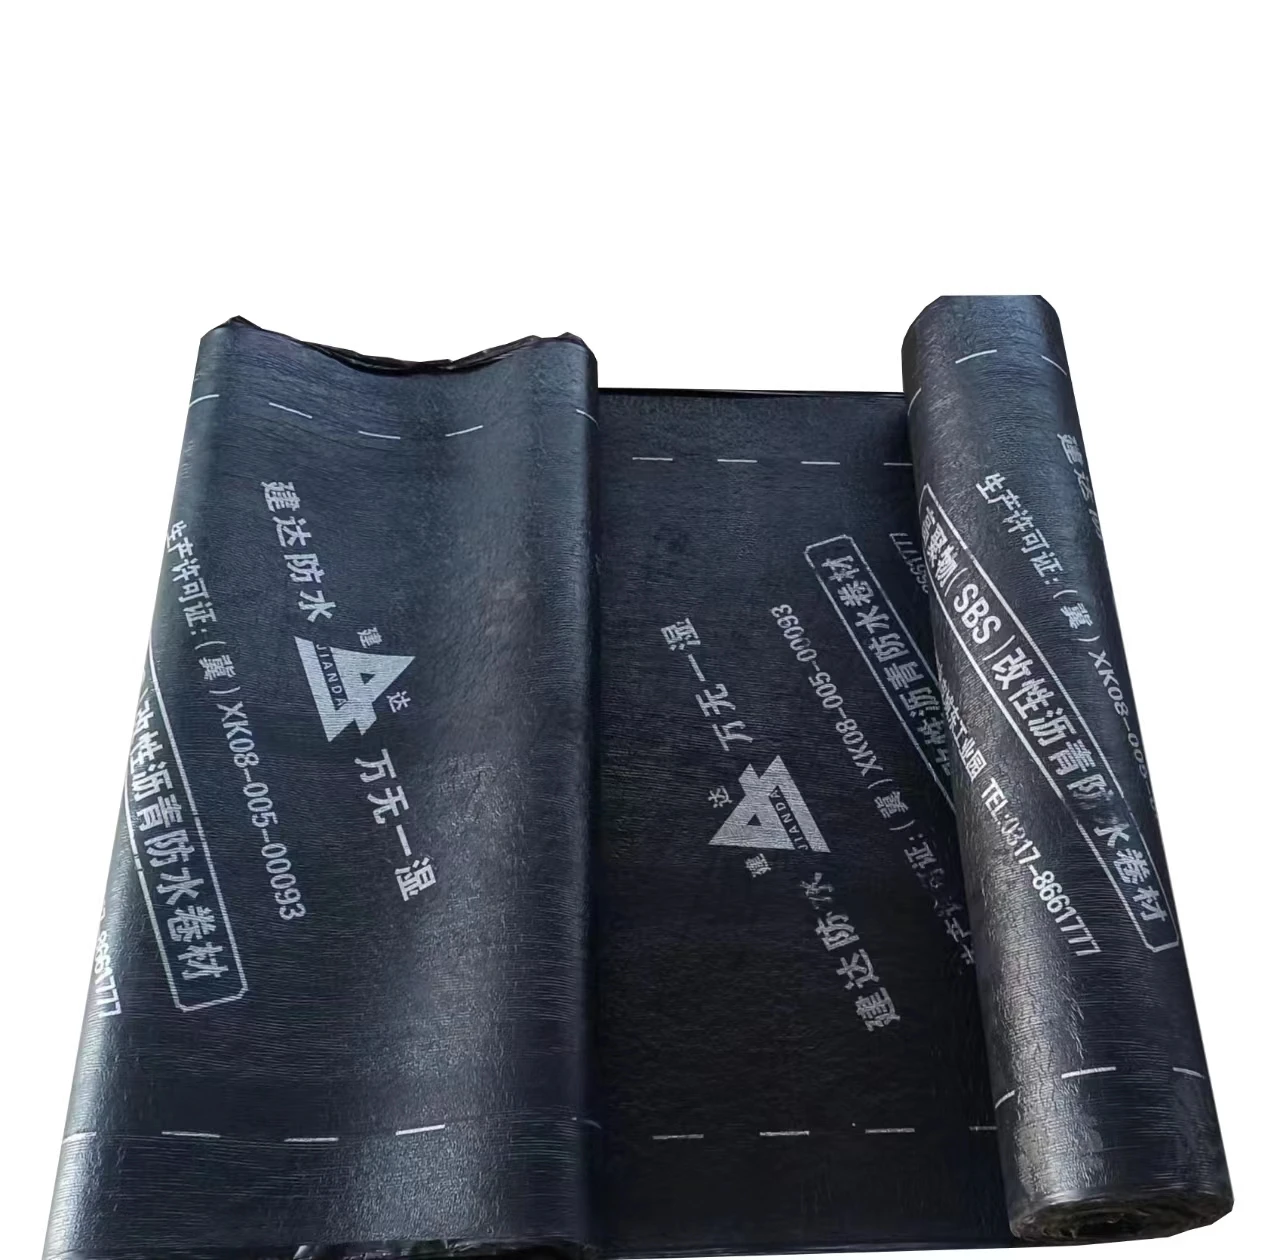
*The Uncoupling membrane is composed of a plastic material that is waterproof, but the complete waterproofing of the application must be carried out by using Foiltec strips and corner joints. The incorrect application of these accessories may compromise waterproofing. Additionally, please note that the FLOORTEC membrane cannot be used as a primary waterproofing system, for which a bituminous membrane or similar product must be used.
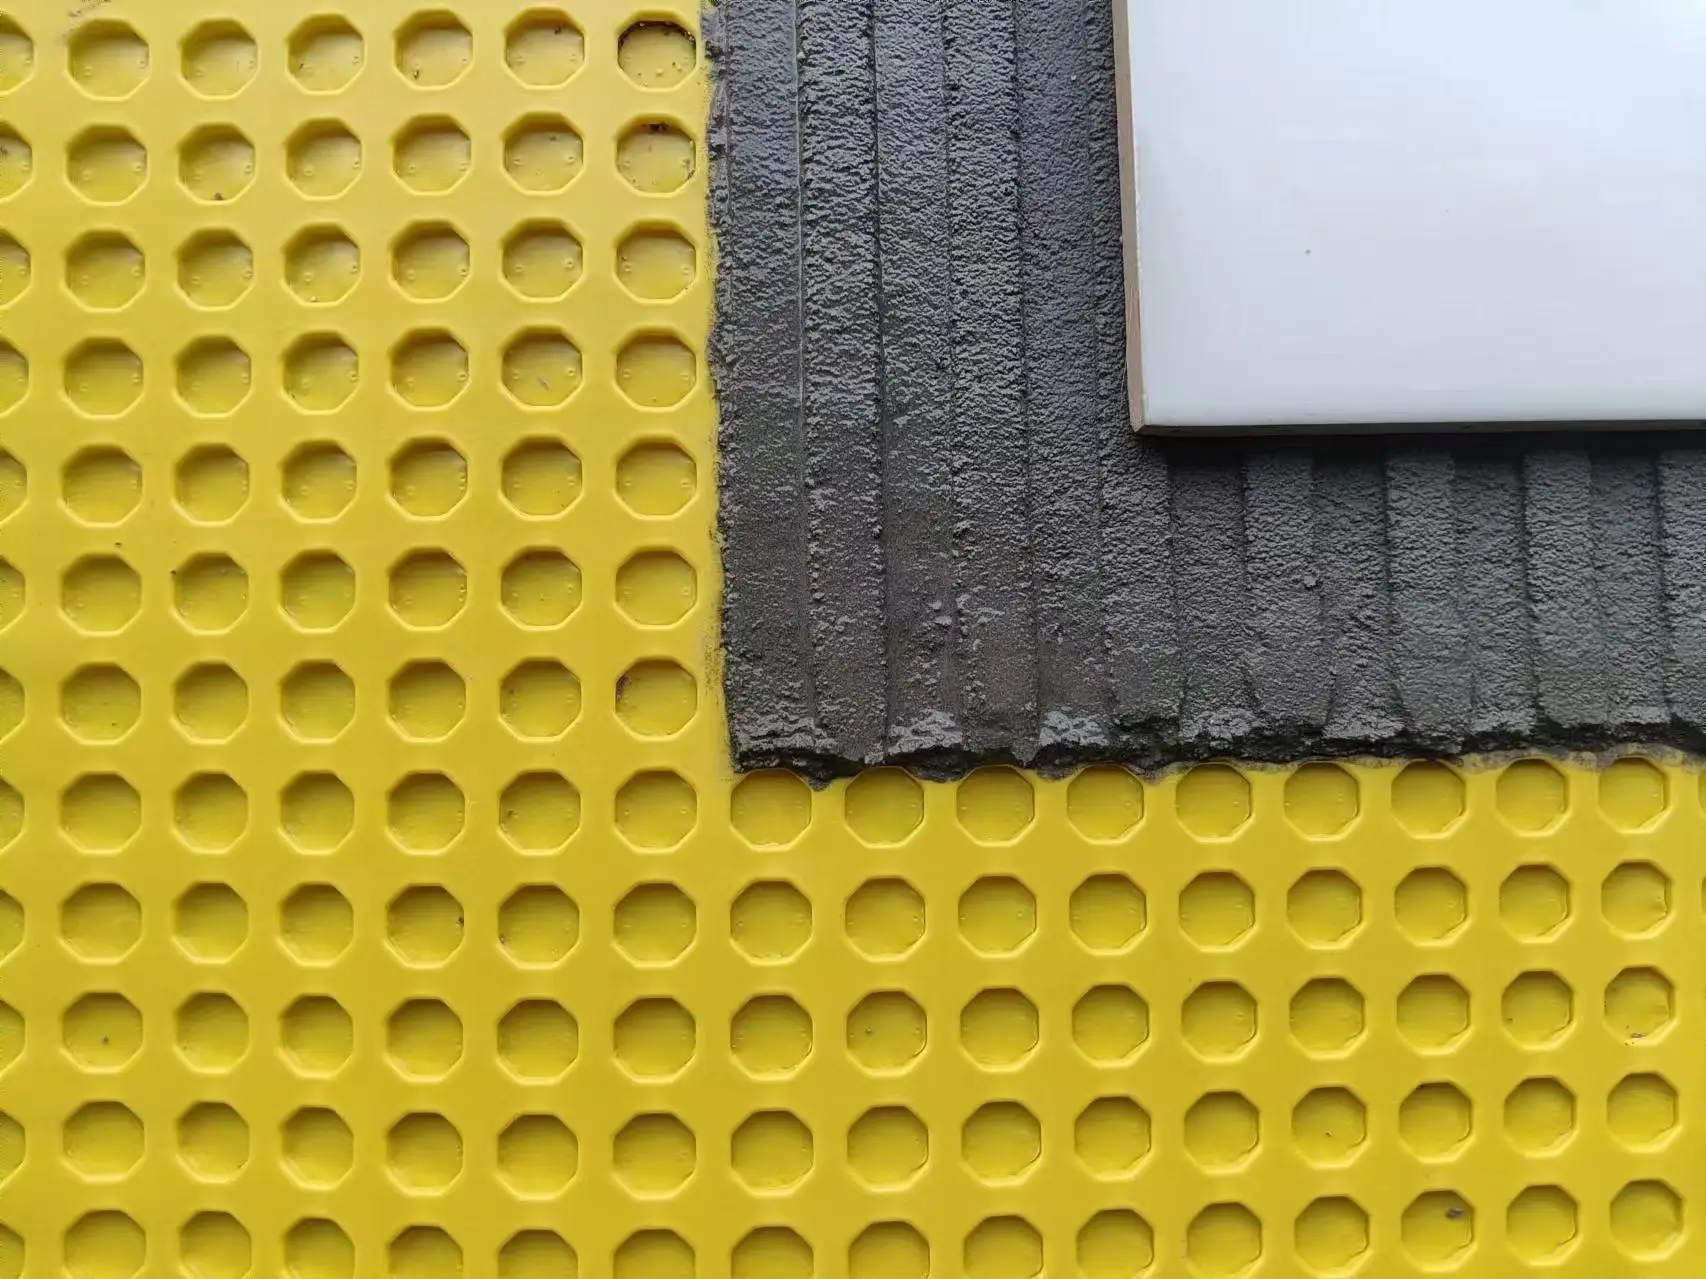
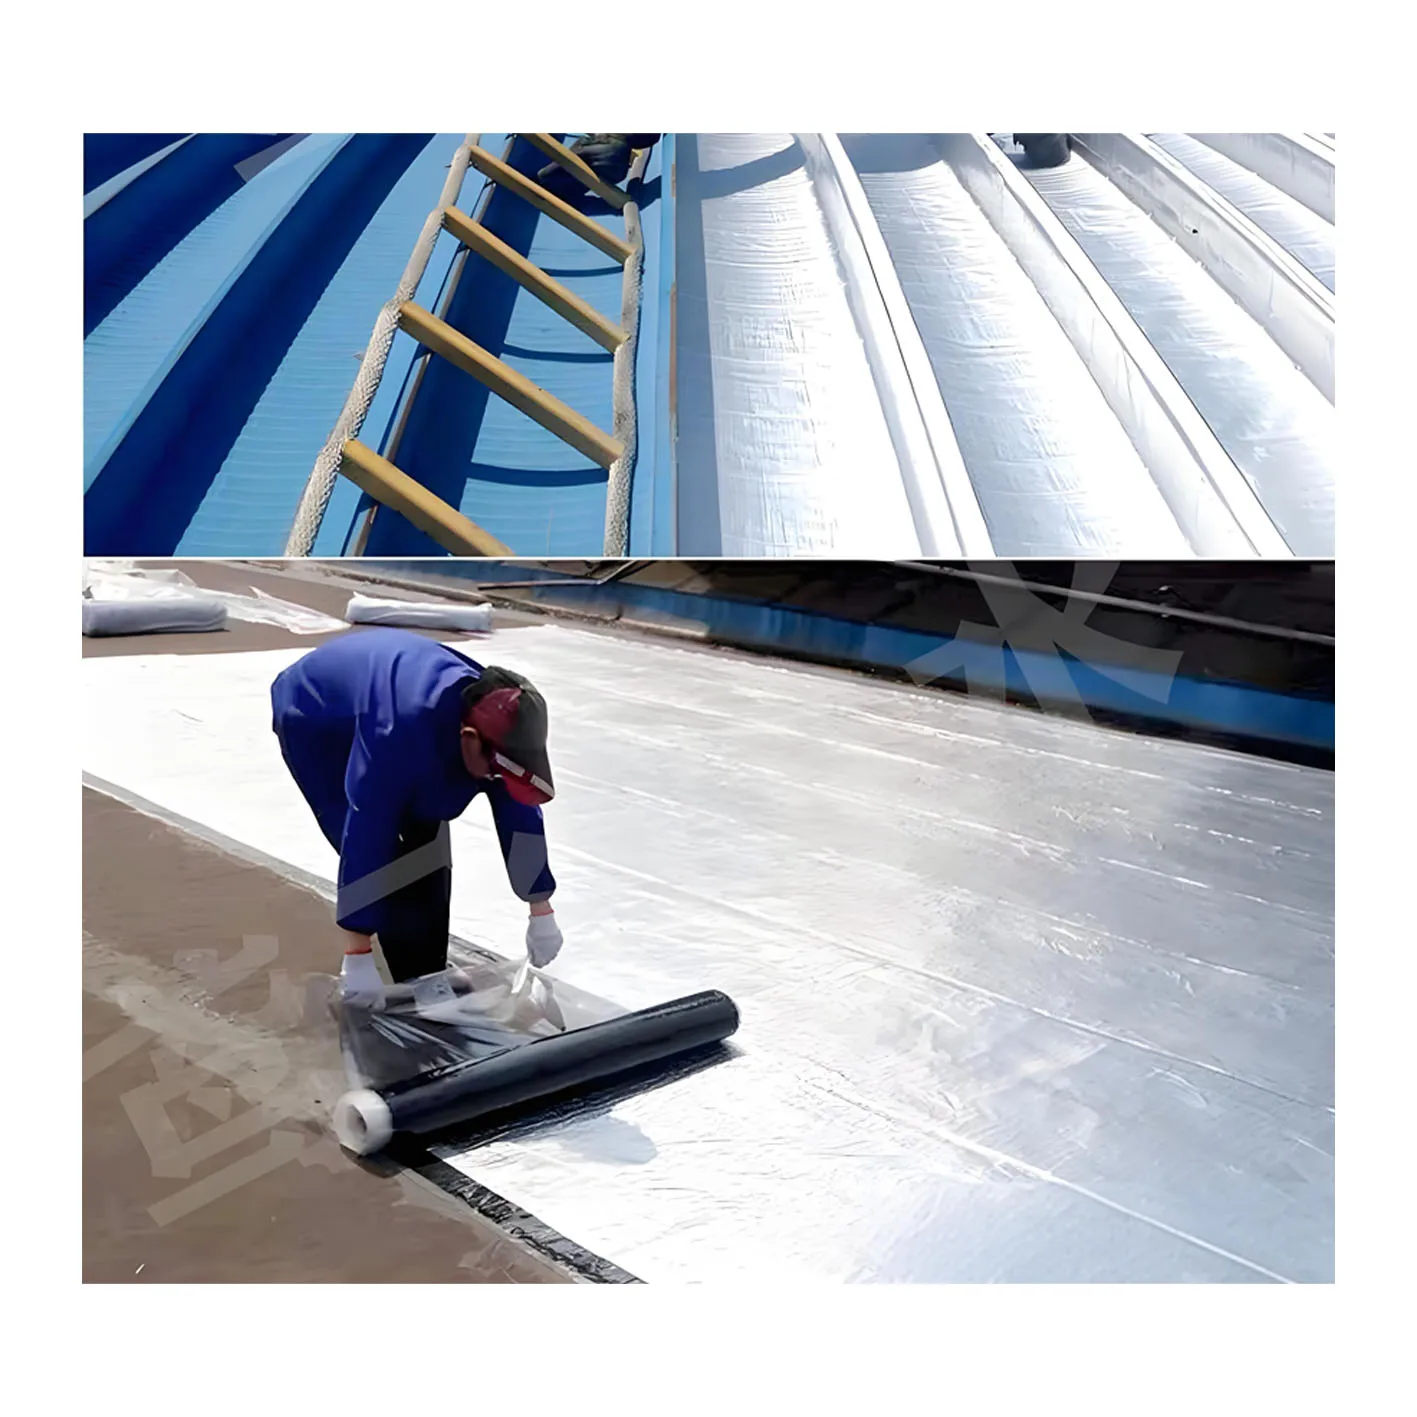
MEMBRANE INSTALLATION Cut the membrane before laying. Spread the adhesive on the substrate. Roll out the membrane. Press to fix properly the membrane. WATERPROOFING. Glue Foiltec waterproofing strip over the joints between the sheets of Floortec. Glue the corners. Be sure to level the adhesive and completely fill the cylindrical cavities of the membrane with a smooth trowel and then with a suitable notched trowel. Laying the floor. The size of the tiles, exclusively laid with the “full bed” technique, must be at least 5x5 cm. C2 type adhesive is recommended with a cement type subfloor.
Application & Installation
Stage 1: Preparation
The substrate must be clean and free from dust, grease etc. Any irregularities in the surface should be corrected so that the surface is level and without voids. Existing old asphalt should be lightly sanded to roughen the surface and thenvacuumed to remove as much dust as possible. The membrane should be spread out on the floor, cut to size (allow expansion joints at perimeter) and then rolled back up.
Stage 2: Application of an uncoupling membrane
One layer of flexible tile adhesive should be combed onto the substrate using a 3 x 3mm notched trowel.
The membrane should then be pressed into the adhesive bed using a rubber float in the direction the membrane is being laid to prevent air pockets forming. Adjoining sheets should be carefully abutted. All existing movement joints must be followed through the substrate and tiling layer.
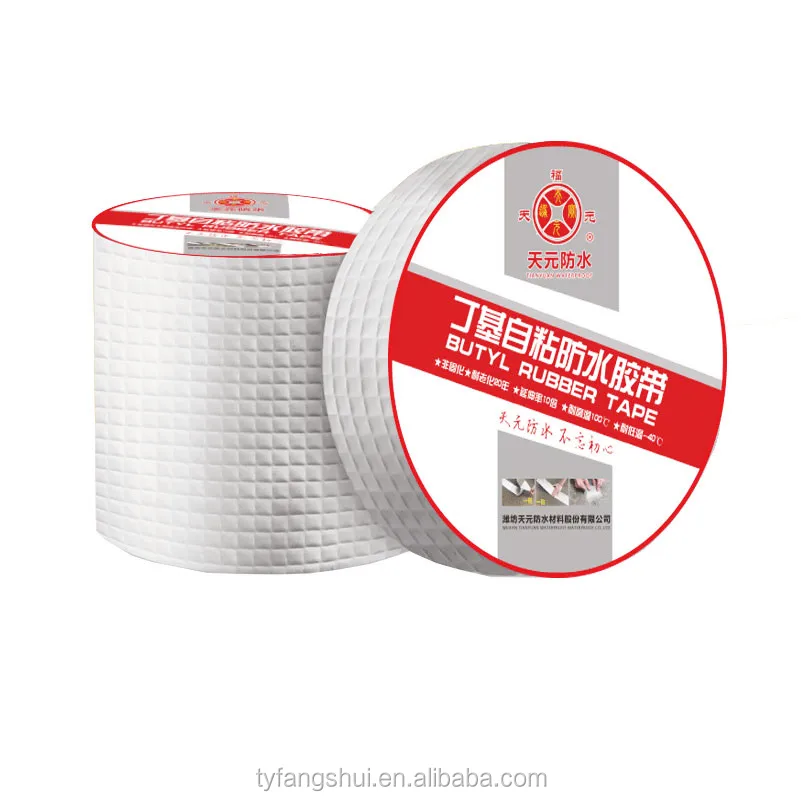
Stage 3: Waterproofing
If the membrane is also to be used as a waterproofing layer, the joints between sheets, perimeter joints and movement joints need to be sealed. Spread a thin layer of flexible tile adhesive across the joints and then bed a flexible layer of membrane into the adhesive.
The membrane must overlap the joint by at least 50mm. For perimeter joints, the same method applies but care must be taken not to fill the movement joints at the edge of the sheets with adhesive.
Stage 4: Fixing the tiles
Fix the tiles into a solid bed of flexible tile adhesive. If the uncoupling membrane has cavities, fill these first with the flat edge of a trowel before spreading adhesive onto the membrane with a notched trowel. Grout the tiles with flexible wall and floor tile grout or weberjoint pro and use acetic curing silicone sealant to fill perimeter movement joints.
Packing


We Recommend
New Arrivals
New products from manufacturers at wholesale prices