
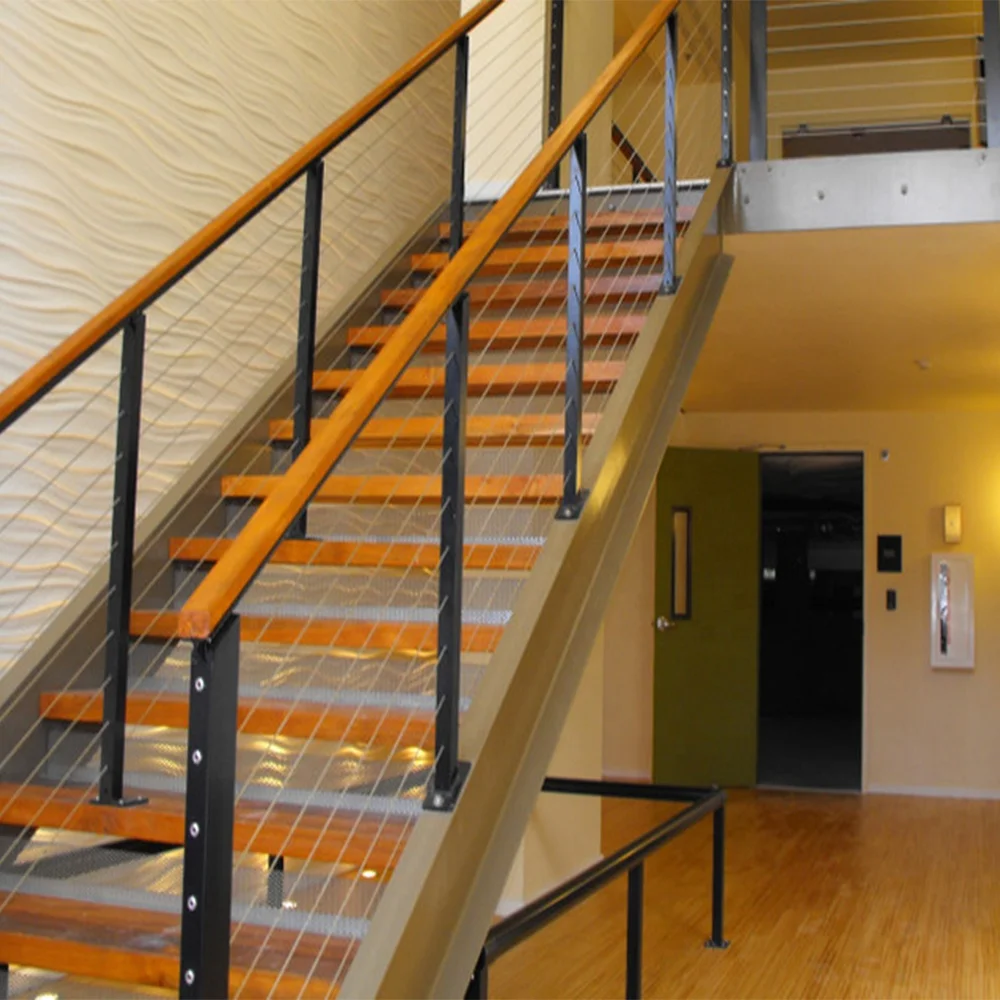
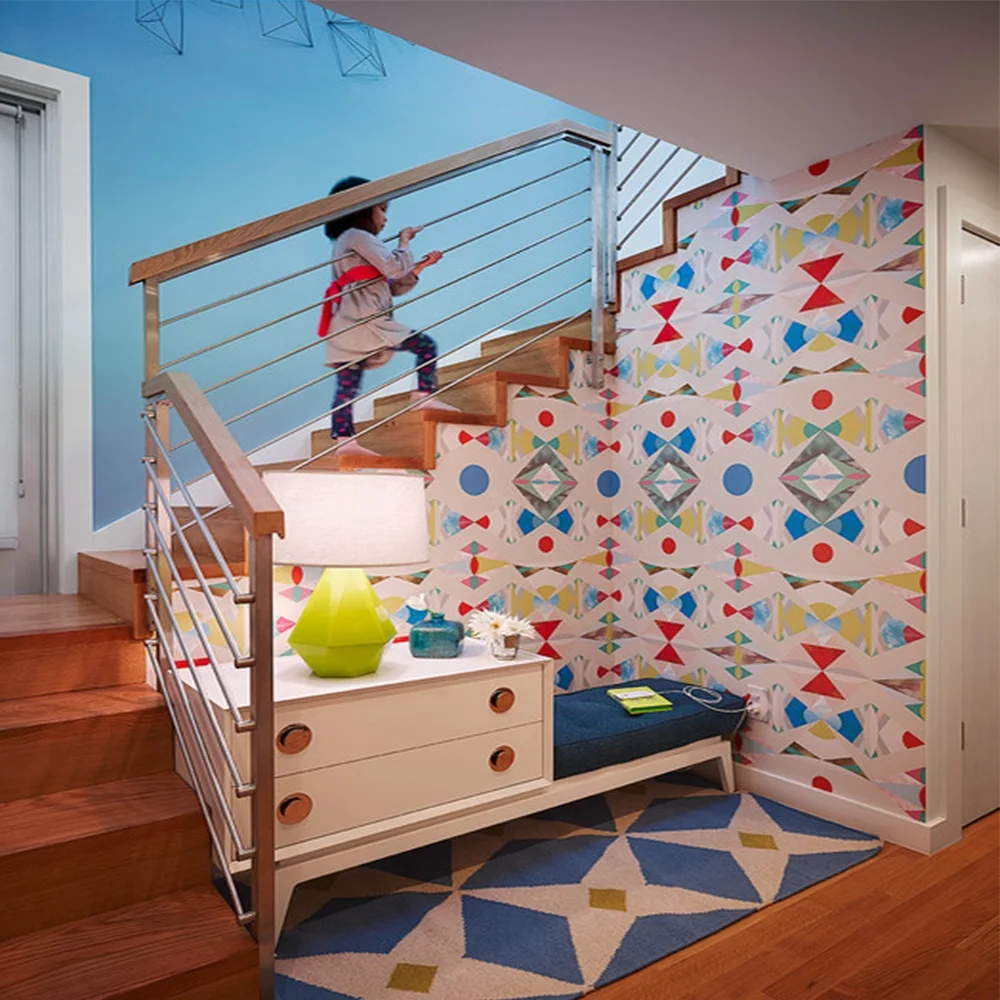
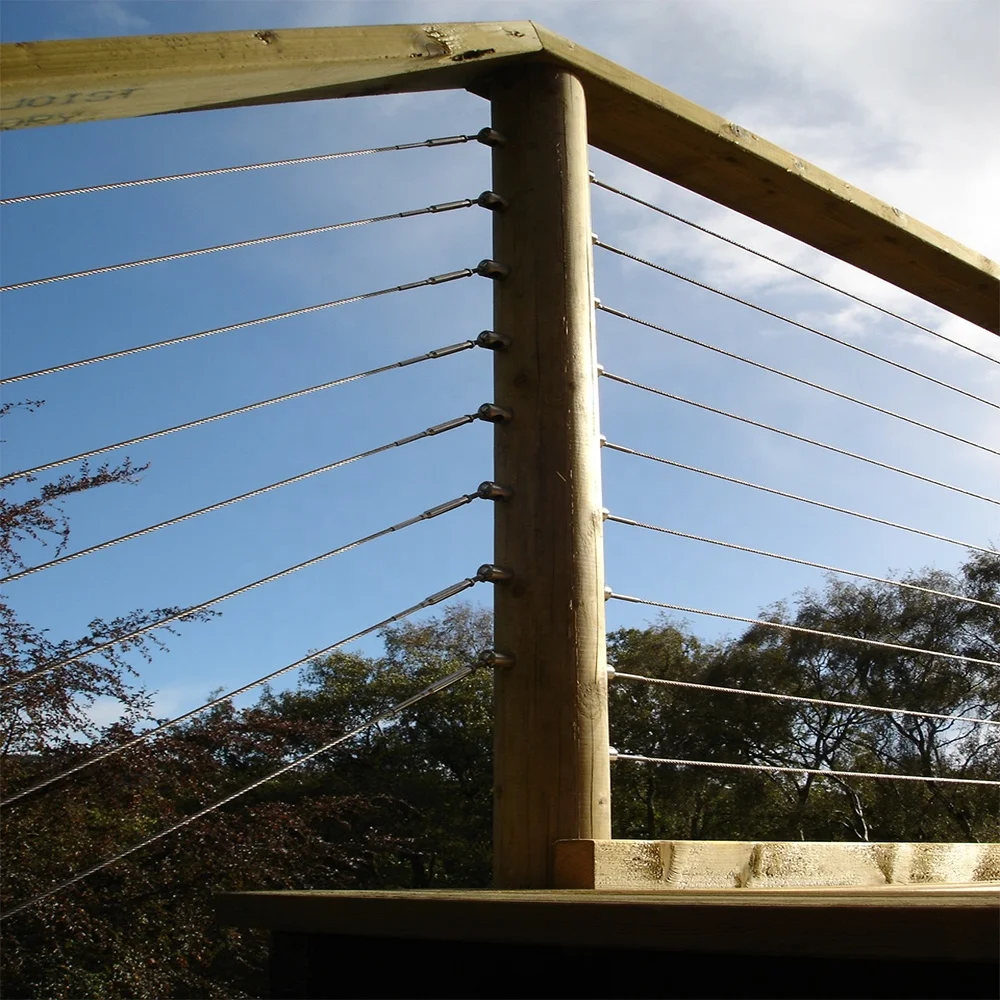
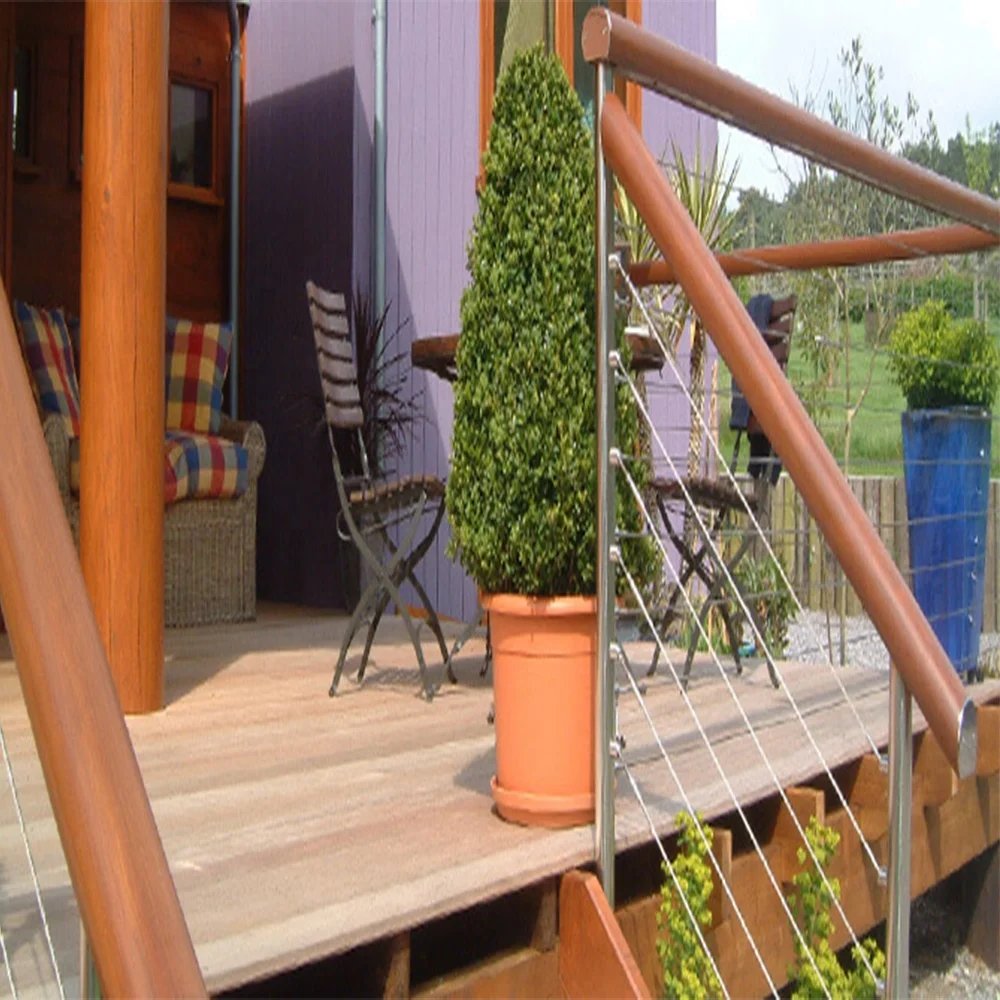
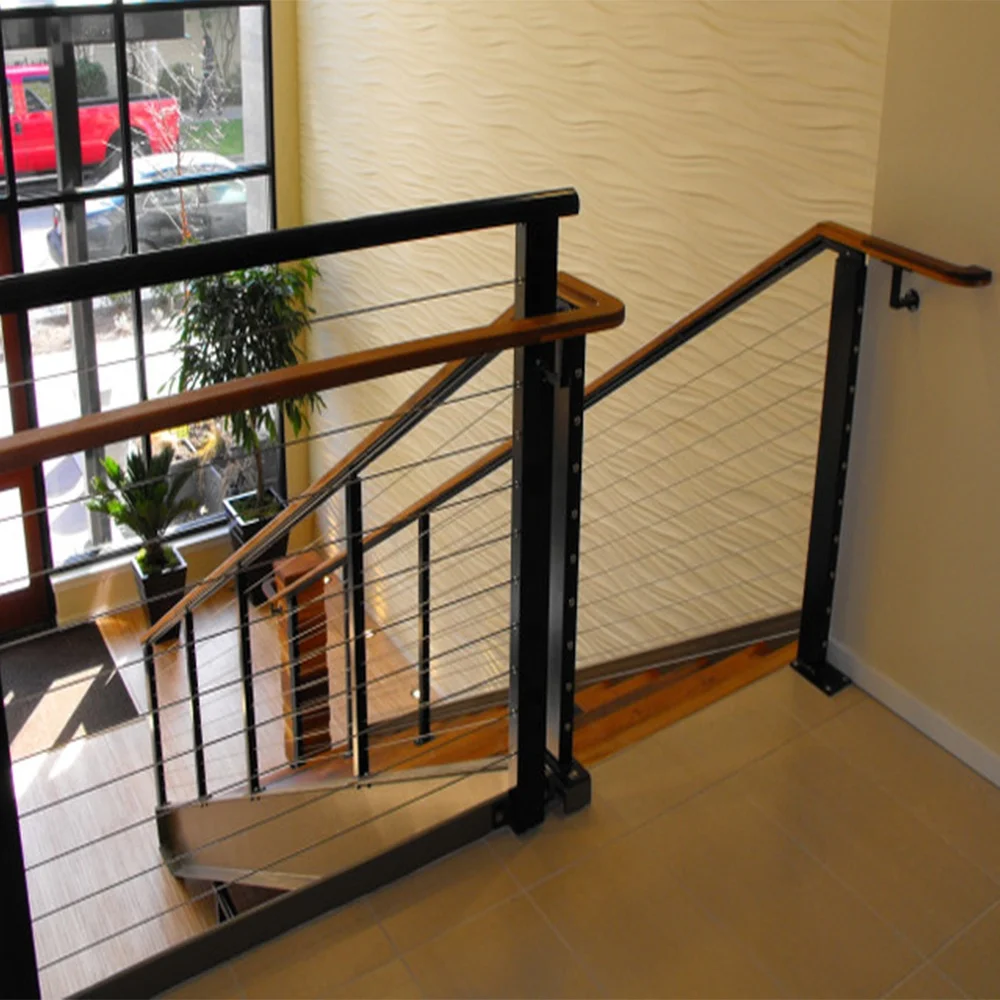
Stainless Steel Terrace Rod Railing Side Mounted Cable Railing Balcony Stair Cable Railing
- Category: >>>
- Supplier: Foshan Nanhai Shangbu Stairs Industry Co. Ltd.
Share on (1600411115635):
Product Overview
Description
Product Description
Specification
Length | customized based on your jobsite | ||
Heigth | 850-1500mm or customized | ||
Wire | Dia 4/6/8mm/ customized | ||
Handrail | Size: dia50.8/42.4/38mm; 50*50/40*40/60*40mm/customized | ||
Post | Size: dia50.8/42.4/38mm; 50*50/40*40/customized | ||
Materials | Handrail | SUS304/316/Solid wood | |
Post | SUS304/316/Carbon Steel ( brushed/Mirror/Power Coate ) | ||
Wire | SUS304/316 | ||
DIY, No need weld easy install it by yourself | |||
installation manul and instruction drawing is available | |||
Packing & Delivery


To better ensure the safety of your goods, professional, environmentally friendly, convenient and efficient packaging services will be provided.
Company Profile


Installation Instructions
1. Getting Started
Layout your design onto the relevant surface with a pen or chalk prior to drilling any holes.
2. Drill Pilot Holes
You will need to drill and tap M6 holes into the posts to accept the socket and screw. ('tap' refers to the method of drilling a
hole whilst adding an internal thread. A special drill bit is required to achieve this.)
We offer a wide range of balustrade tools and accessories to make your installation as smooth as possible.
Drill Bit and Tapping Set
Tube Drilling Template
3. Align Socket
Thread a M6 screw through the centre hole of your socket and align to the post, with the socket opening pointing downwards (for a
neat and tidy finish).
4. Fix Socket
Using a hex head key, tighten the M6 screw until your socket is securely fastened to the post.
5. Prepare Pre-Fixed Ball End
Starting with the pre-fixed tension ball end, screw out the ball end to reveal approximately 20mm of thread, you will need this to
apply your final wire tension once installed.
6. Mounting Pre-Fixed Ball End
Place the pre-fixed tension ball end into the mounting hub.
7. Mark Your Wire For Cutting
Pull the cable over to the other fixing post and align to the spanner flat of the DIY compression fitting.
Mark your wire ready for cutting with either a pen or chalk.
Note: The stand off from the mounting hub is 30mm.
8. Cut Wire
Cut your wire to required length, we recommend using a set of good wire rope cutters to give you a neat and tidy cut.
Remember - measure twice, cut once! Please be as accurate as possible.
Each cable will have an adjustment of plus or minus 20mm.
9. DIY Compression Fitting
You are now ready to attach the DIY end fitting.
The first step is to take apart your DIY compression fitting.
10. Thread Nose Piece onto Wire
Taking the blank cable end place the nose piece over the stainless steel wire rope (ensuring the thread end is towards the end of
your wire).
11. Thread Cone onto Wire
Thread the cone onto the wire and push into the threaded cone chamber.
12. Place Ball End onto Wire
Take the stainless steel body and push onto the wire, eventually bringing the three component parts together.
Turn in opposite directions to thread them together.
13. Secure Ball End Fitting
Using a pair of 8mm and 9mm spanners screw the two sections together until tight.
14. Mounting Ball End Fitting
Insert the DIY ball end into the fixing hole of the hub.
Note: if you require more slack in your wire to insert the DIY end simply return to the fixed end ball and unscrew to expand to
the required length.
15. Tension Wire
Returning to the pre-fixed ball end, simply screw in the thread using a 5mm spanner to achieve the desired wire tension.
Once you have achieved this lock the nut into place using a 10mm spanner.
It is important that the wire rope is not allowed to be twisted.
Our Service
Consulting service
1.Discussing with customers and make clear their demand and request .
2.Recommend best solution and quotation according to project.
3.Providing accurate shop drawing of the products.
Manufacturing and quality inspection
4.Manufacturing the products according to the contract and confirmed drawing.
5.Goods inspection during production,providing photos and reports.
6.Every staircase should be try assemble in our workshop before shipment to avoid any mistake.
Shipping service
7.Offer difference shipping way and price for your option.
8.Booking ship according to the delivery time in advance.
9.Collect all of your goods into one container and provide loading picture.
10.Follow up the shipping statues and providing shipping documents for your custom clearance(door to door shipping service is
available if needed).
After sales service
11.Providing installation shop drawing and manual.
12.After-sales service. If any quality issue or mistake made by us, We will be responsible for it.
FAQ
Q: Are you a factory or a commercial company?
A: We are the real factory with more than 14 years experience in manufacturing staircases and railings, we supply to many
commercial companies.
Q: How can you ensure the staircase could be installed on site correctly?
A: All our staircases will be trial assembly according to the shop drawings before delivery, in order to guarantee the correct
sizes and strength.
Q: How can you guarantee to avoid damages during the delivery?
A: Most parts of the staircase will be packed in standard exporting plywood boxes. The long stringers of the staircases can also
be packed into wooden boxes if you like, so it is durable enough to deliver in containers.
Q: Does the staircase need a big space in the container?
A: Staircases are packed and delivered by spare parts in boxes, if the stringers are not packed with other parts, it will not
require too much space in the container.
Q: What do you need from us to start the order?
A: All the stairs are customized for our clients. We have to get your building measurements where the staircase will be installed,
such as floor height, stairwell width, length etc. It's the best to offer us your building drawing in hand if possible.
Contact Us

We Recommend

New Arrivals
New products from manufacturers at wholesale prices