
2022 High Quality Dental Laboratory Equipment Vacuum Molding Machine P7 Press Mold Machine Retainer Orthodontic Retainer Vacuum
- Category: >>>
- Supplier: Guangzhou Morton Technology Co. Ltd.
Share on (1600438827067):
Product Overview
Description
Product Description
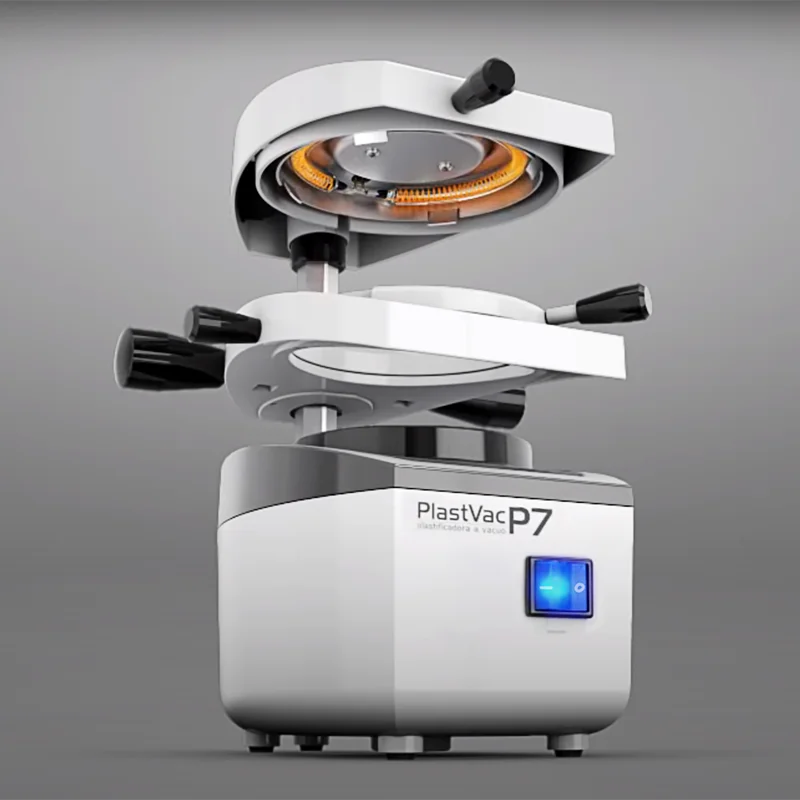
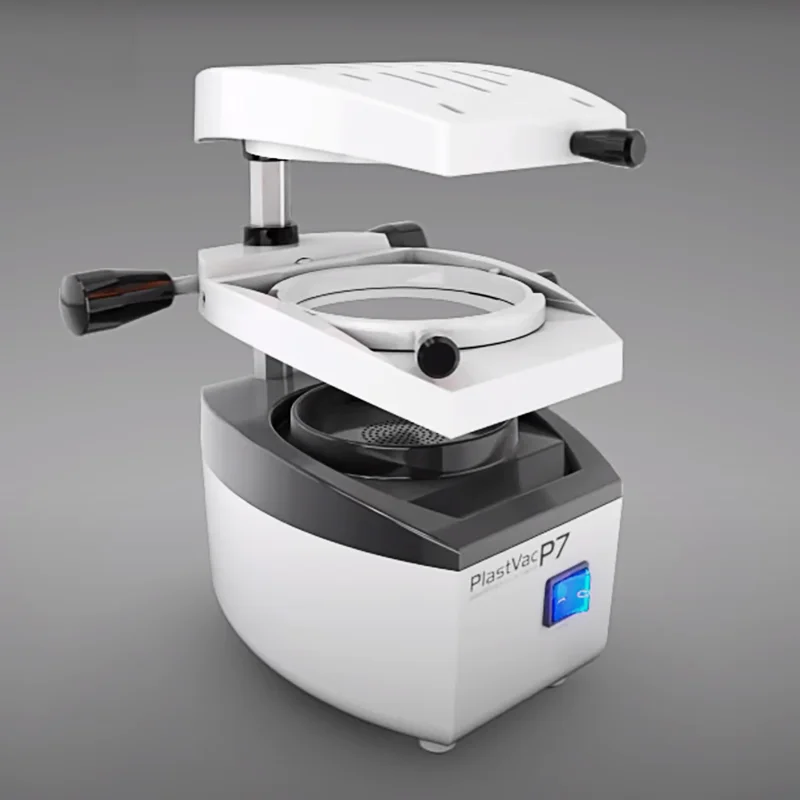
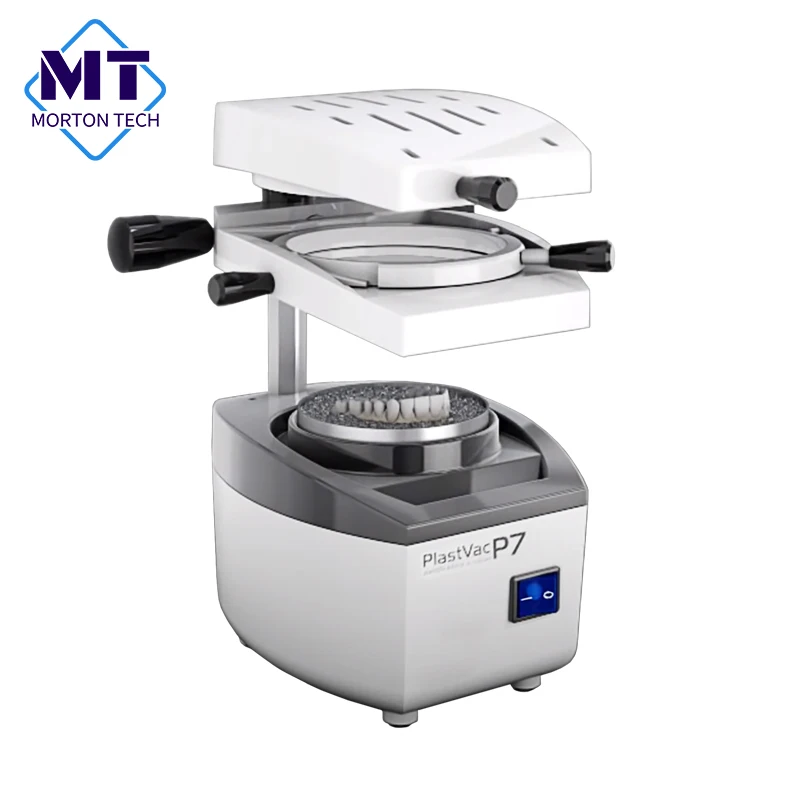
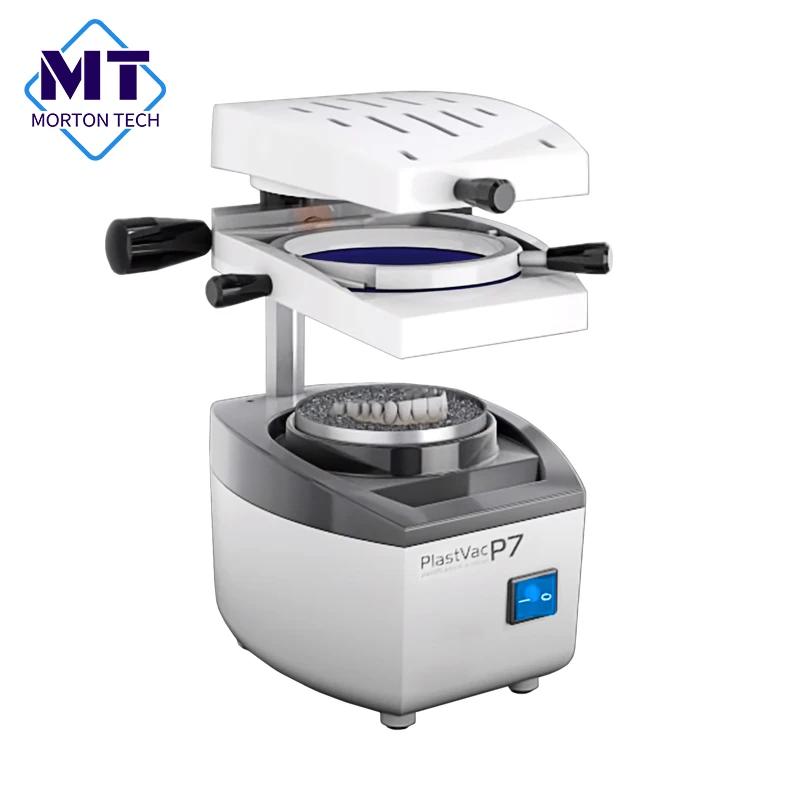
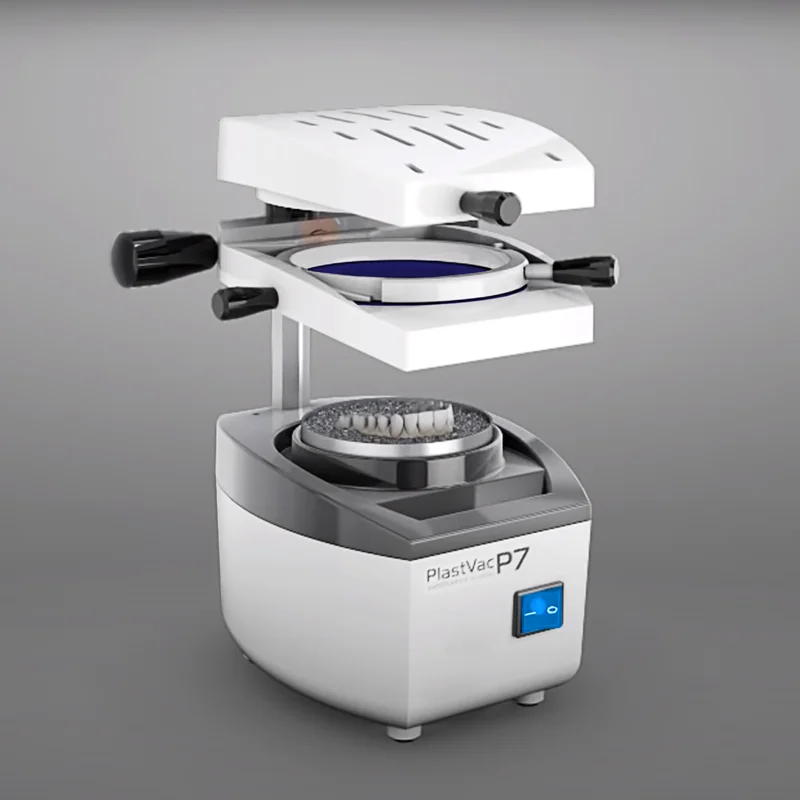
Vacuum Model Forming Machine for Dental Labs
This Vacuum Former is an economical unit excellent for fabricating thermoplastic appliances. It has an all aluminum construction, a single post design, and a pellet loaded frame. It can be used with most thermoplastic materials.
Advantages:
Suitable for round and square sheets of different material.
Special ceramic heating element provides more uniform heating.
Unique rotating frame allows for heating on both sides of the sheets.
Cast rack with beads advantageous when making splints.
When machine is not in use for 10 min or more, the CUT OFF switch will turn off the unit.
Special ceramic heating element provides more uniform heating.
Unique rotating frame allows for heating on both sides of the sheets.
Cast rack with beads advantageous when making splints.
When machine is not in use for 10 min or more, the CUT OFF switch will turn off the unit.
Product Name | Dental Vacuum Forming & Molding Machine |
Voltage | 220V/50Hz |
Consumption Power | 925W |
Heating Power | 450W |
Motor Power | 1400W |
Sheet Dimensions | Up to 6mm thick |
Round sheet | From Ø120 to Ø134mm |
Square sheet | From 120x120mm to 130x130mm |
Dimensions | 180x230x290mm |
Packing Size | 200x250x300mm |
Net Weight | 4.88kg |
Pollution Degree | 2 |
Protection Degree | IPX1 (Protected against splatter) |
Noise Level | Motor ~90dB to 0.50M |


Tray for bead
Flat surface
Conventional Plasticizing Process:
Rotary Plasticizing Process:
1. To start the process, raise the sheet support up to the upper limit and turn the vacuum activation handle to the right in the clockwise direction to fasten the unit. Then turn the heating unit 180º in the clockwise direction, leaving it completely facing the posterior part of the equipment.
2. Put the cast in the double-sided cast rack and then place the set in the vacuum chamber.
3. To position the sheet, turn the shorter ring in the anticlockwise direction and remove it, position the sheet and invert the
process to fasten it.
process to fasten it.
4. Return the heating unit to the initial position (aligned to the sheet support) and activate the main switch to start the heating process (the red light of the main switch will go on).
5. Plasticizing Point: Due to the existence of several types of sheets, the plasticizing point is identified by changes in the sheet, runoff or heating time. Generally the ideal point is observed by changes or sheet runoff (10 to 12 mm).
6. Upon reaching the plasticizing point, turn the vacuum activation handle (right) in the anticlockwise direction only enough to release sheet support and then lower the entire set completely through the two handles until it is inserted in the vacuum chamber and the vacuum will start automatically.
7. Turn the heating unit again in the clockwise direction to the back part of the equipment and leave the vacuum motor on until the conformation process is complete, which may take 10 to 20 seconds. Warning: Do not leave the motor on for more than 1 minute to avoid overheating.
8. Turn off the main switch and allow the model to cool down.
9. Turn the shorter ring anticlockwise to release the model and remove it.
Rotary Plasticizing Process:
1. The equipment leaves the factory with the sheet support locked to avoid accidental rotation in the conventional process. It is necessary to loosen the screw with the 4 mm Allen wrench (item 10) provided with the equipment only enough to release the set.Attention: In this process, just place the double-sided cast rack into the vacuum chamber after the heating process is complete.
2. After releasing the movement of the rotary system, follow the steps described in the conventional system up to step 4
to heat one side of the sheet.
to heat one side of the sheet.
3. To heat the other side, turn the heating unit clockwise to the back part of the equipment and then rotate the larger ring 180º in the anticlockwise direction until you hear a “click”, and with the other side of the sheet exposed upwards return the heating unit to the initial position and wait for the heating of this side of the sheet. Attention: Never lower the sheet support when it is rotating.
4. Return the heating unit to the back part of the equipment and rotate the larger ring clockwise to the initial process position. Leave the first heated side of the sheet to heat a bit more.
5. After heating is complete, follow the step 6 of the conventional process to conclude.PlastVac P7-PLUS enables two plasticizing processes, conventional and Rotary, monitored by a digital timer.
Using The Digitaltimer:
1. Press the on/off button in the control panel to turn on the Digital Timer. Press set button once to modify timer setting, then press adjust button repeatedly to change first digit of display. Press set button to advance to next digit. Repeat until time is correct, then press set to confirm. A beep will signal that the timer is set and ready for operation.
2. Return the heating unit to the initial position (aligned to the sheet support) and activate the main switch to start the heating process. The red light of the main switch will go on and the timer will start to countdown.
3. Once the timer reaches zero, it will begin beeping, indicating that the sheet is ready to be thermoformed. Then, turn the vacuum activation handle (right) in the anticlockwise direction only enough to release sheet support and lower the entire set completely through the two handles until it is inserted in the vacuum chamber and the vacuum is started automatically.
4. Turn the heating unit again in the clockwise direction to the back part of the equipment and leave the vacuum motor on until the conformation process is complete, which may take 10 to 20 seconds. Warning: Do not leave the motor on for more than 1 minute to avoid overheating.
5. Turn off the main switch and allow the model to cool down.
6. The digital timer is activated (on/off) through the control panel, so when the main switch is turned off, the digital timer continues on. The time entered is always memorized.
7. Turn the shorter ring anticlockwise to release the model and remove it.
Remarks:
- Follow the manufacturer's instructions for adequate heating times of the sheets. Attention to the sheet runoff since overheating can compromise the job and in extreme cases, the material can seep in the vacuum motor, causing damages.
- For heating both sides of the sheet using the timer, keep in mind to set enough time to heat both sides of the material according to the manufacturer's instructions.
- The sheet can be thermoformed at any time, before or after the timer reaches zero. Also, it can be operated without the timer, thereby, the plasticizing point and sheet runoff should be done visually.
Maintence and Cleaning:
Always keep the equipment clean and free from moisture, especially the heating element located in the heating unit. The heating element must not be touched by metallic tools or objects.In case the heating element has to be replaced, it must be performed preferably by an authorized technical service. In case the power cable is damaged, it must be replaced by another with the same characteristics and certifications.The equipment column does not require lubrication; only keep it clean and free from dust and residues. To order spare parts, consult the exploded drawing and inform the code and nomenclature of the desired part. Fuse Replacement: Disconnect the power cable from the outlet before replacing the fuse. It is highly recommended to purchase a similar fuse for replacement: Delayed actuation 5x20mm
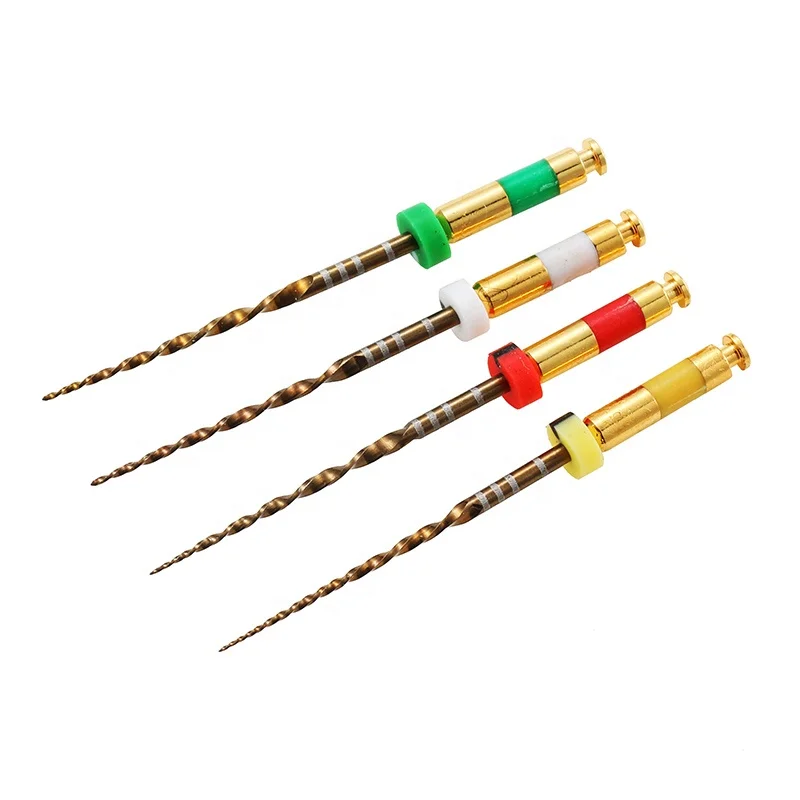
Related Products


Company Profile
Guangzhou Morton Technology Co., Ltd. was founded in 2010, is a research and development,
manufacturing, trading company.Through over ten years rapid development,We have successfully
become a leading manufacturer and brand agent of dental equipment and materials in China.In 2021,
we set up a new branch to enter the international market, committed to providing high-quality
products and perfect services for overseas customers. To contribute to the development of the
dental industry.

Delivery

If you need another express , please contact our to discuss your specific needs.
FAQ
1. Q: Are you a factory or trading company?
A: We are a professional manufacturer meanwhile we have ability to organize the source of goods.We
also establish long-term cooperative relations with some famous brands at home and abroad.
2.Q:What's the payment term?
A:We accept Western Union, bank transfer, Cash, Paypal.
3.Q:Could we print our own logo?
A:We accept OEM or ODM, we can print your own logo/brand according to your requirement.
4.Q:How can you ensure your products quality?
A:We start the quality control from the design stage. We can almost do every step in house and have
professional QC and test equipment to ensure the quality.
5.Q: How long about the lead time?
A: We will ship out immediately if we have stock, most of items need 5-7 working days depending on
the quantity ordered. If you need a rush order, contact our representatives to discuss your specific needs.
6.Q:What can we buy from you?
A:Dental equipments, Dental zirconia blocks, Dental porcelain,PMMA, Wax, Dental milling bur etc. We
provide one-stop purchasing for dental supplies dealer and dental laboratories in the world. Welcome
to contact me for our product catalogue.
Contact Us

Certifications

See all categories
We Recommend
New Arrivals
New products from manufacturers at wholesale prices