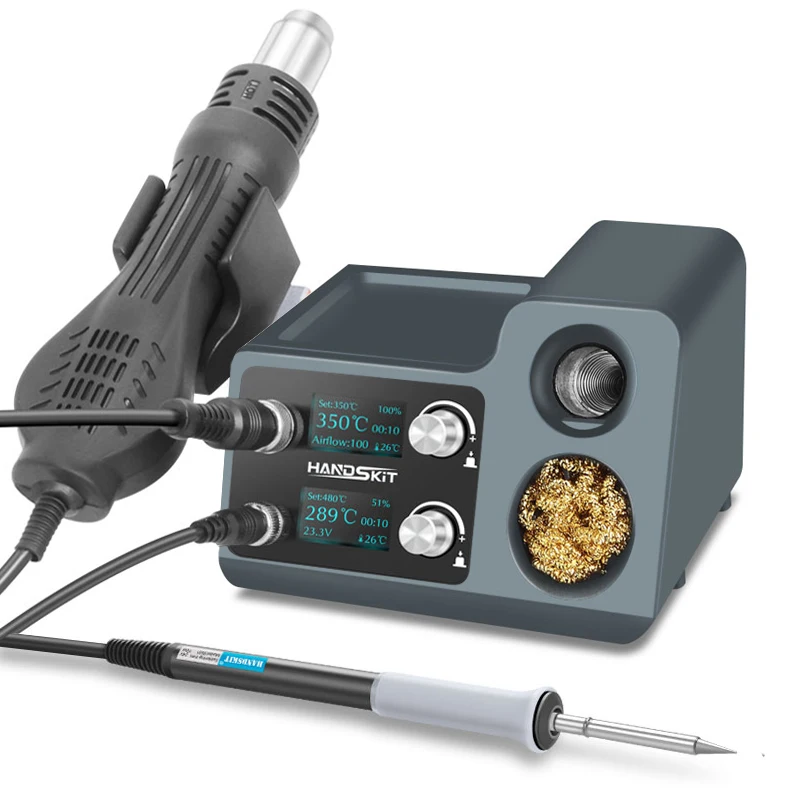
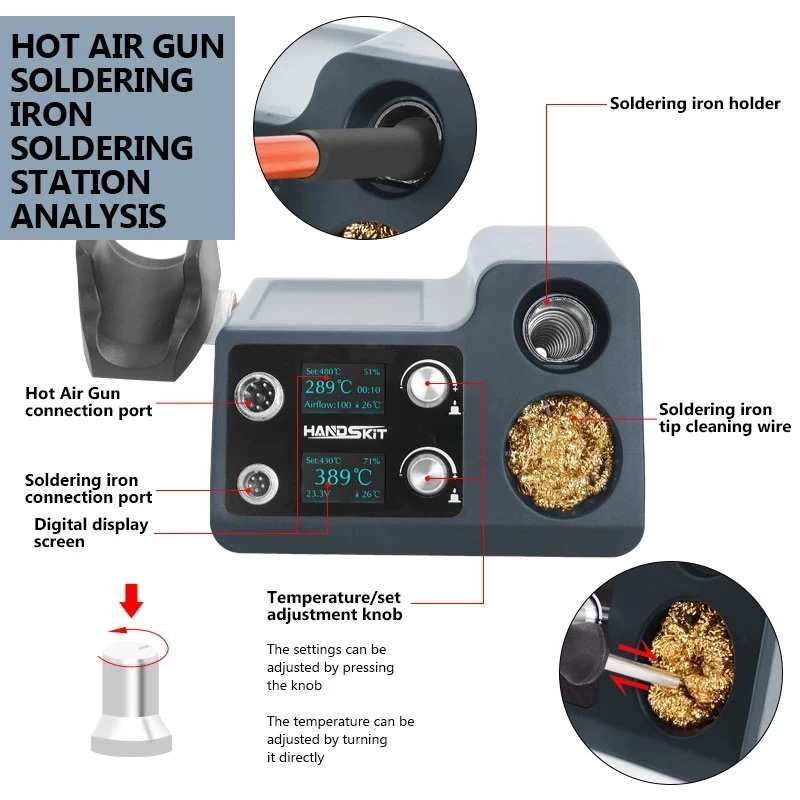
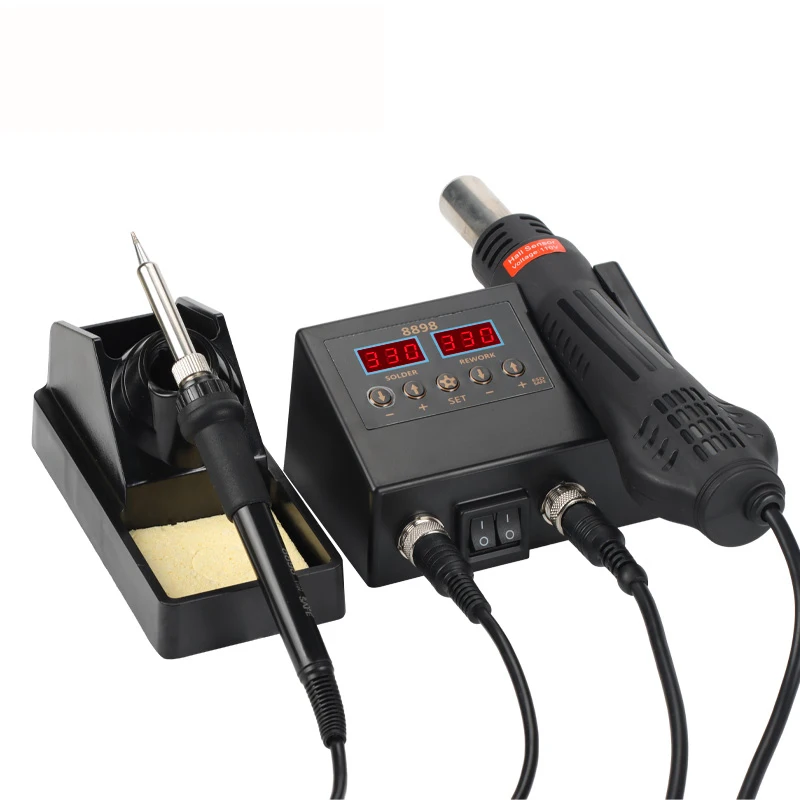
handskit 812A Hot air gun rework Soldering Station Digital Adjustment Heat Guns Auto Sleep Micro Electronic Cellphone Repair
- Category: >>>
- Supplier: Shenzhen Hanqi Electronics Co. Ltd.
Share on (1600944465951):
Product Overview
Description
Product Description
Long press the encoder to enter the first level menu, rotate the encoder to select the second level menu you want to enter, and short press to enter the second level menu. Rotate the encoder again, move the cursor to the specific parameter that needs to be modified, and short press the encoder to select the content (the option value is displayed behind the text after selection). Rotate the encoder again to modify the value. After the modification is completed, short press the encoder to cancel the selection (the option value disappears after canceling the selection). Rotate the encoder again to move the cursor to other parameters. To exit the first-level menu and the second-level menu, you need to long press the encoder, and the long press time is 1s.
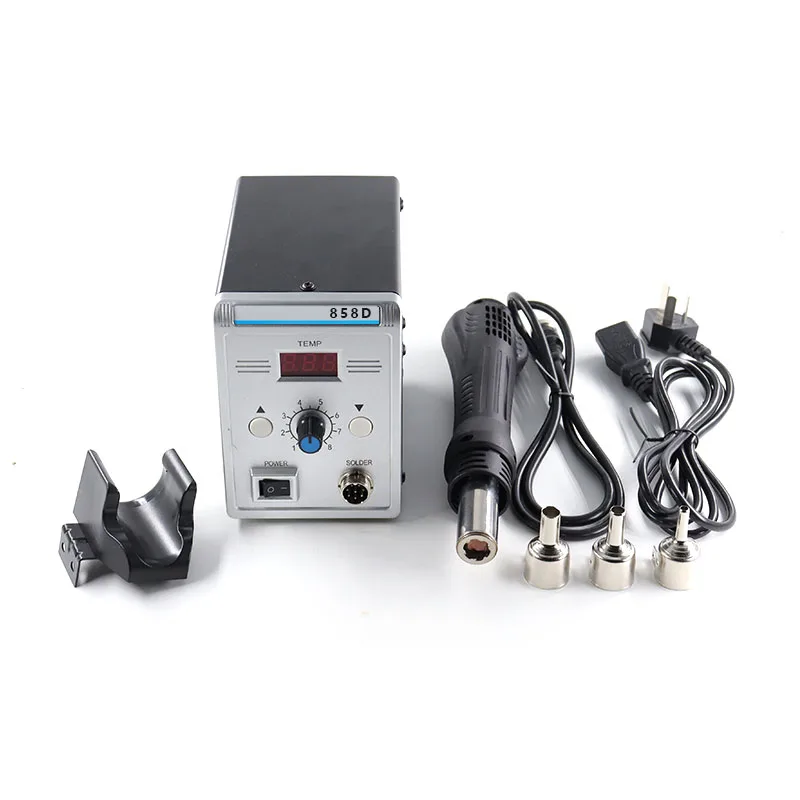
HOT AIR GUN SET
1.Steepping
1.1 1-50℃, Temperature step 1-50℃, default 101.21-20%,Air output step by step, 1-20% default 5%)
2.Cold end-(Temperature compensation)
Choice Mode NTC/CPU, temperature compensation -9-99℃
3.Buzzer- off/open
4.Operational preferences
choose the air volume or temperature adjustment on the main page,
5.Screen Saver
The screen saver is a special program designed to protect the display. The original intention of the design at that time was to prevent the computer from displaying the same screen for a long time due to unmanned operation, resulting in aging and shortening the life of the display.The time can be selected from 1 to 60 minutes, and the default is 5 minutes.
6. Password
In order to prevent others from changing their own settings, you can password and lock time, you can set 1-60 minutes to take effect, the default is 5 minutes, the default password
7. Lauguage Chinese/English
8. system Information
9.Init -Reset
10.Exil -quit Set
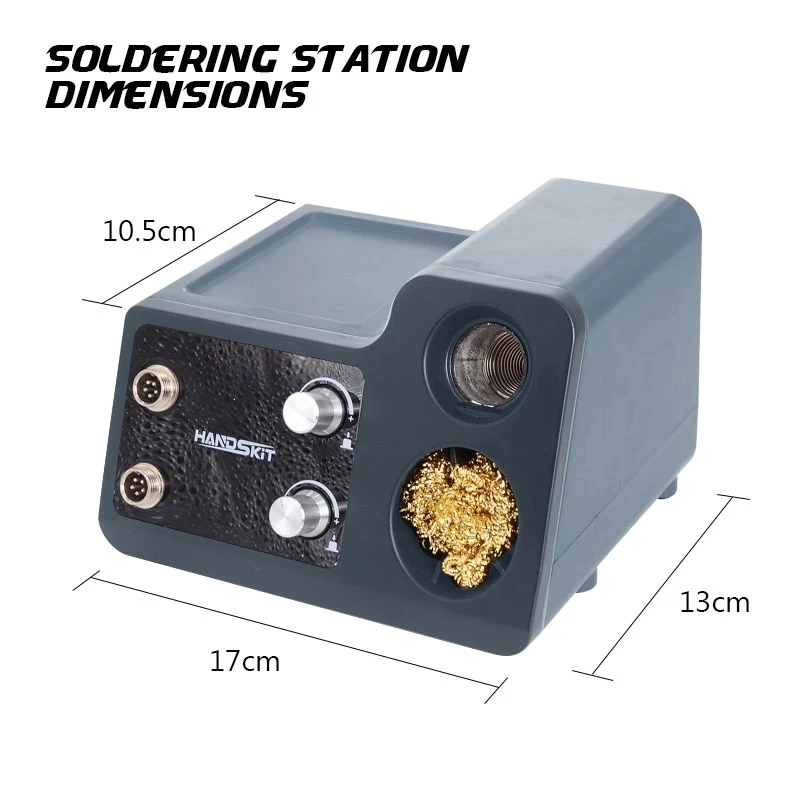
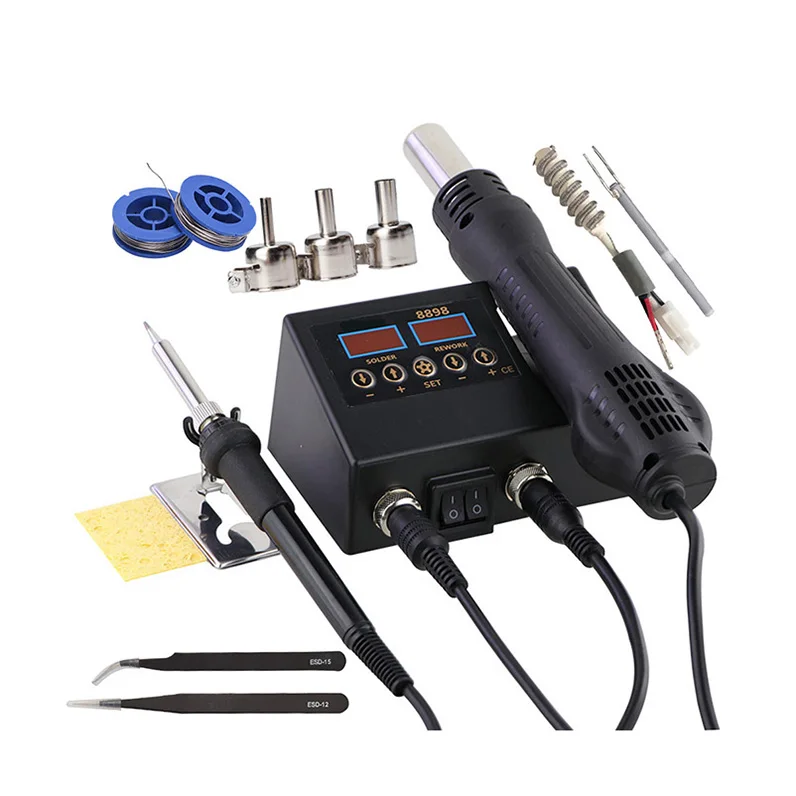
Soldering Station set
MODEL NO. | T12A |
VOTAGE | AC 100-240V |
Controller | STM32 |
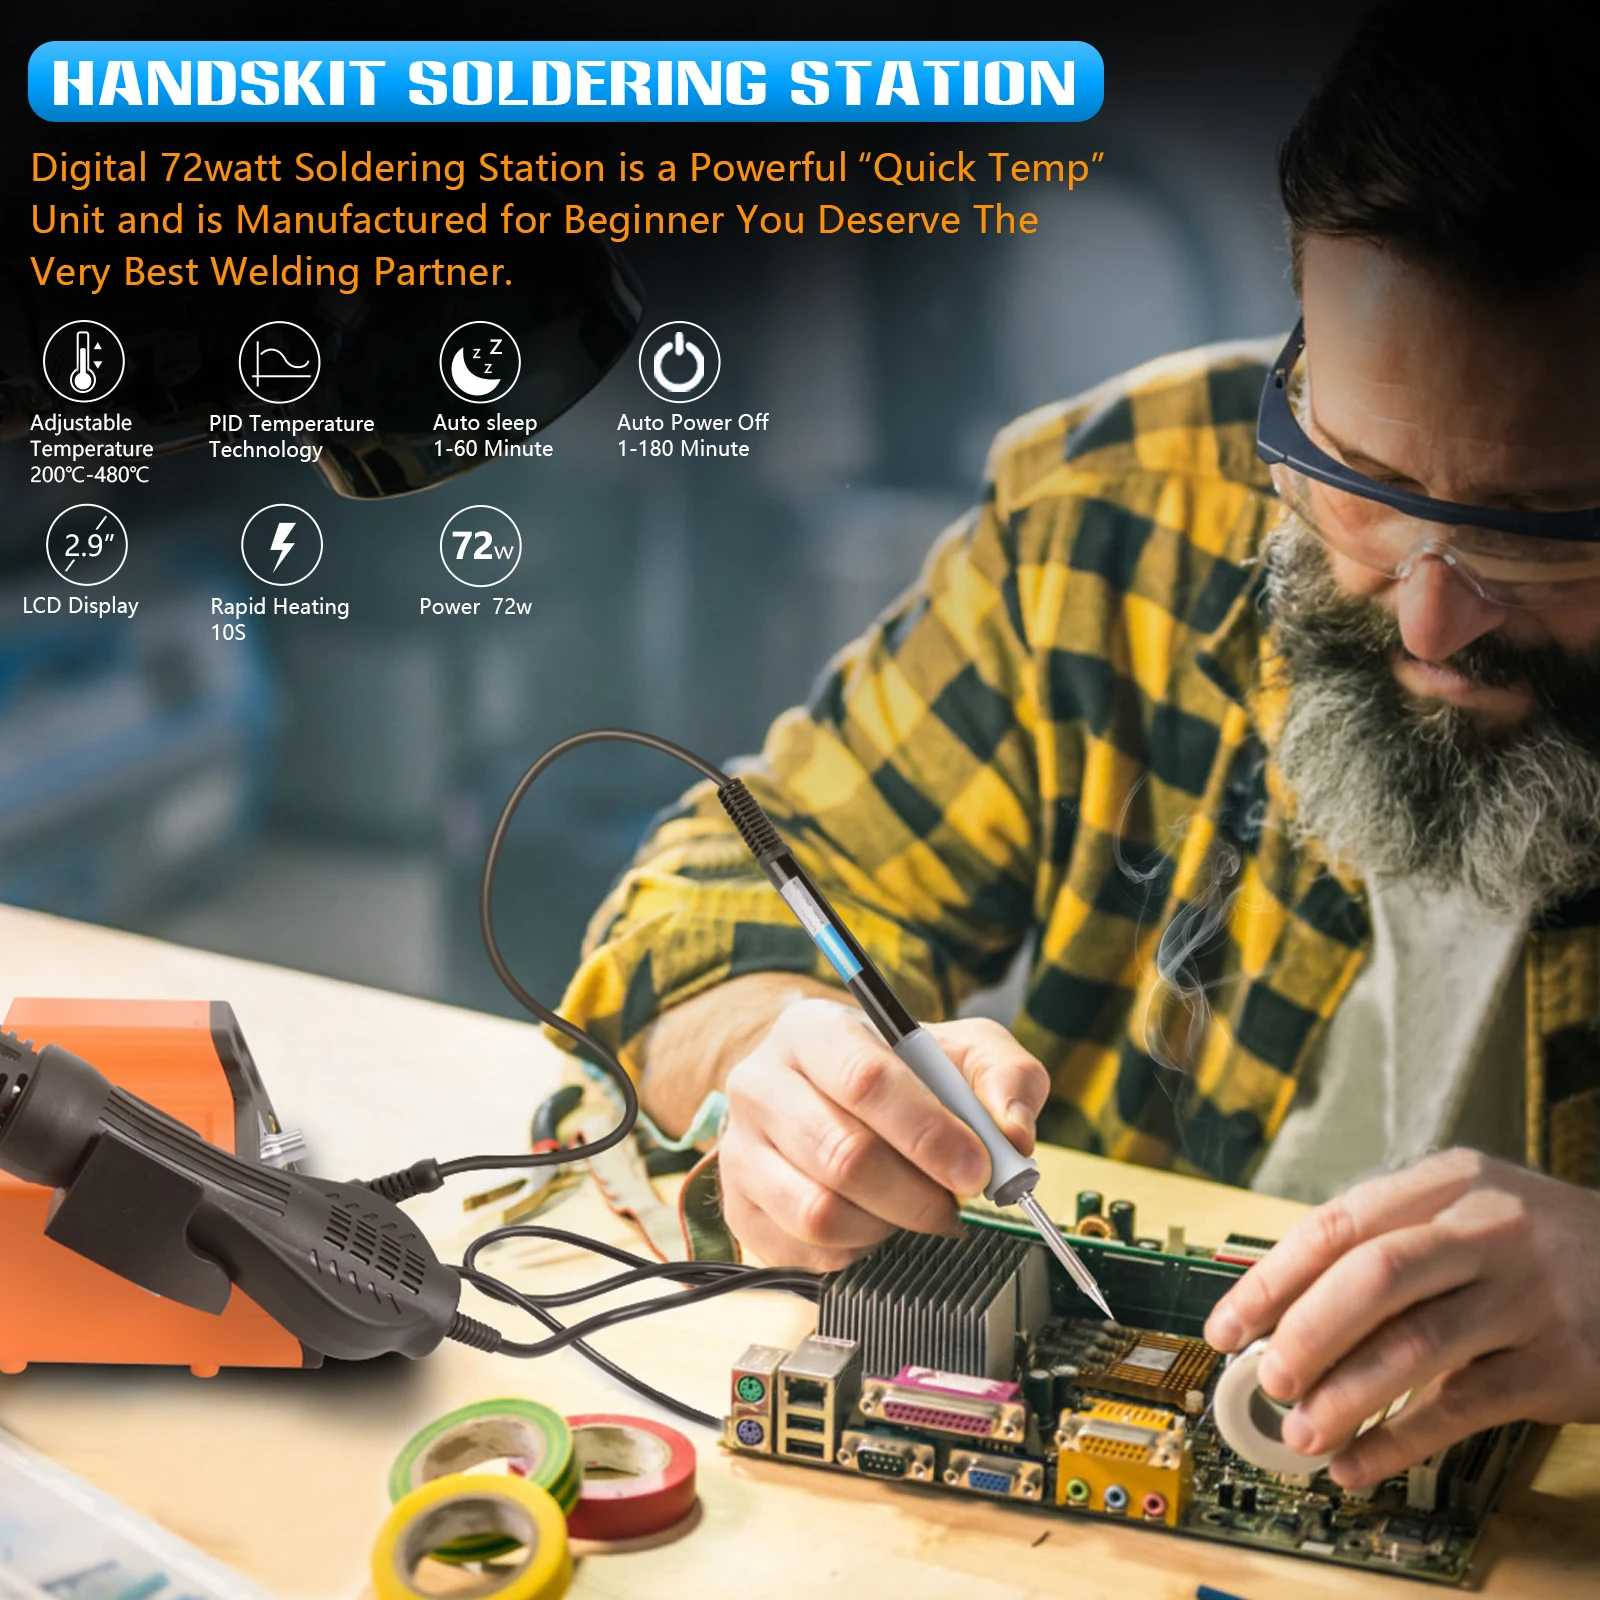
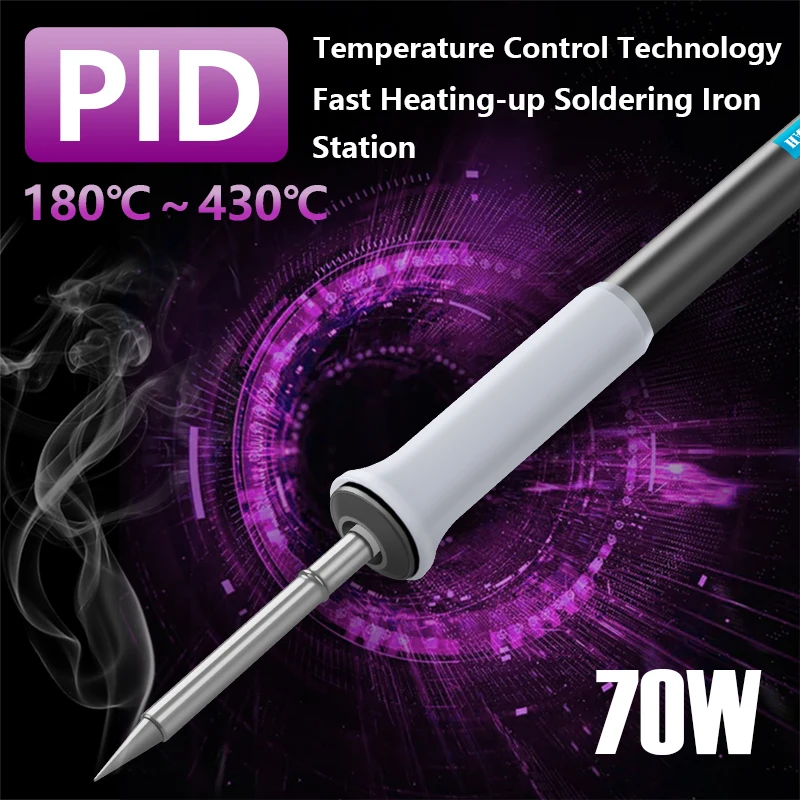
POWER | 72W |
Temperature(adjustable) | 180-480 ℃ |
Display Size | 1.3 Inch OLED |
Auto Sleep | 1-30Min |
Auto off | 1-30Min |
This soldering station uses STM32F103 single-chip microcomputer as the main control chip. Through AD sampling and PID calculation, it can control the PWM output and realize the temperature control of the T12 heating core. It has the functions of rapid heating, automatic constant temperature, temperature compensation and vibration induction. It supports various standby, sleep modes, temperature calibration and switching of head with nozzle.
The soldering station uses SSD1306, a driven OLED display, and the accurate soldering iron temperature, ambient temperature and power supply voltage are displayed on the screen in real time. The soldering station uses the EC11 encoder as the user input port. The soldering station uses a mercury switch to periodically detect the status of the soldering iron handle. It can automatically sleep or not work for a long time, and can effectively improve the service life of the soldering tip through sleep and standby.
Basic operation
Knob button function
1. Press once to enter the adjustment temperature range
2. Rotate the host to the left to enter standby
3. Rotate to the right with one key heating function
4. Press and hold the button for 3 seconds to enter the menu setting
5. Press and turn left to calibrate the cold end of the welding tip
6. Press and turn to the right to select the welding tip
1. Standby settings
1. There are 4 types of wake-up modes, and the default is vibration (recommended)
1.1 Manual-Only the rotary encoder can wake up
1.2 The switch is awakened by the power supply
1.3 Waking up by vibrating handle
1.4 Automatically wake up by the system
2. Standby time-you can set 1 to 60 minutes, according to your choice, the default is 10 minutes
3. Standby temperature-you set it between 50-300℃, and the default is 200 according to your choice
2. Automatic sleep setting
2.1 Automatic sleep time, enter the silent setting sleep time, according to your choice, the setting range is 0-60 minutes, the default is 30 minutes, when in sleep state, the temperature of the soldering iron tip will be reduced to protect the life of the soldering iron tip.
Three. One-key enhanced temperature setting
One-key boost function-(the main screen quick setting-rotate to the right, used for temporary rapid temperature rise and ultra-high temperature use, the highest temperature can be used at 580°C, set to 480, and enhanced set to 100°C)
3.1 Set temperature: -10-100℃ can be set, the default is 50 degrees
3.2 Enhanced temperature time -1-30minute can be set, the default is 5 minutes
4. Cold junction-increase calibration (host page press and hold the knob and turn left to quickly set)
4.1 Thermistor / CPU-select NTC test and CPU SET for temperature compensation
4.2 The calibration temperature is modified according to the measured temperature -9-99℃. The default is 24,
5. Calibrate the soldering iron tip (hold and rotate to the right on the host page, select your soldering iron tip model)
6. Stepping temperature 1-50℃, the default step of adjusting temperature is 5
7. Password setting
7.1 Password switch (default closed)
7.2 Lock time 1-60Min, you can set it, the default is 5
7.3 Password. You can set 4 numbers, don’t forget the password, the default value is 8888,
8. Screen protector
8.1 Screen saver on/off (open by default)
8.2 Waiting time 1-60 minutes, the default is 5
9. Buzzer switch settings-Button/arrival/sleep temperature will make a sound, default on
10. Input the voltage of the power supply, the screen displays on/off
11. Low voltage protection settings
11.1 Low voltage protection-on/off
11.2 Alarm voltage, the default is 19.8V, when the input voltage drops by 19.8, it will alarm
11.3 Automatic protection voltage-the default is 18v, the screen will be turned off if the input voltage is lower than 18v
12. Power-on state-sleep/standby/run after power-on, the default is running
Thirteen. Fourteen. Solder sucker mode (not supported)
15. Language-Chinese/English
16. Date and time setting-
-Seventeen. Adjust the daily error-0-60 seconds, the default is 0
18. Time reset
19. System Information
Twenty. Restore factory settings
21. Exit the settings
Common mistakes
Note that after confirming that the accessories are installed correctly, insert the new soldering iron tip into the handle. Sometimes the display will flicker or ERROR, and the host buzzes to report an error. This is normal, because it is a new soldering iron tip. After heating for 5-20 minutes, it will gradually return to normal. The temperature of the soldering station is controlled at 200-480℃. The commonly used soldering temperature is 300-380℃. To protect the service life of the soldering iron tip, it is recommended that the temperature should not exceed 380℃.


We Recommend


New Arrivals
New products from manufacturers at wholesale prices