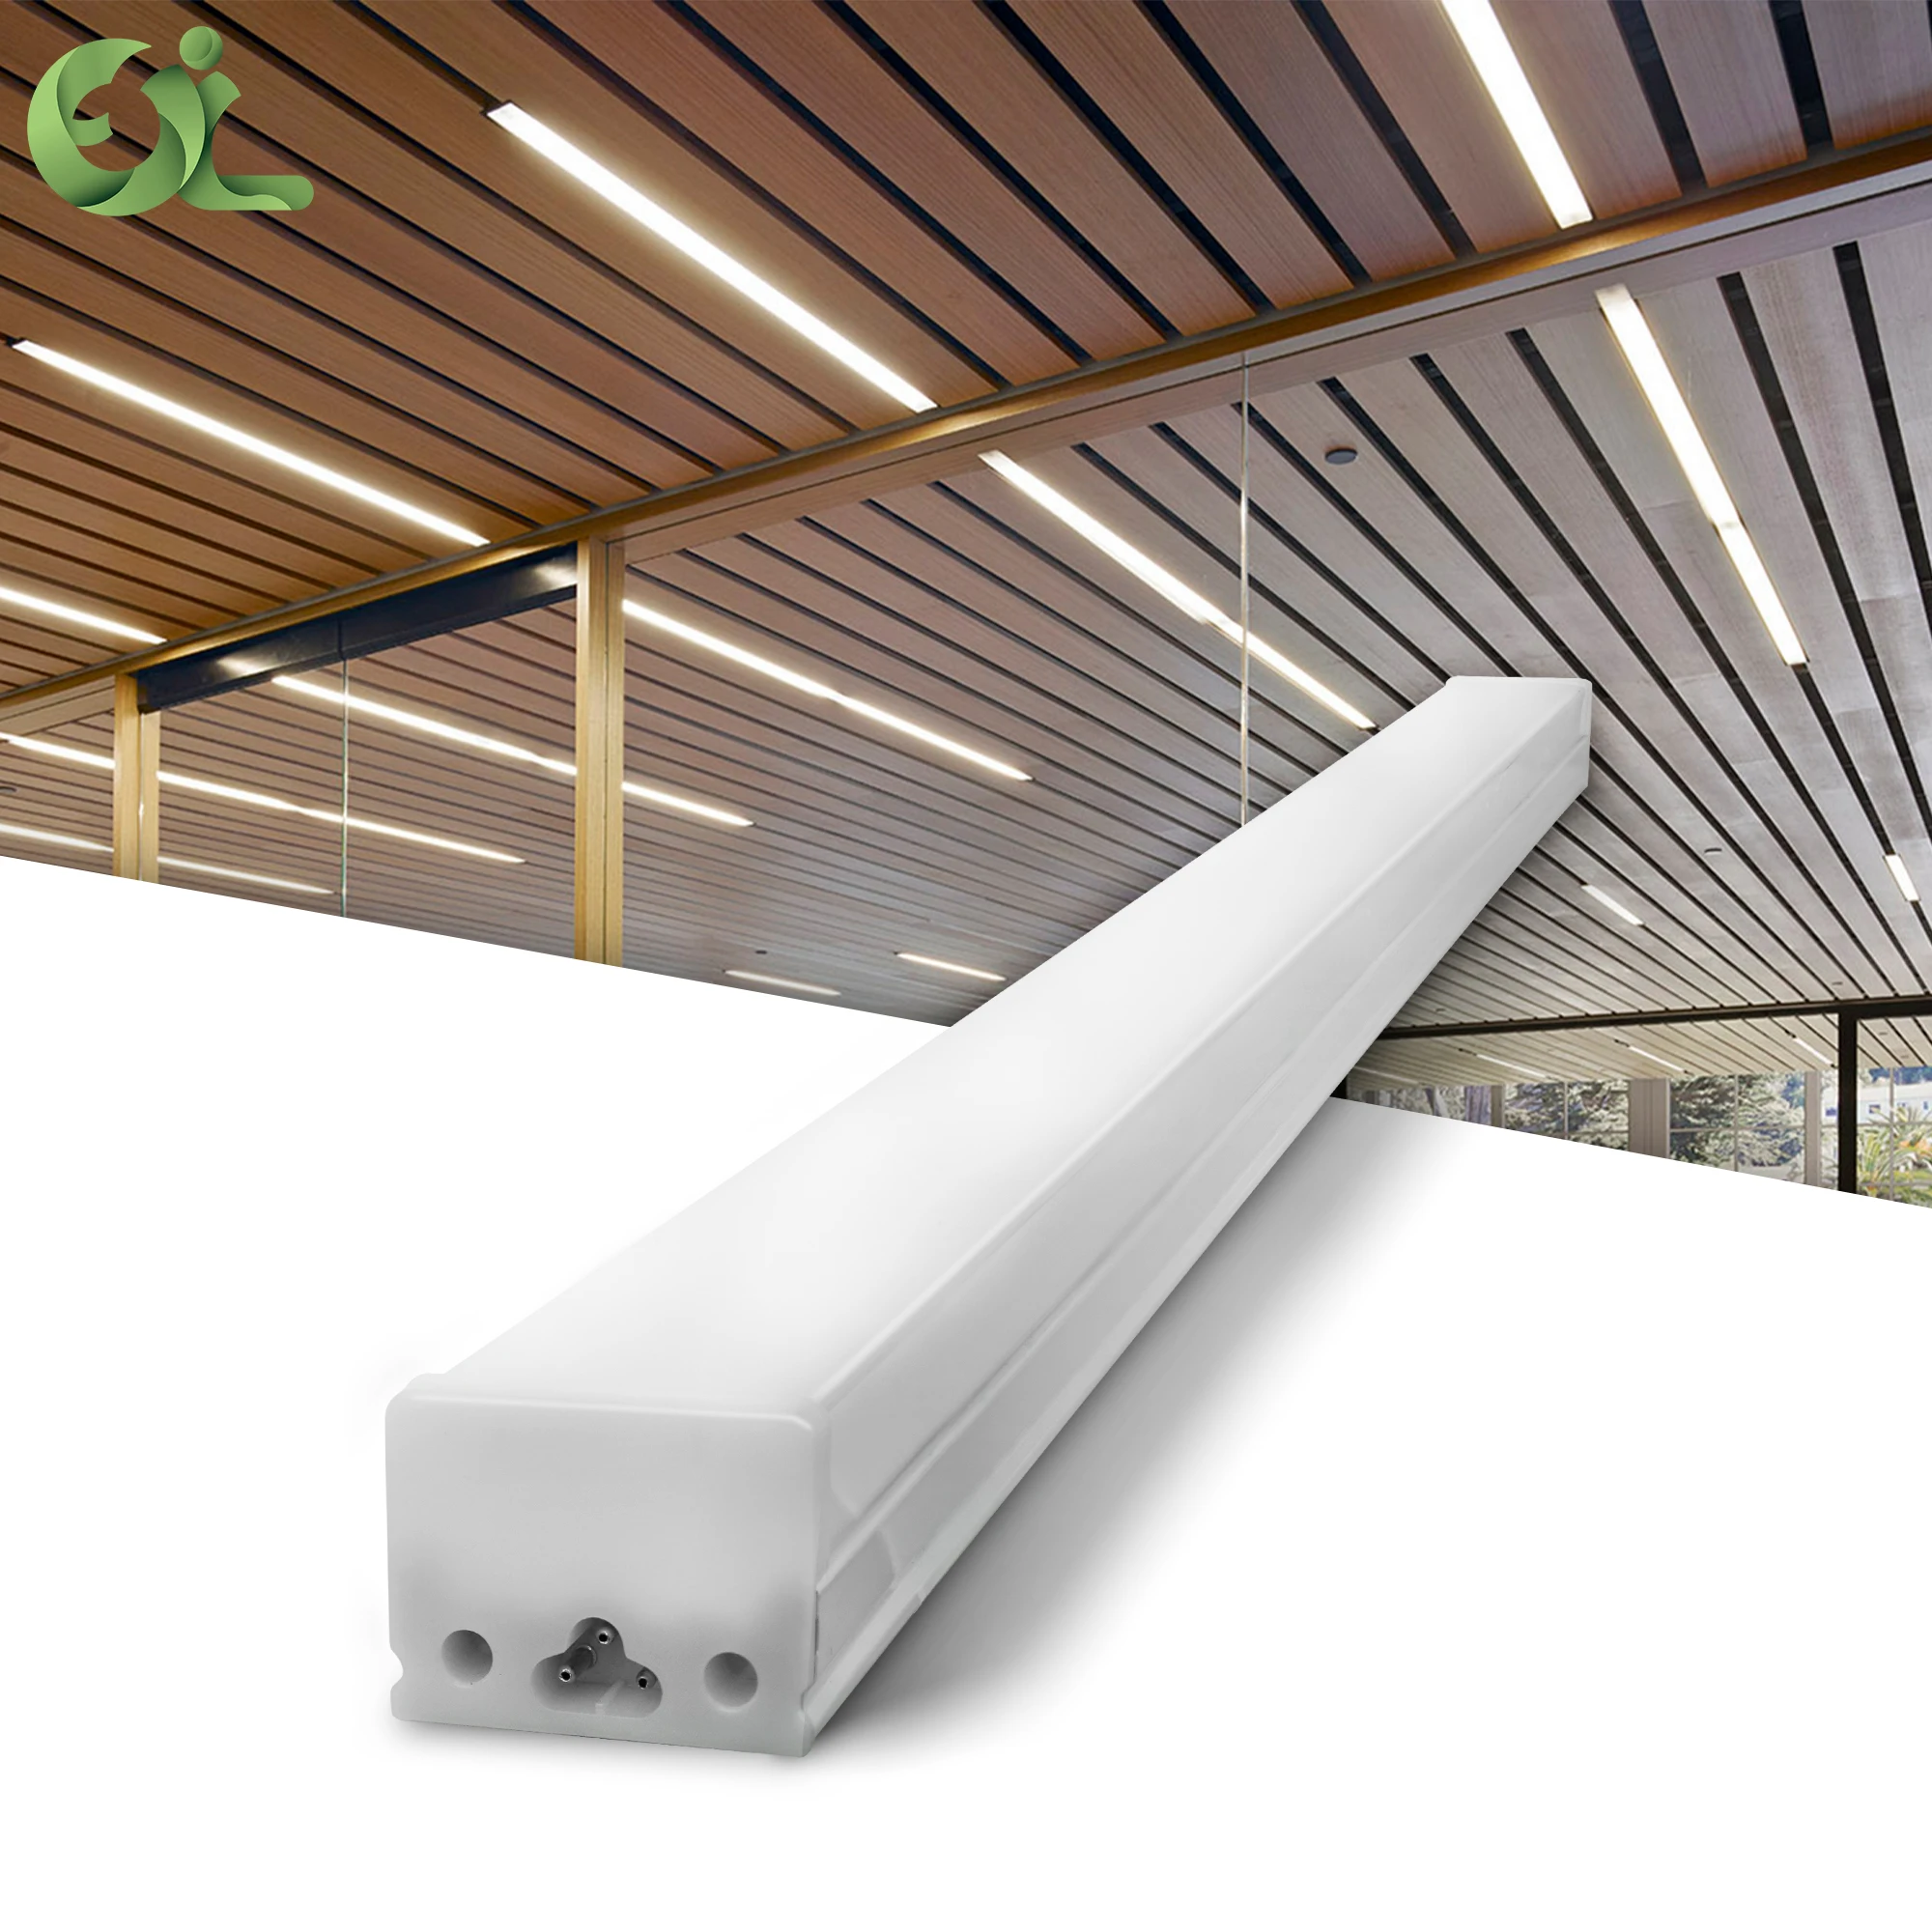
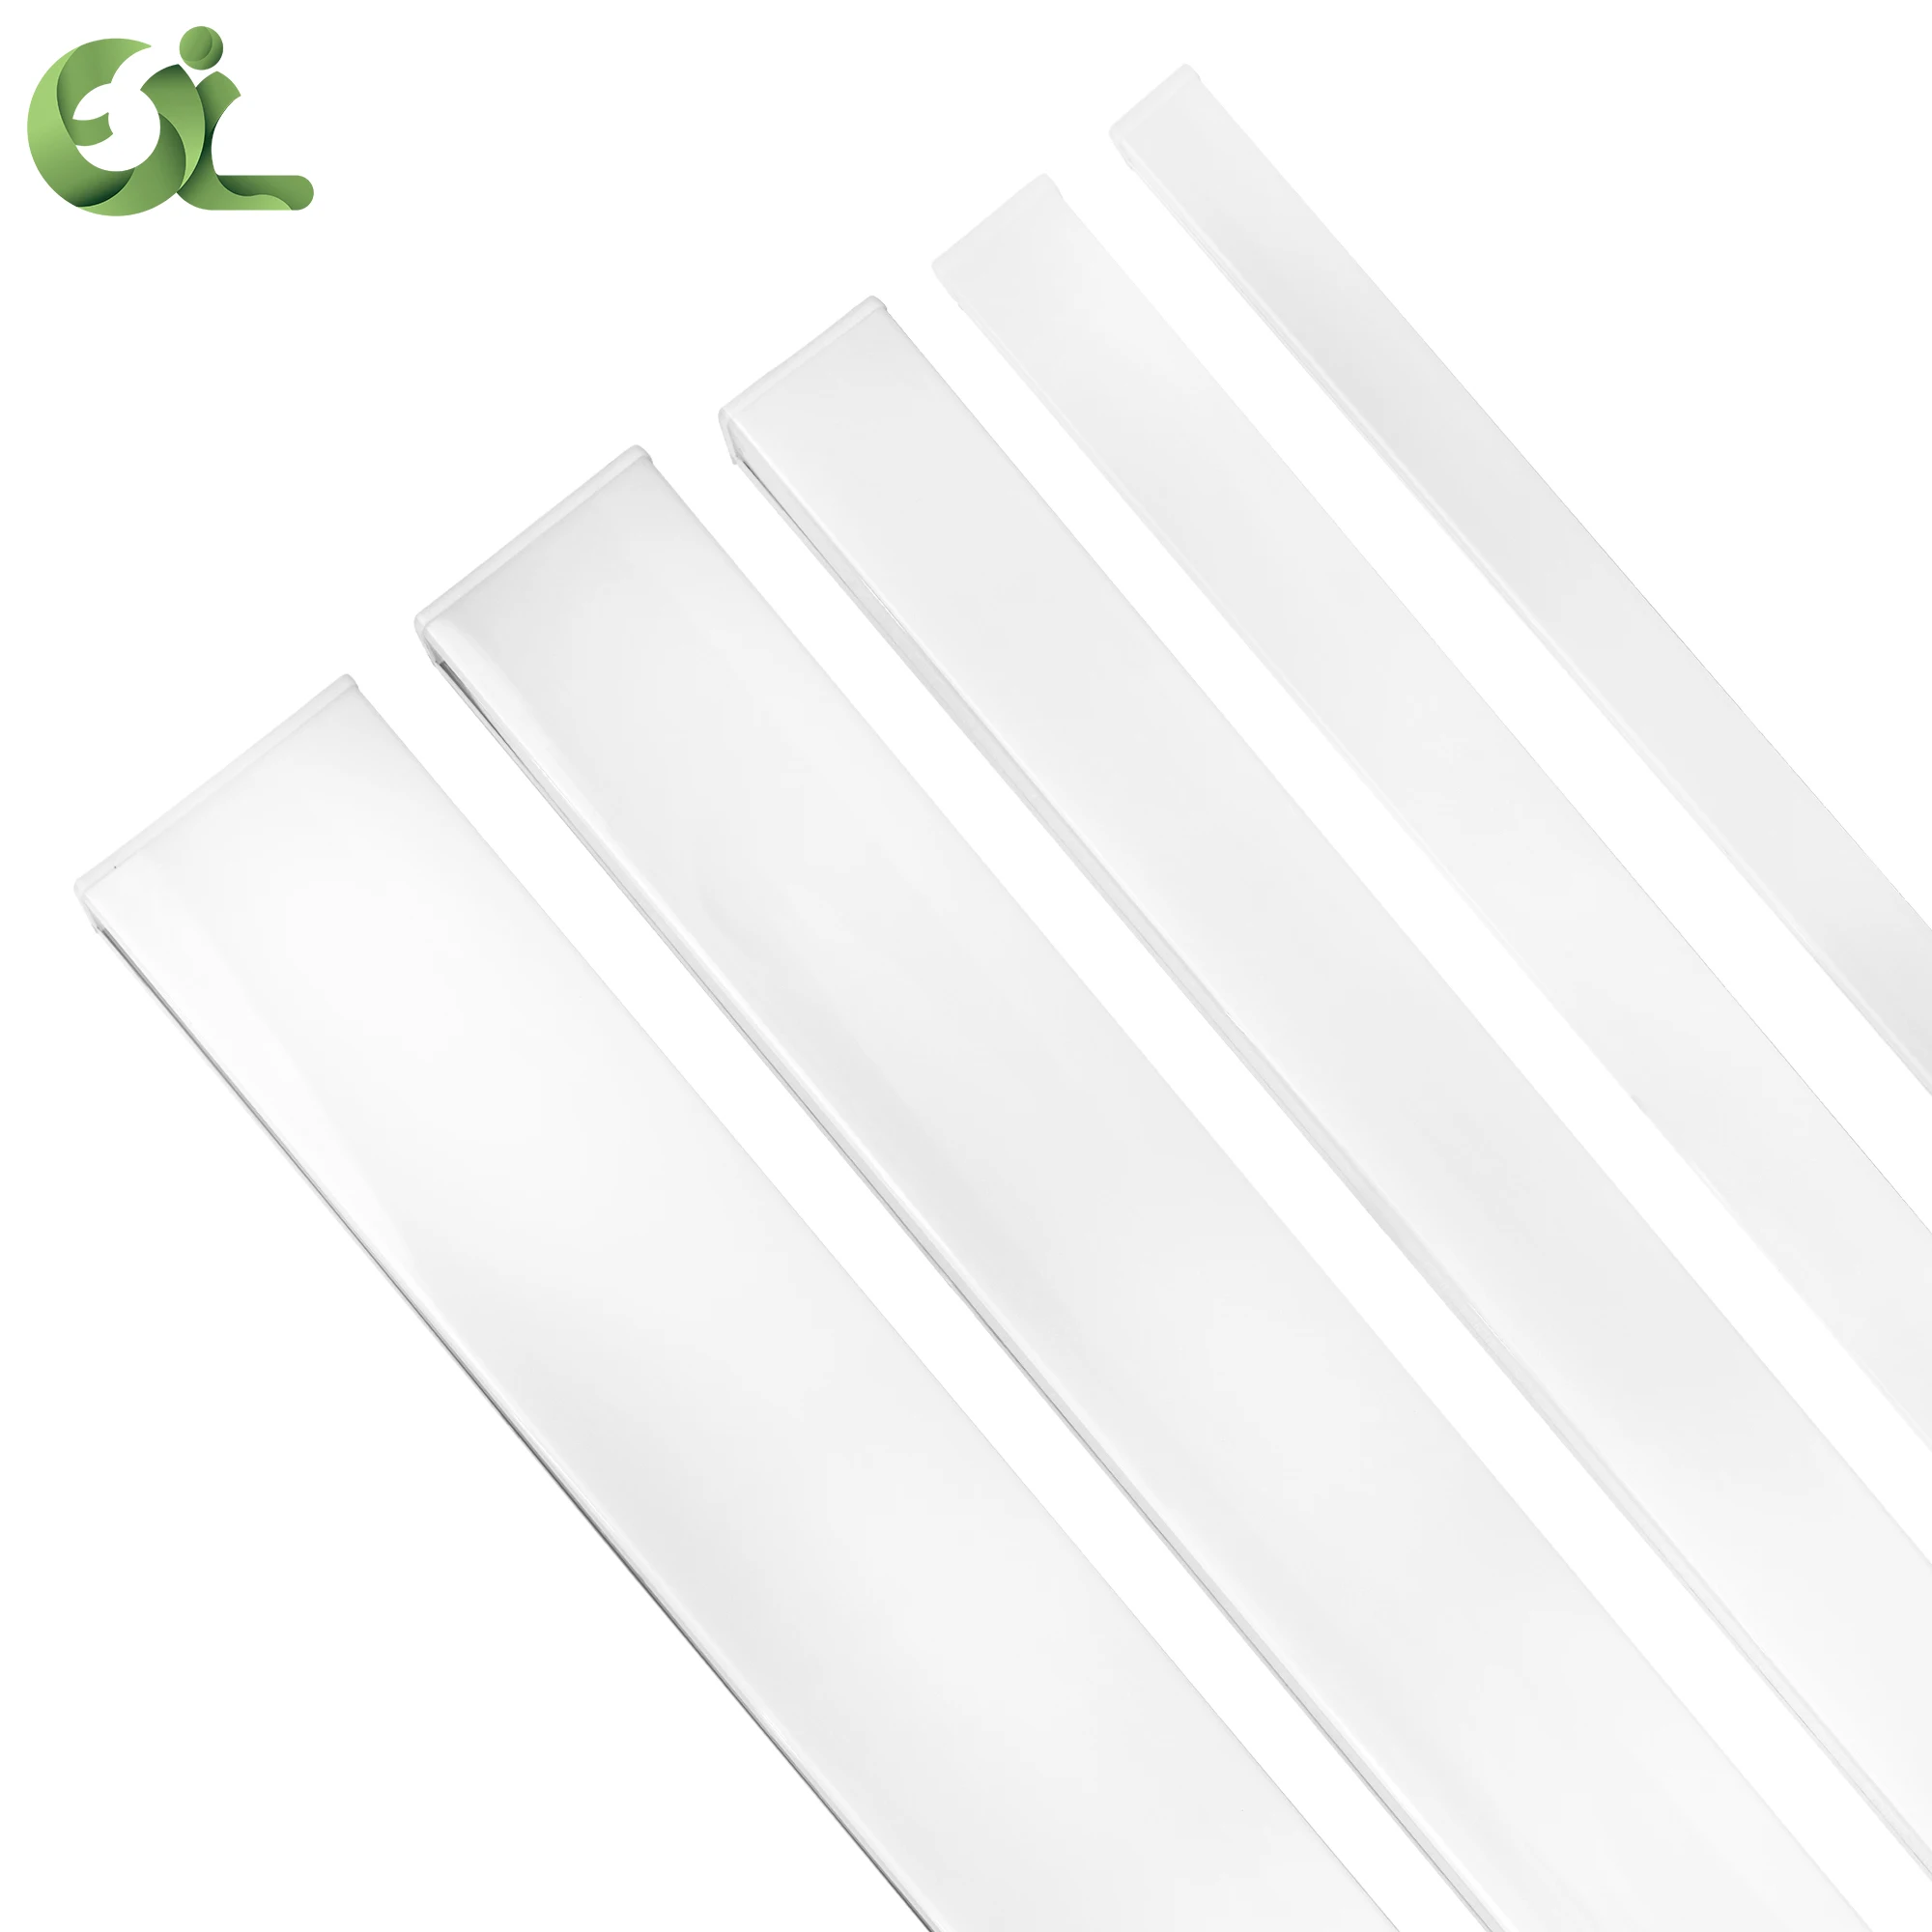

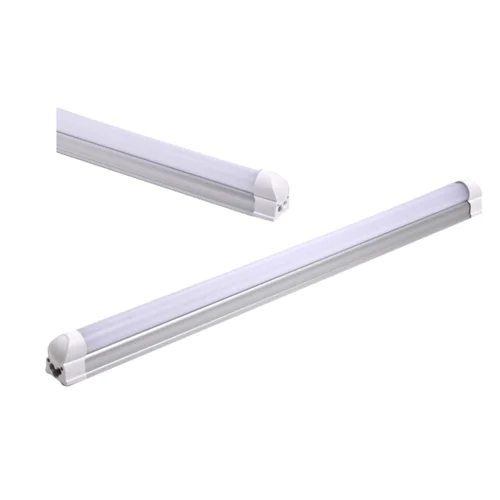
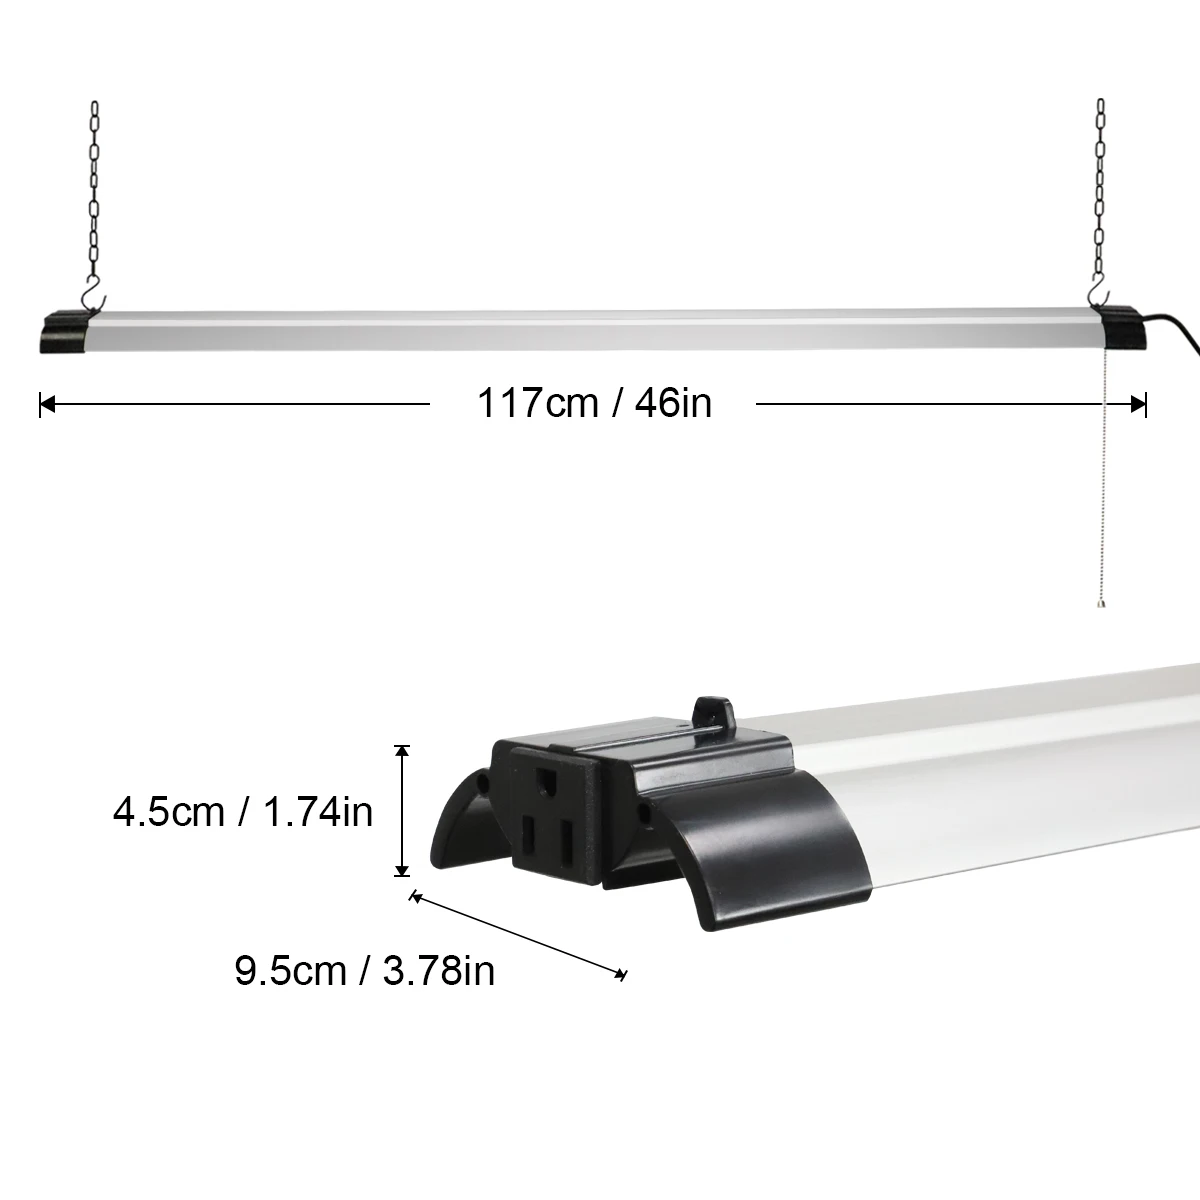
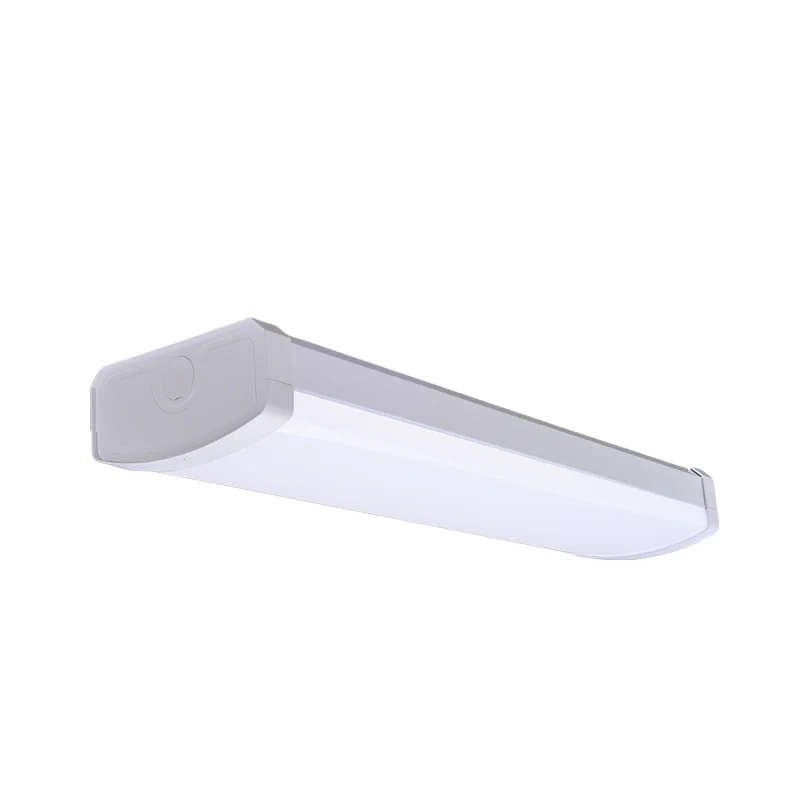
30w 4ft 2900Lm Shopping Mall Indoor Led Batten Lights Panel Light Iron plastic Body Lamp Power Lighting Evo
- Category: >>>
- Supplier: Foshan Fengyinglai Lighting Appliance Co. Ltd.
Share on (1601009840875):
Product Overview
Description
Products Features


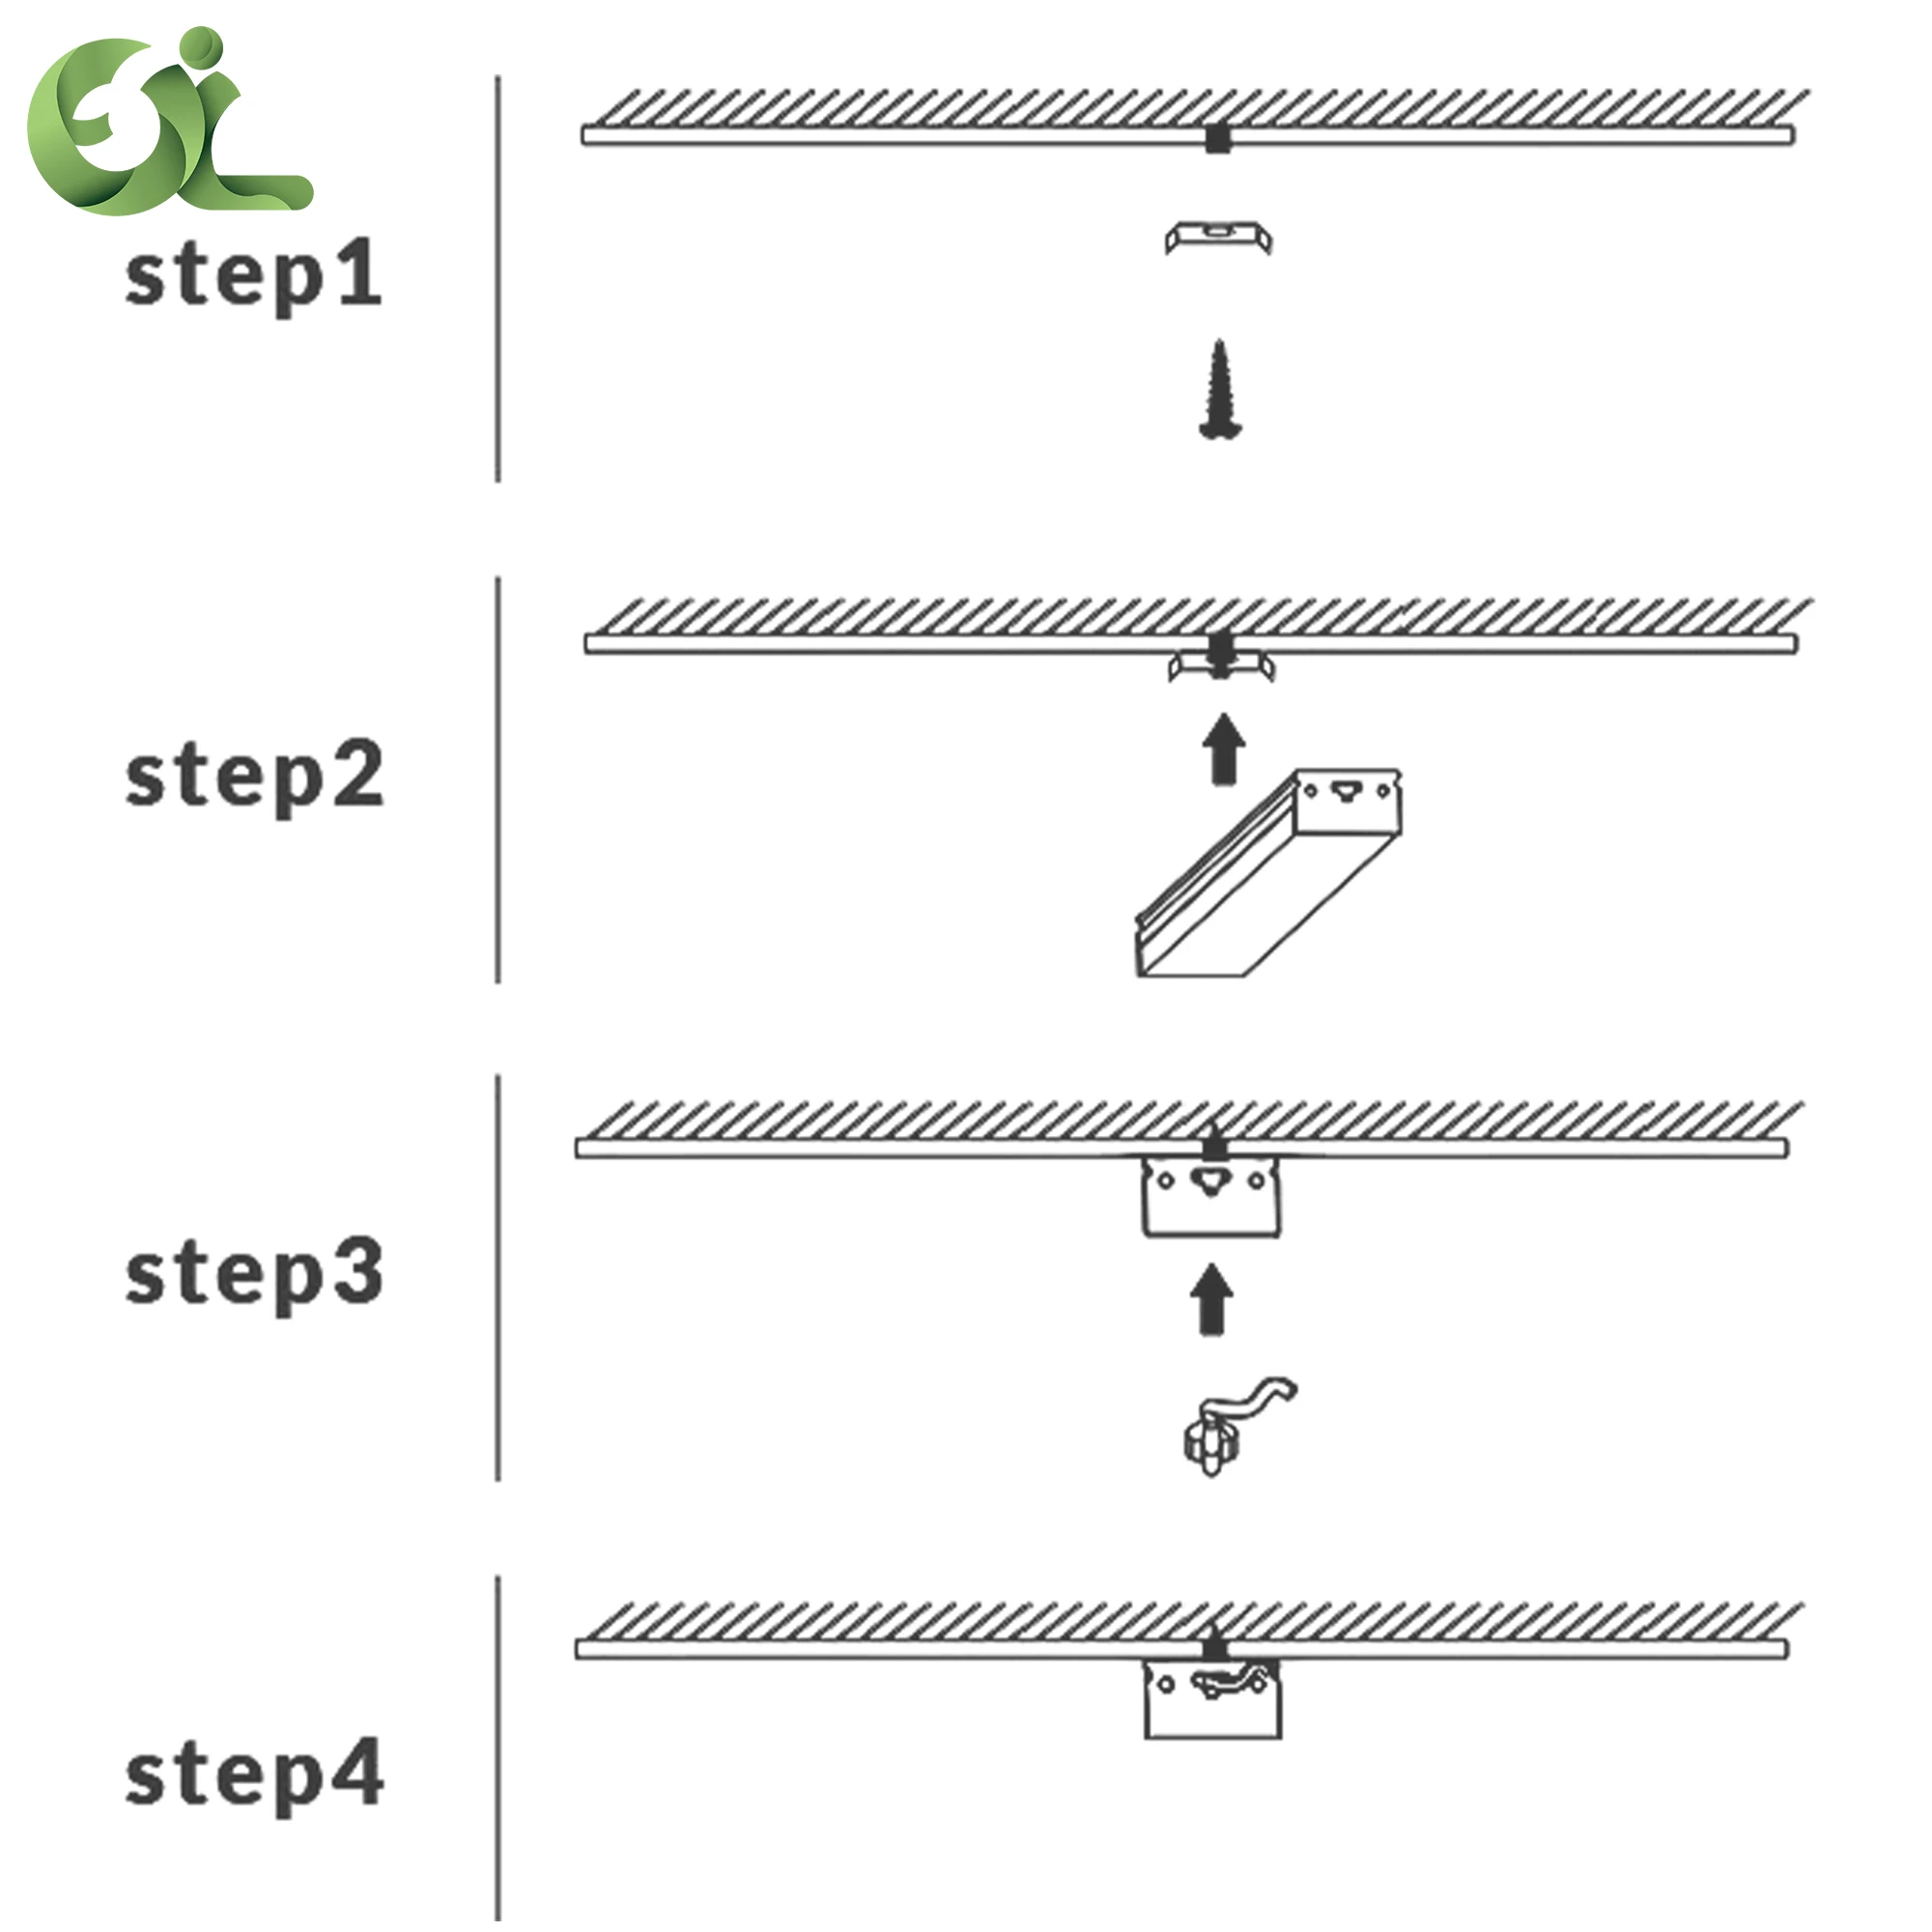
INSTALLATION INSTRUCTIONS
STEP 1
Screw-on clips in
predetermined
positions.
predetermined
positions.
STEP 2
Press the light
into the clips to
complete the
installation.
into the clips to
complete the
installation.
STEP 3
Plugged in andpowered on.


1.INTEGRATED CEILING INSTALLATION
1.removal of integrated ceiling aluminium grommets.
2.connect the power cable.
3.place the panel light on the ceiling jambs.
4.place the panel light smoothly and power it up for use.

2.NON-INTEGRATED CEILING INSTALLATION
1.draw the opening size according to the size.
2.opening with a tool.
3.prepare strips of wood to actual size.
4.using glue or screws, fix the wooden strip above the outer edge of the opening.
5.connect the power cable and push the luminaire towards the wall.
6.place the panel light smoothly and power it up for use.


INSTALLATION INSTRUCTIONS
1. Measure the hole position and drive the expansion tube into the ceiling
2. Tapping the wall plate into the ceiling with self-tapping screws
3. Connect the power supply, install the driver and test whether the light can be lit.
4. Place the light body in the right hole and fix the light body to the wall plate with screws
5. Test with electricity, installation complete
2. Tapping the wall plate into the ceiling with self-tapping screws
3. Connect the power supply, install the driver and test whether the light can be lit.
4. Place the light body in the right hole and fix the light body to the wall plate with screws
5. Test with electricity, installation complete

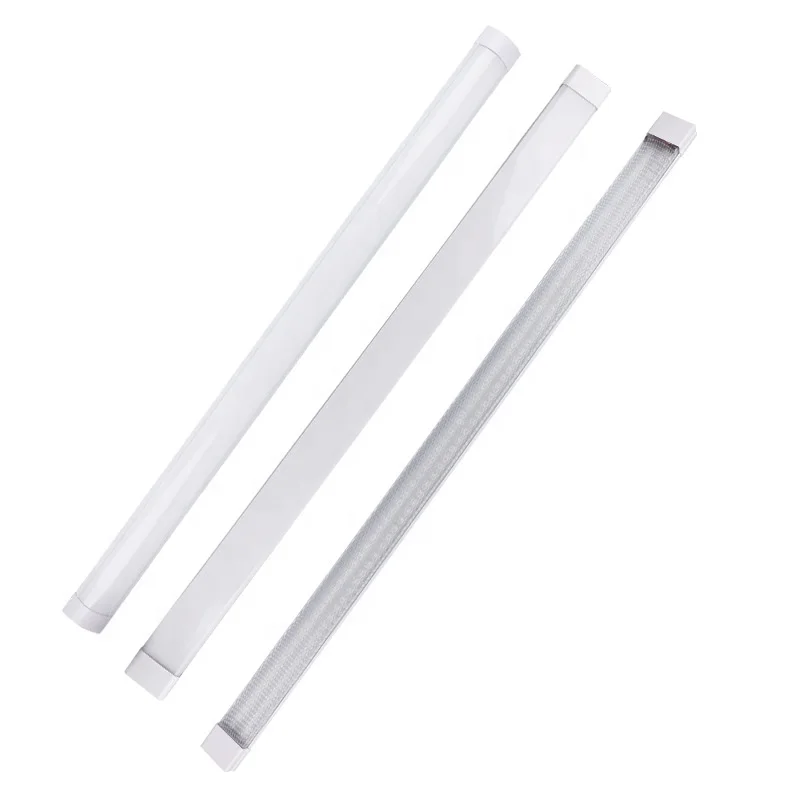
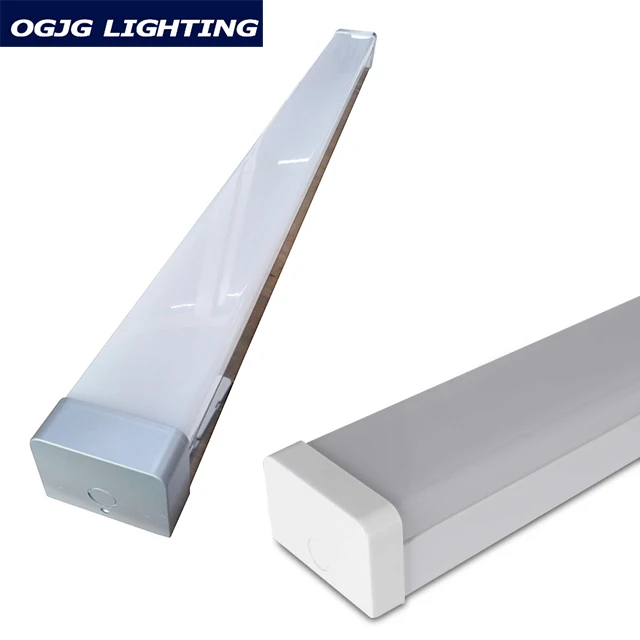
LARGE LUMINOUS AREA
High light transmittance lampshade,
Suitable for factories, workshops, warehouses
Suitable for factories, workshops, warehouses

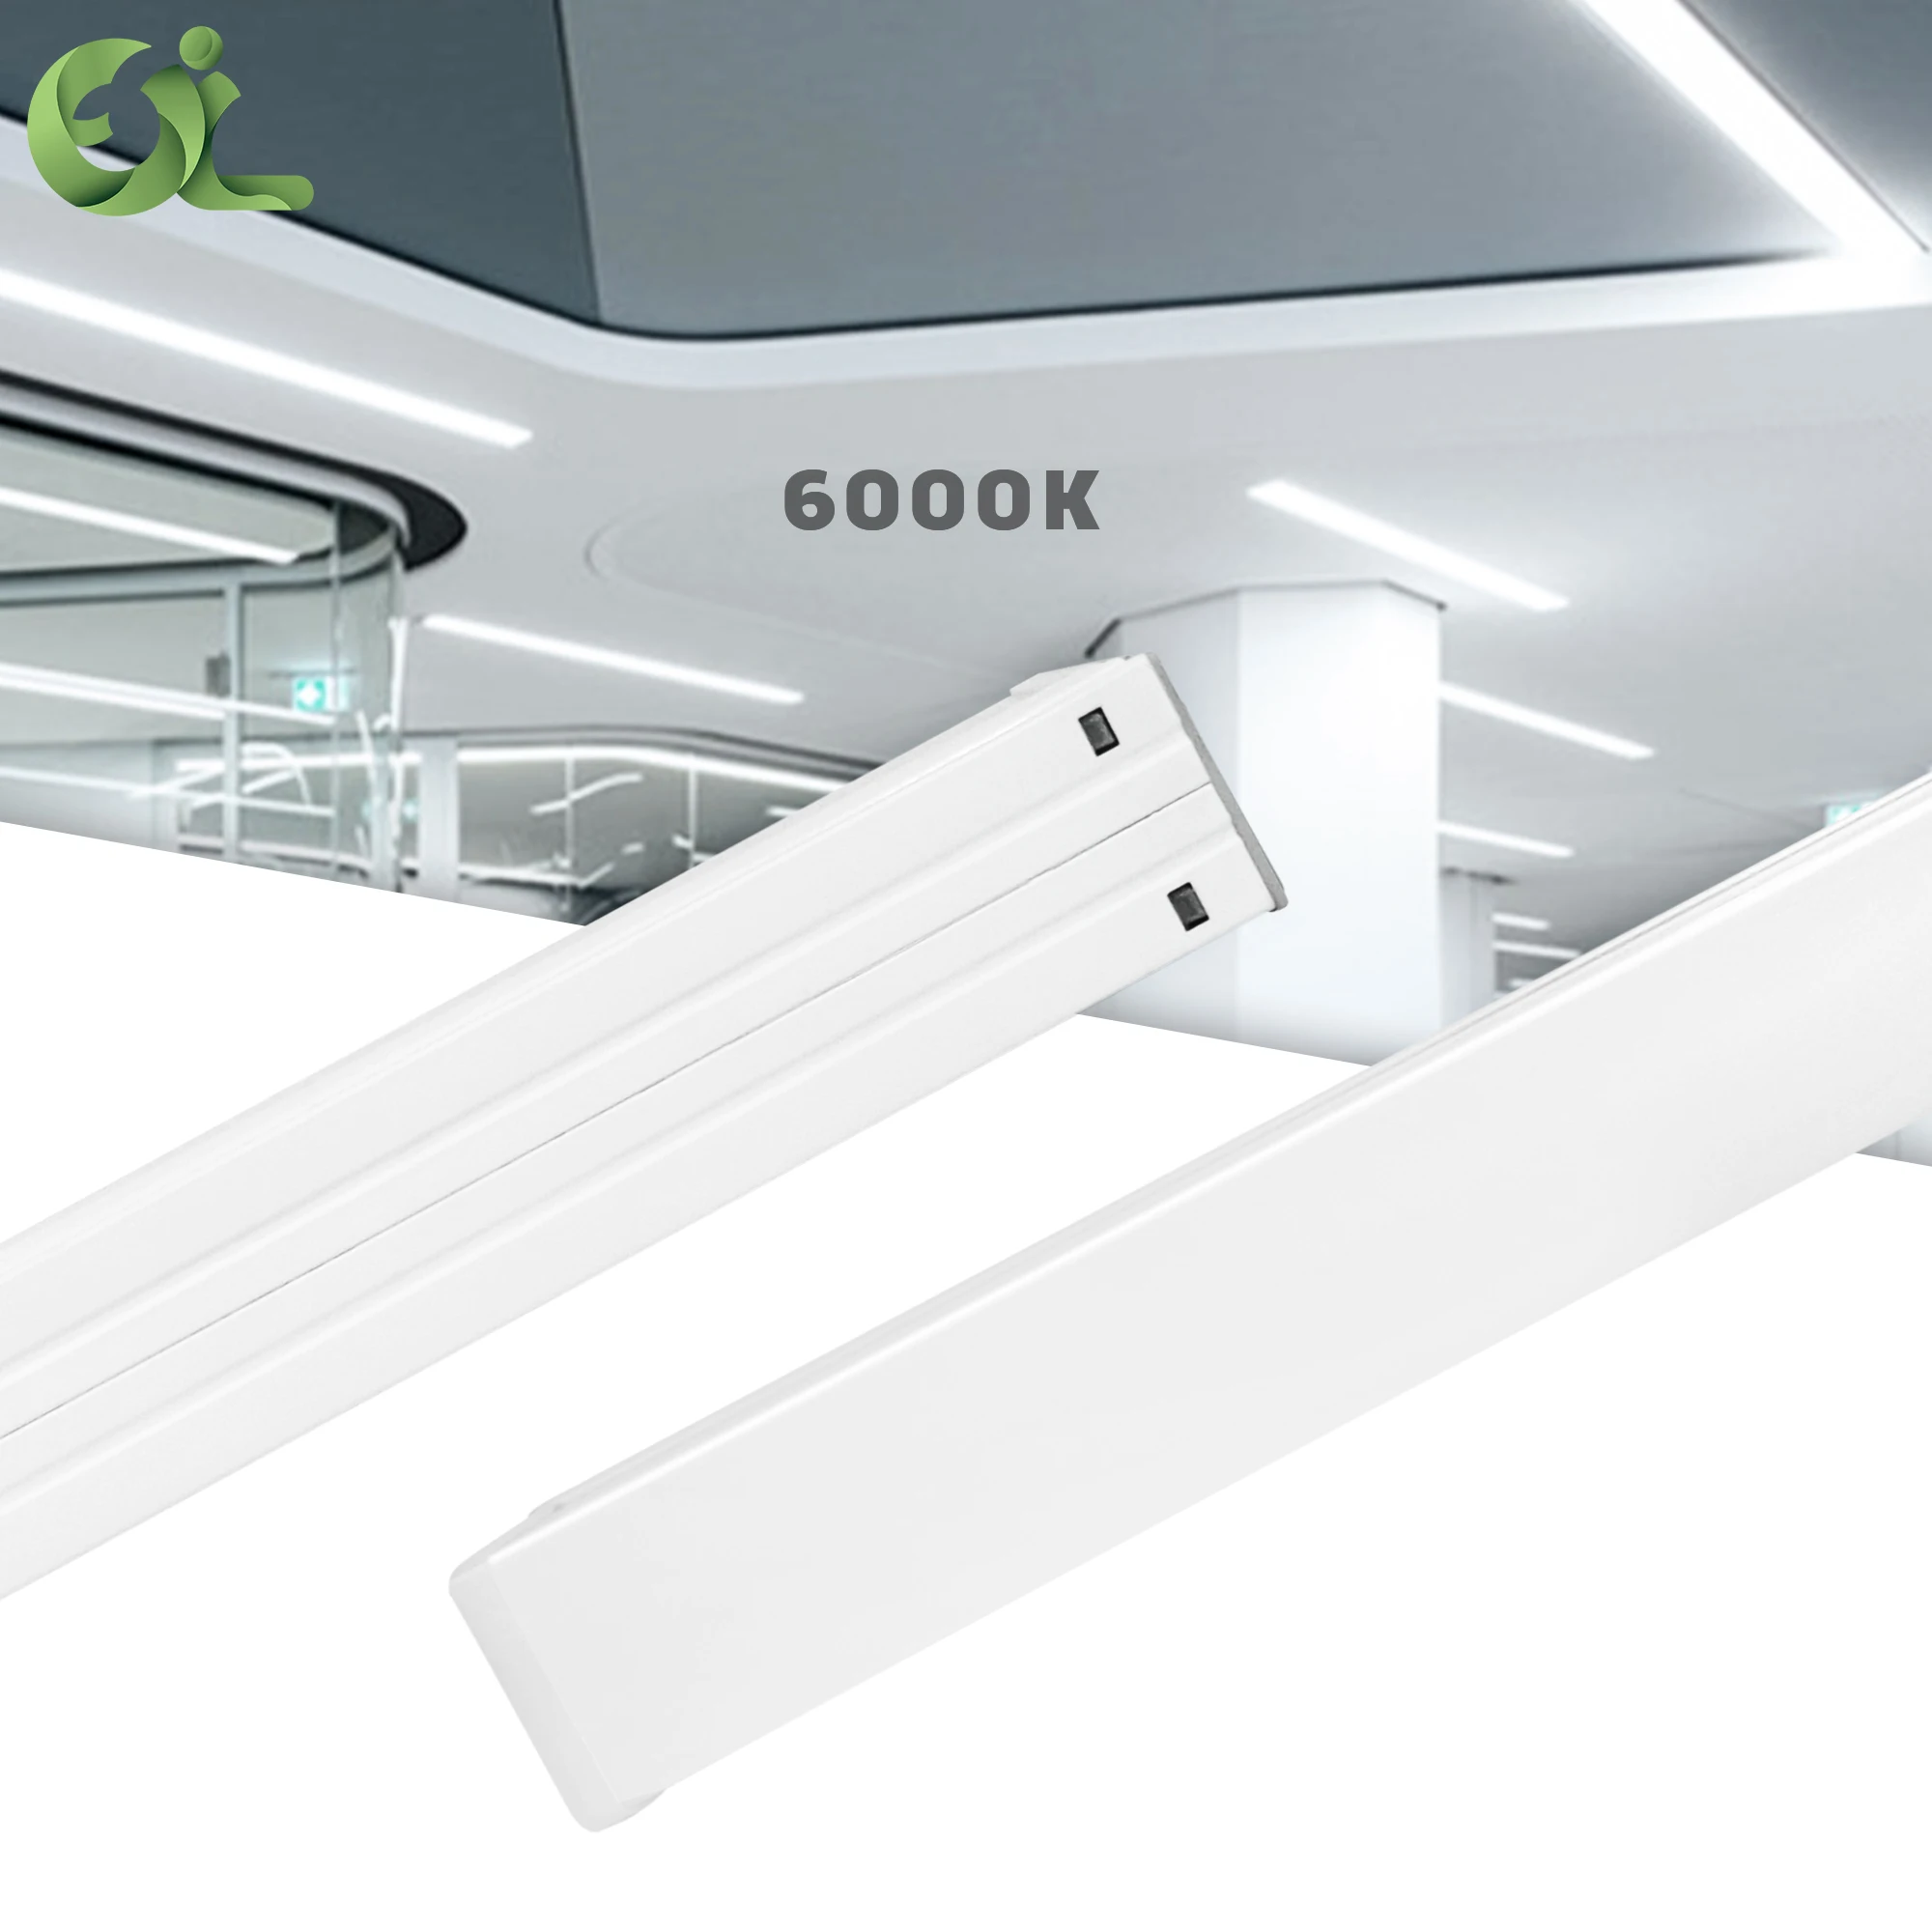
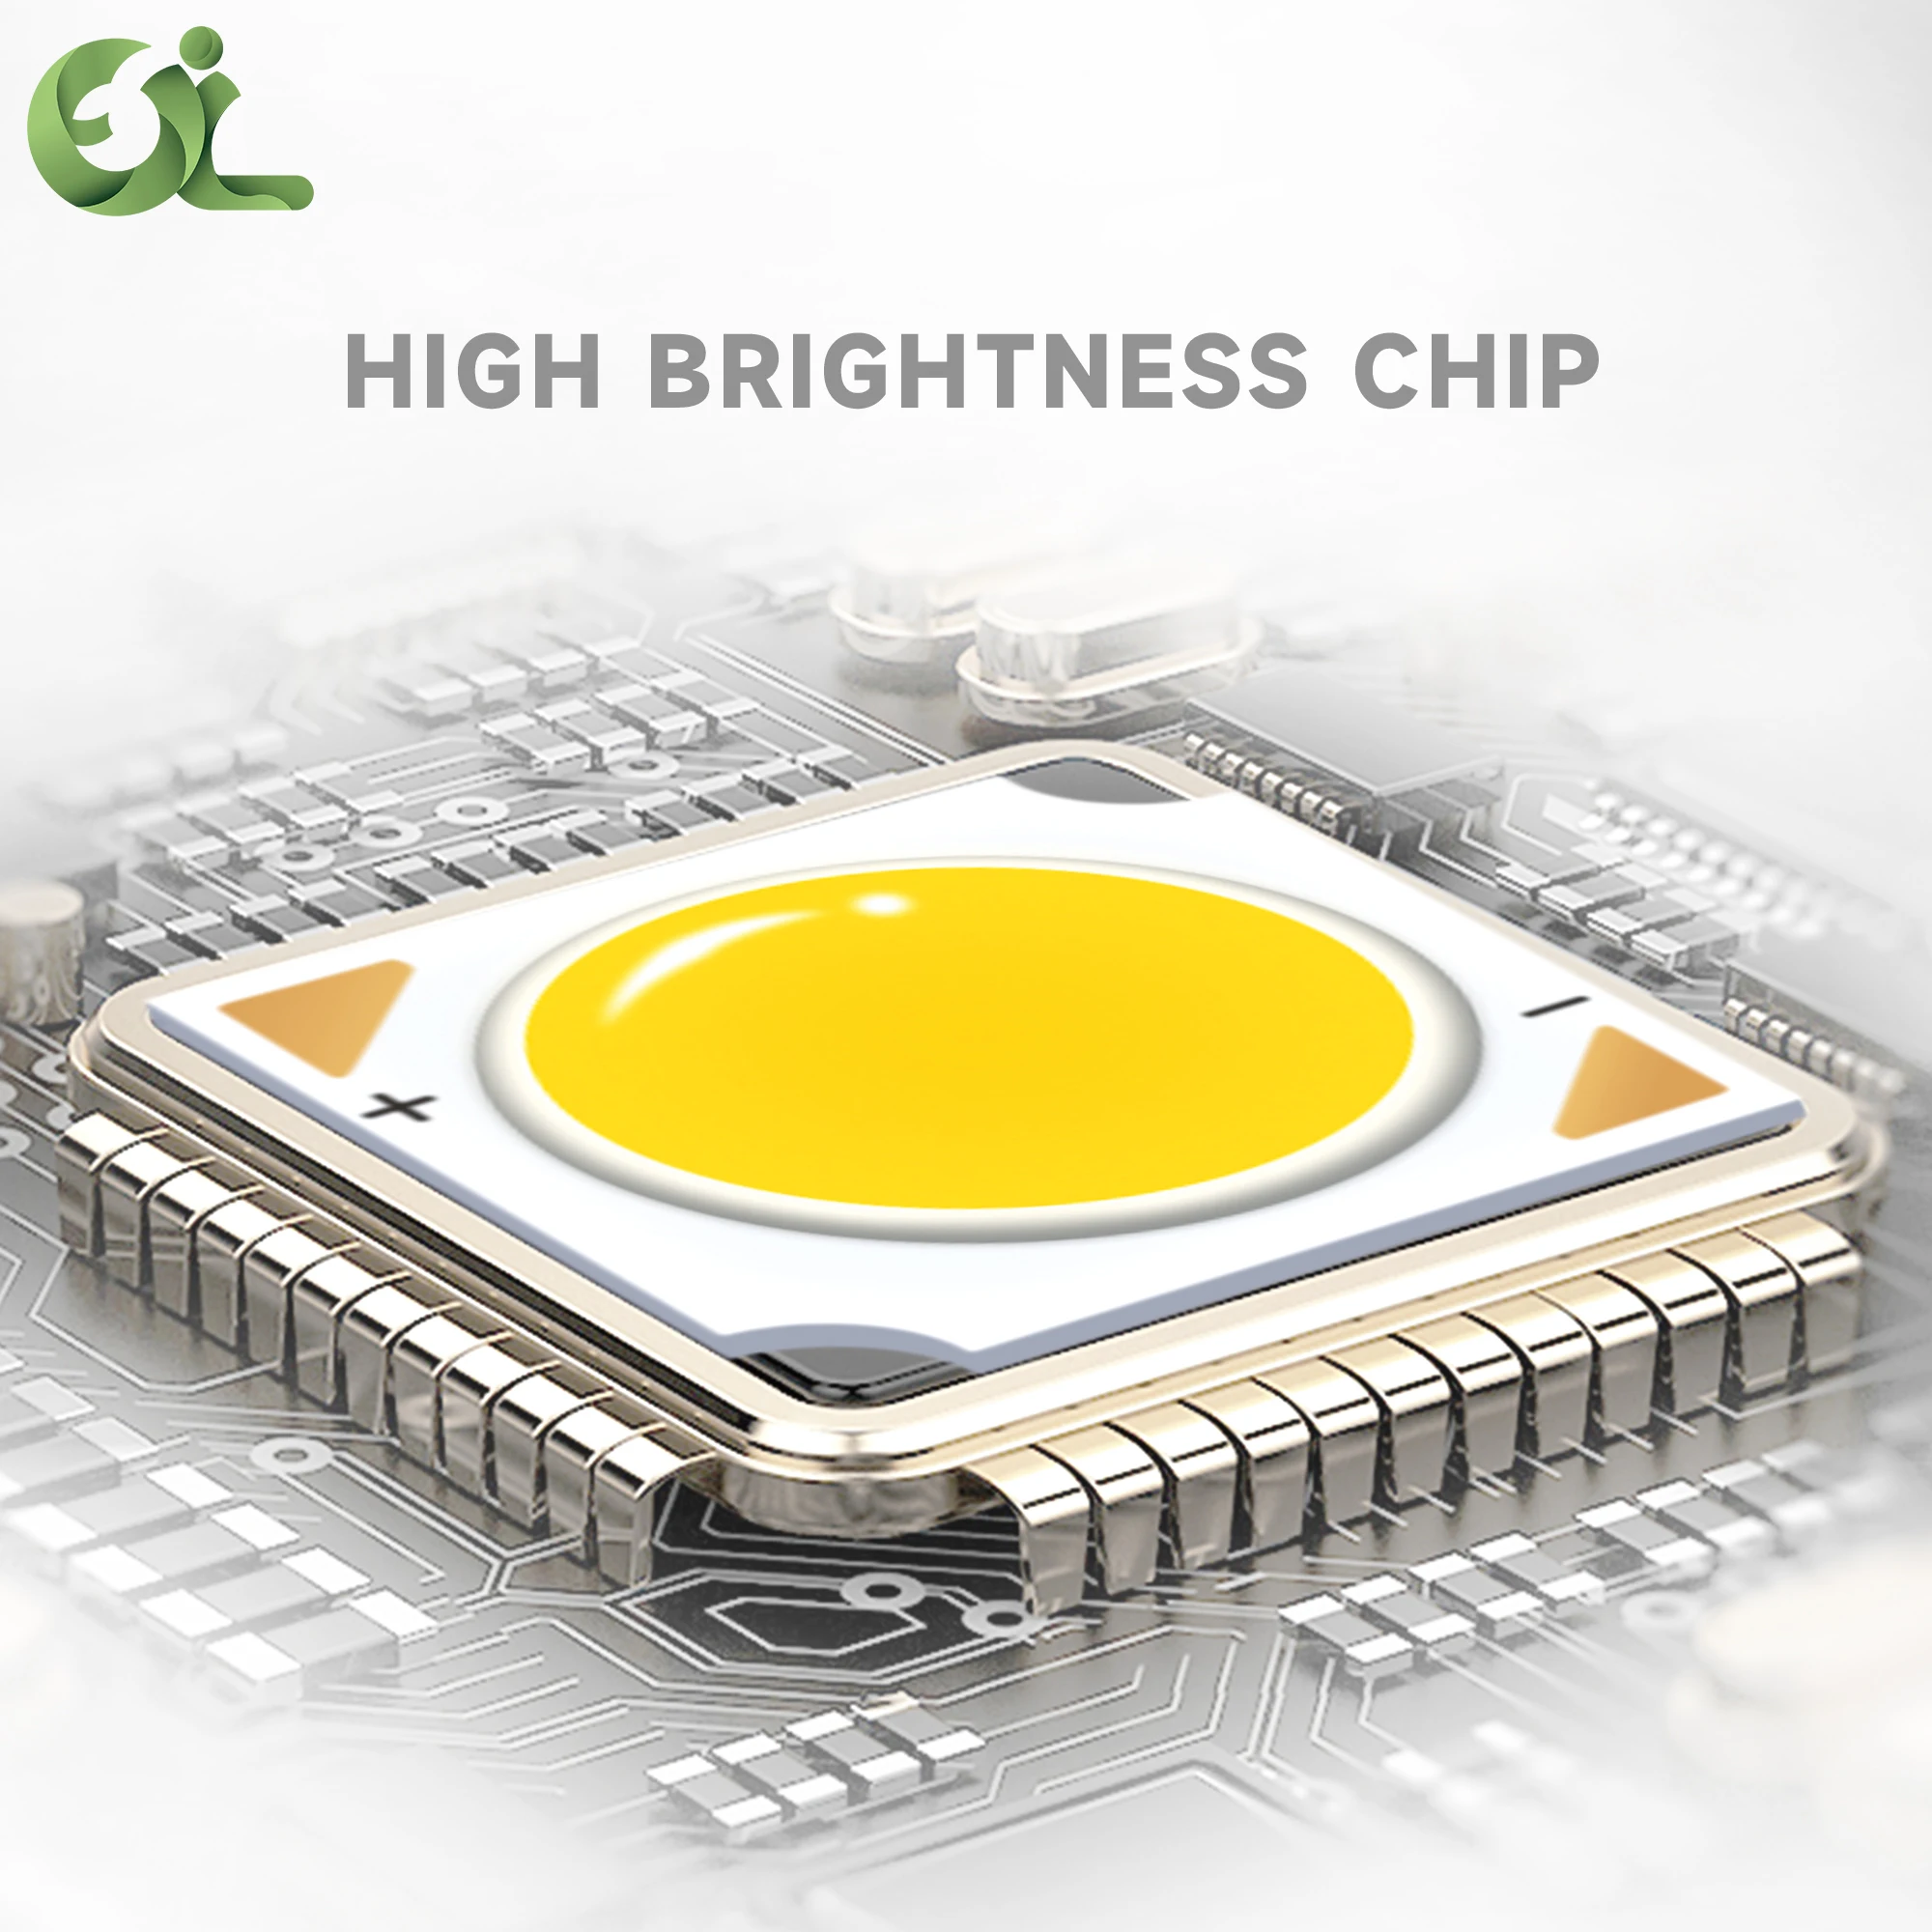
HIGH BRIGHTNESS CHIP
large area lighting,soft and even light.

CONSTANT CURRENT DRIVER
Constant current driver design
Efficient and stable
Efficient and stable

Why Choose Us

Packing&Shipping

FAQ

We Recommend

New Arrivals
New products from manufacturers at wholesale prices