
JY GT10 4G dual recording driving recorder, high definition in car DV camera, one click alarm
- Category: >>>
- Supplier: Shanghai Joyroad Technology Co. Ltd.
Share on (1601097304274):
Product Overview
Description
I.Dashcam Introduction
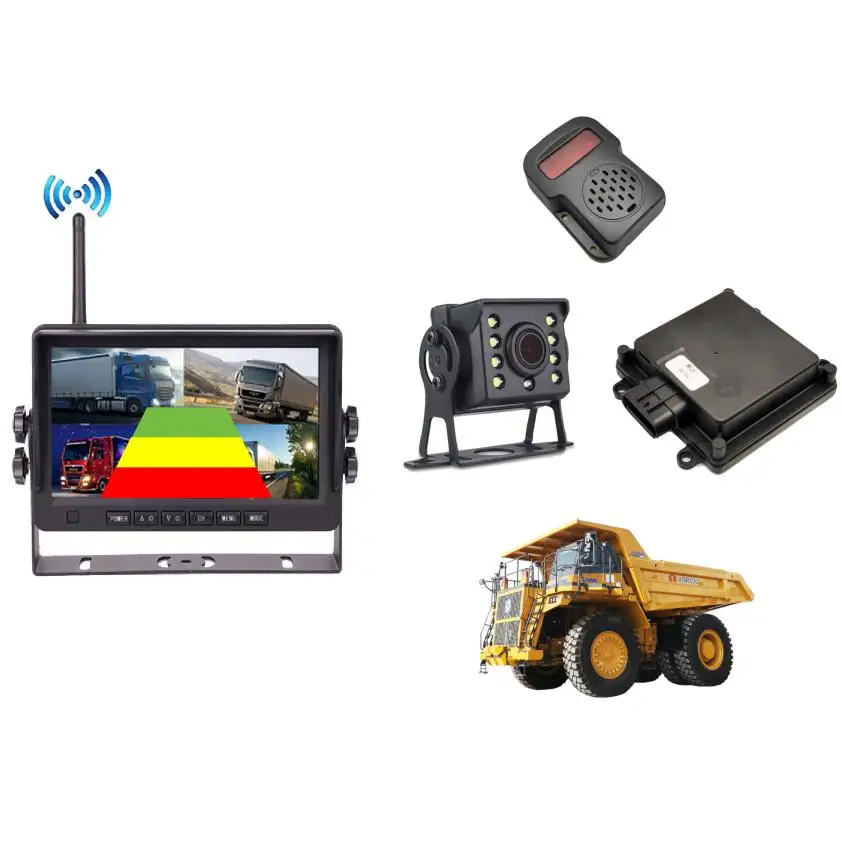
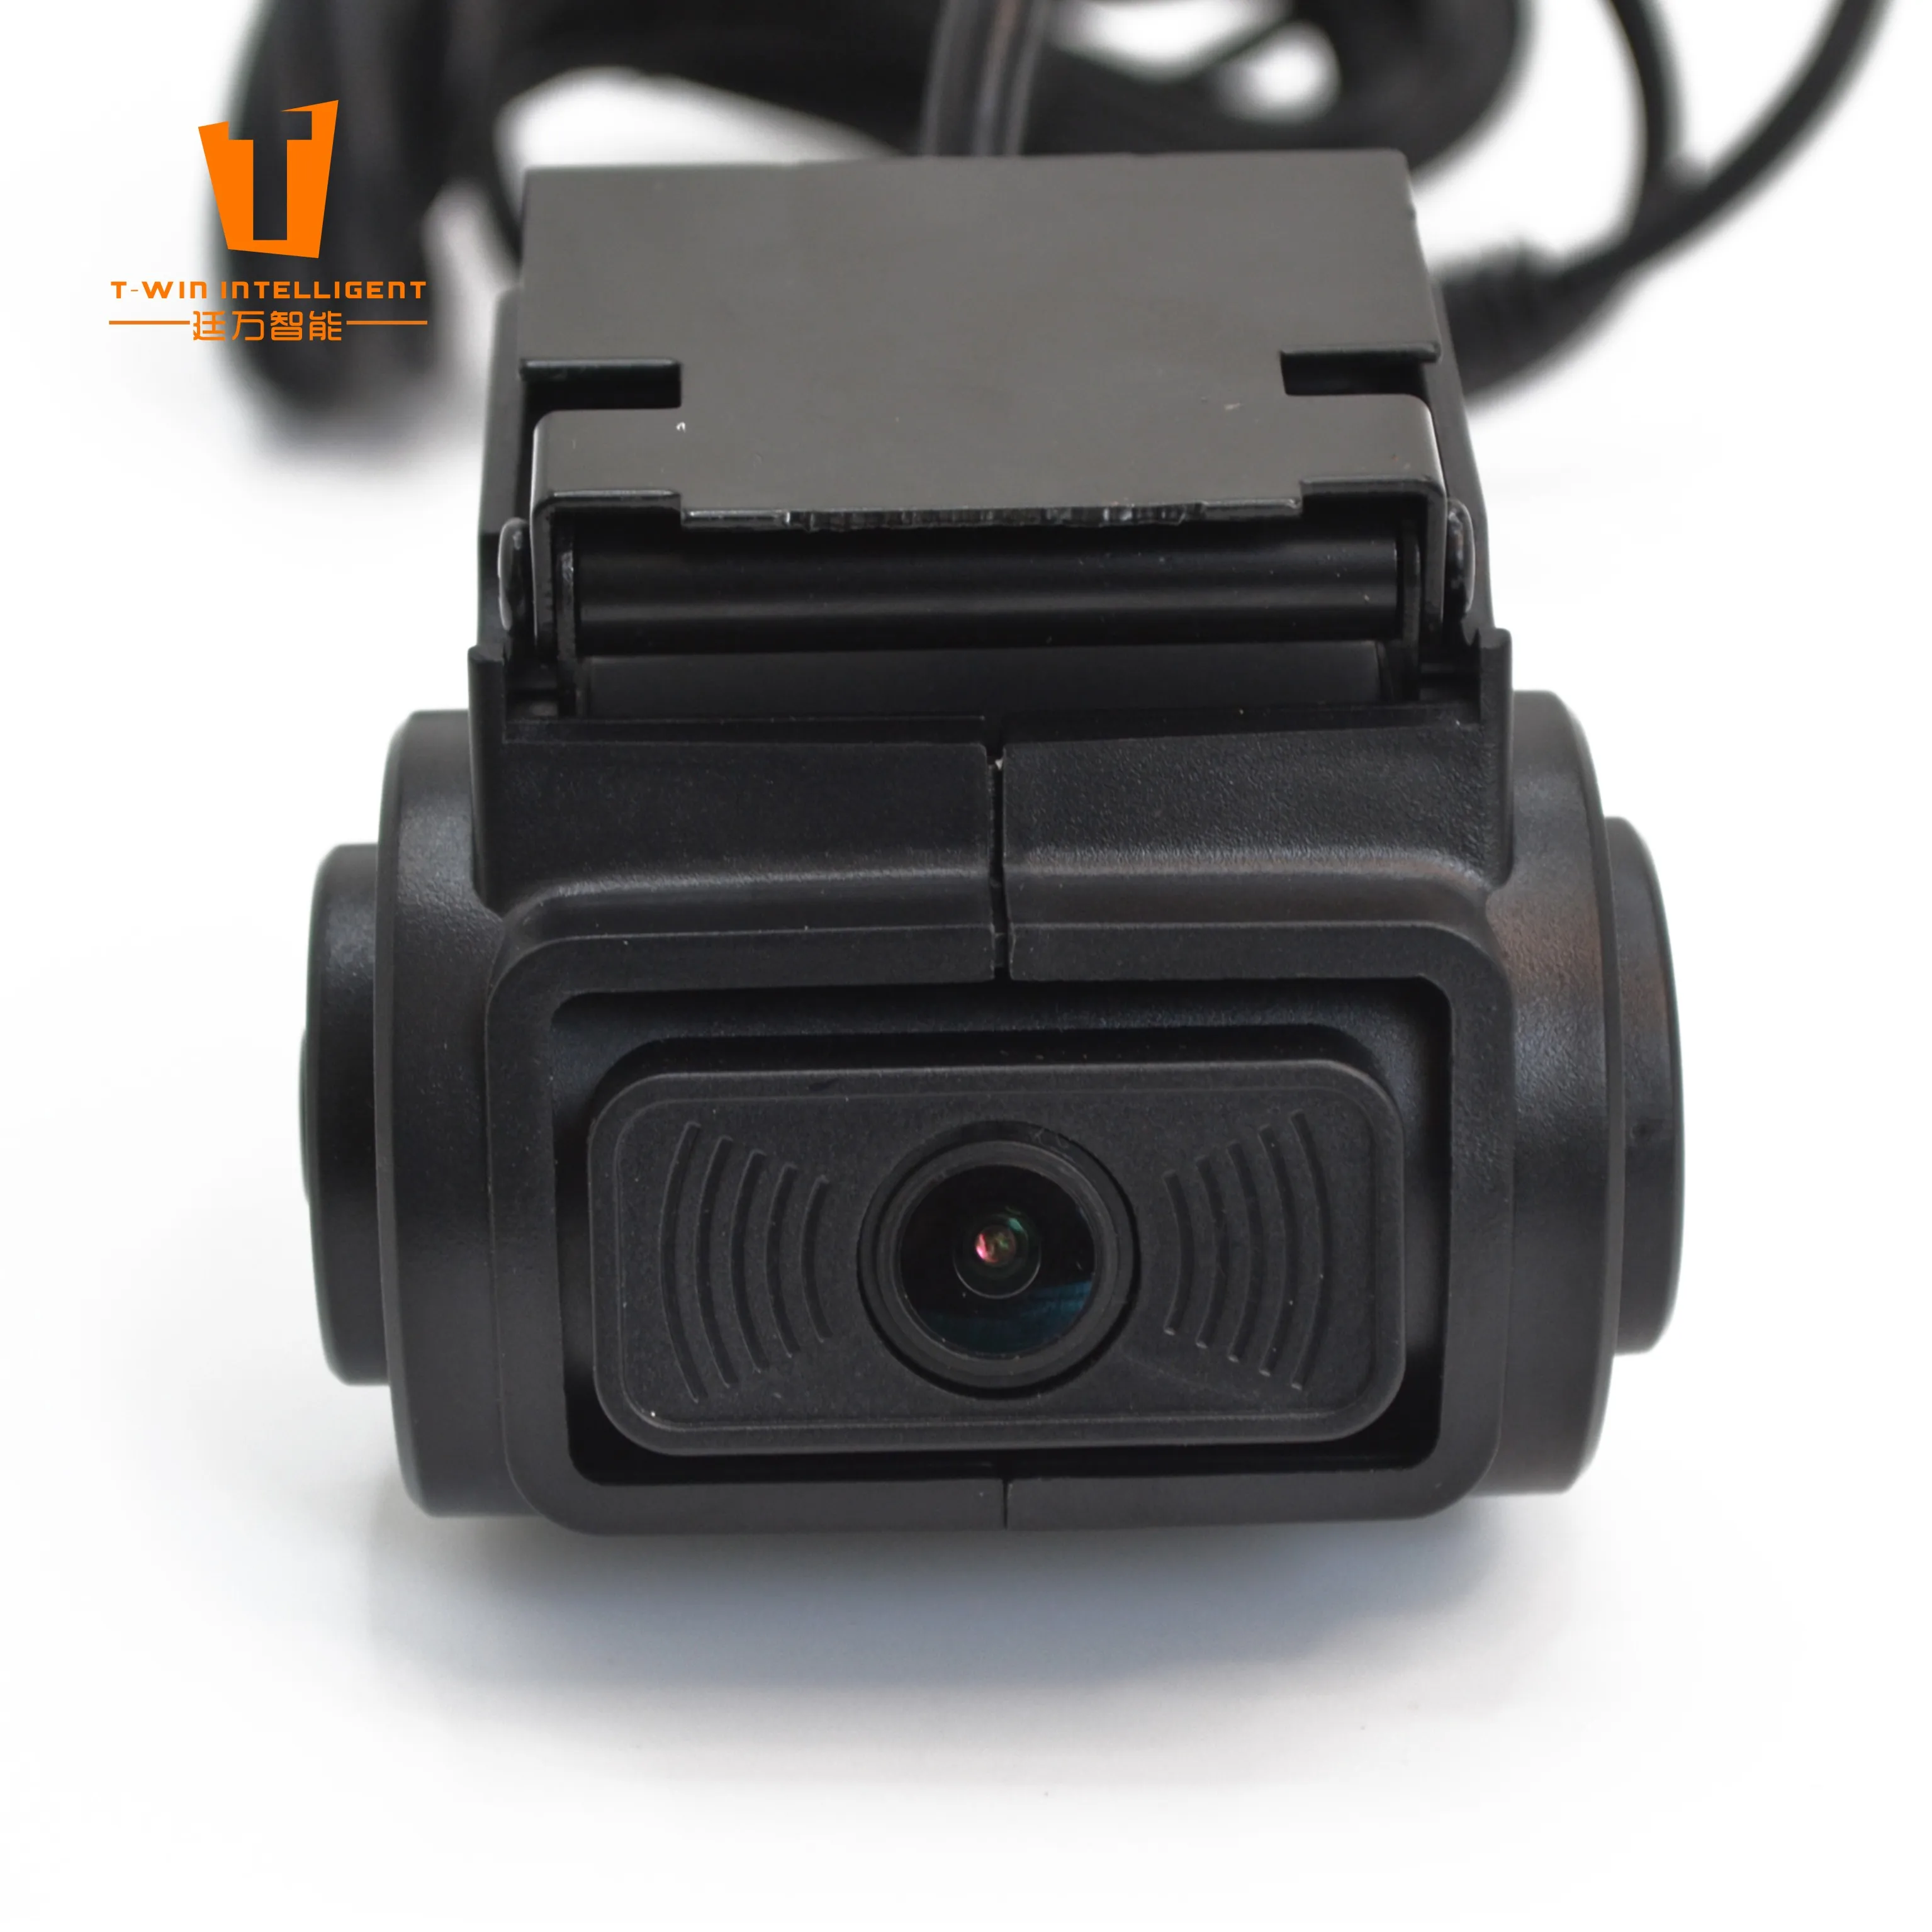
1.Product Description:
This product is a 4G monitoring terminal, with high-definition vehicle DVR camera, one-button alarm, GPS and Beidou dual-mode positioning, WIFI, 4G communication, external expansion capacity 256G storage multi-functional 4G monitoring terminal, It meets the technical requirements of JT/1078 "Video Communication Protocol for Road Transport Vehicle Satellite Positioning System" and JT/808 "Technical Specification for Beidou Compatible Vehicle Terminal Communication Protocol for Road Transport Vehicle Satellite Positioning System".
2.Wiring Instructions
The yellow wire is connected to the positive pole (B+), the red wire is connected to the ACC, and the black wire is connected to the negative pole; 24 hour surveillance video is required (red and yellow wires are connected together).
3.Power Supply
The recorder power cable is 12V power supply. If you need to install on large trucks or special vehicles with higher than 12V power supply, you need to inform the seller. A power cable that supports a maximum of 36V is required. Otherwise the machine can easily burn out due to improper use.
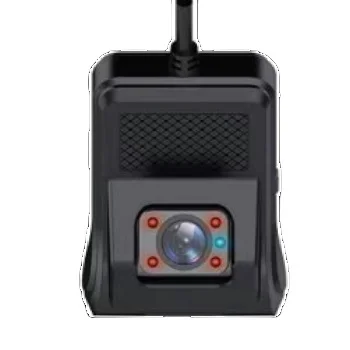
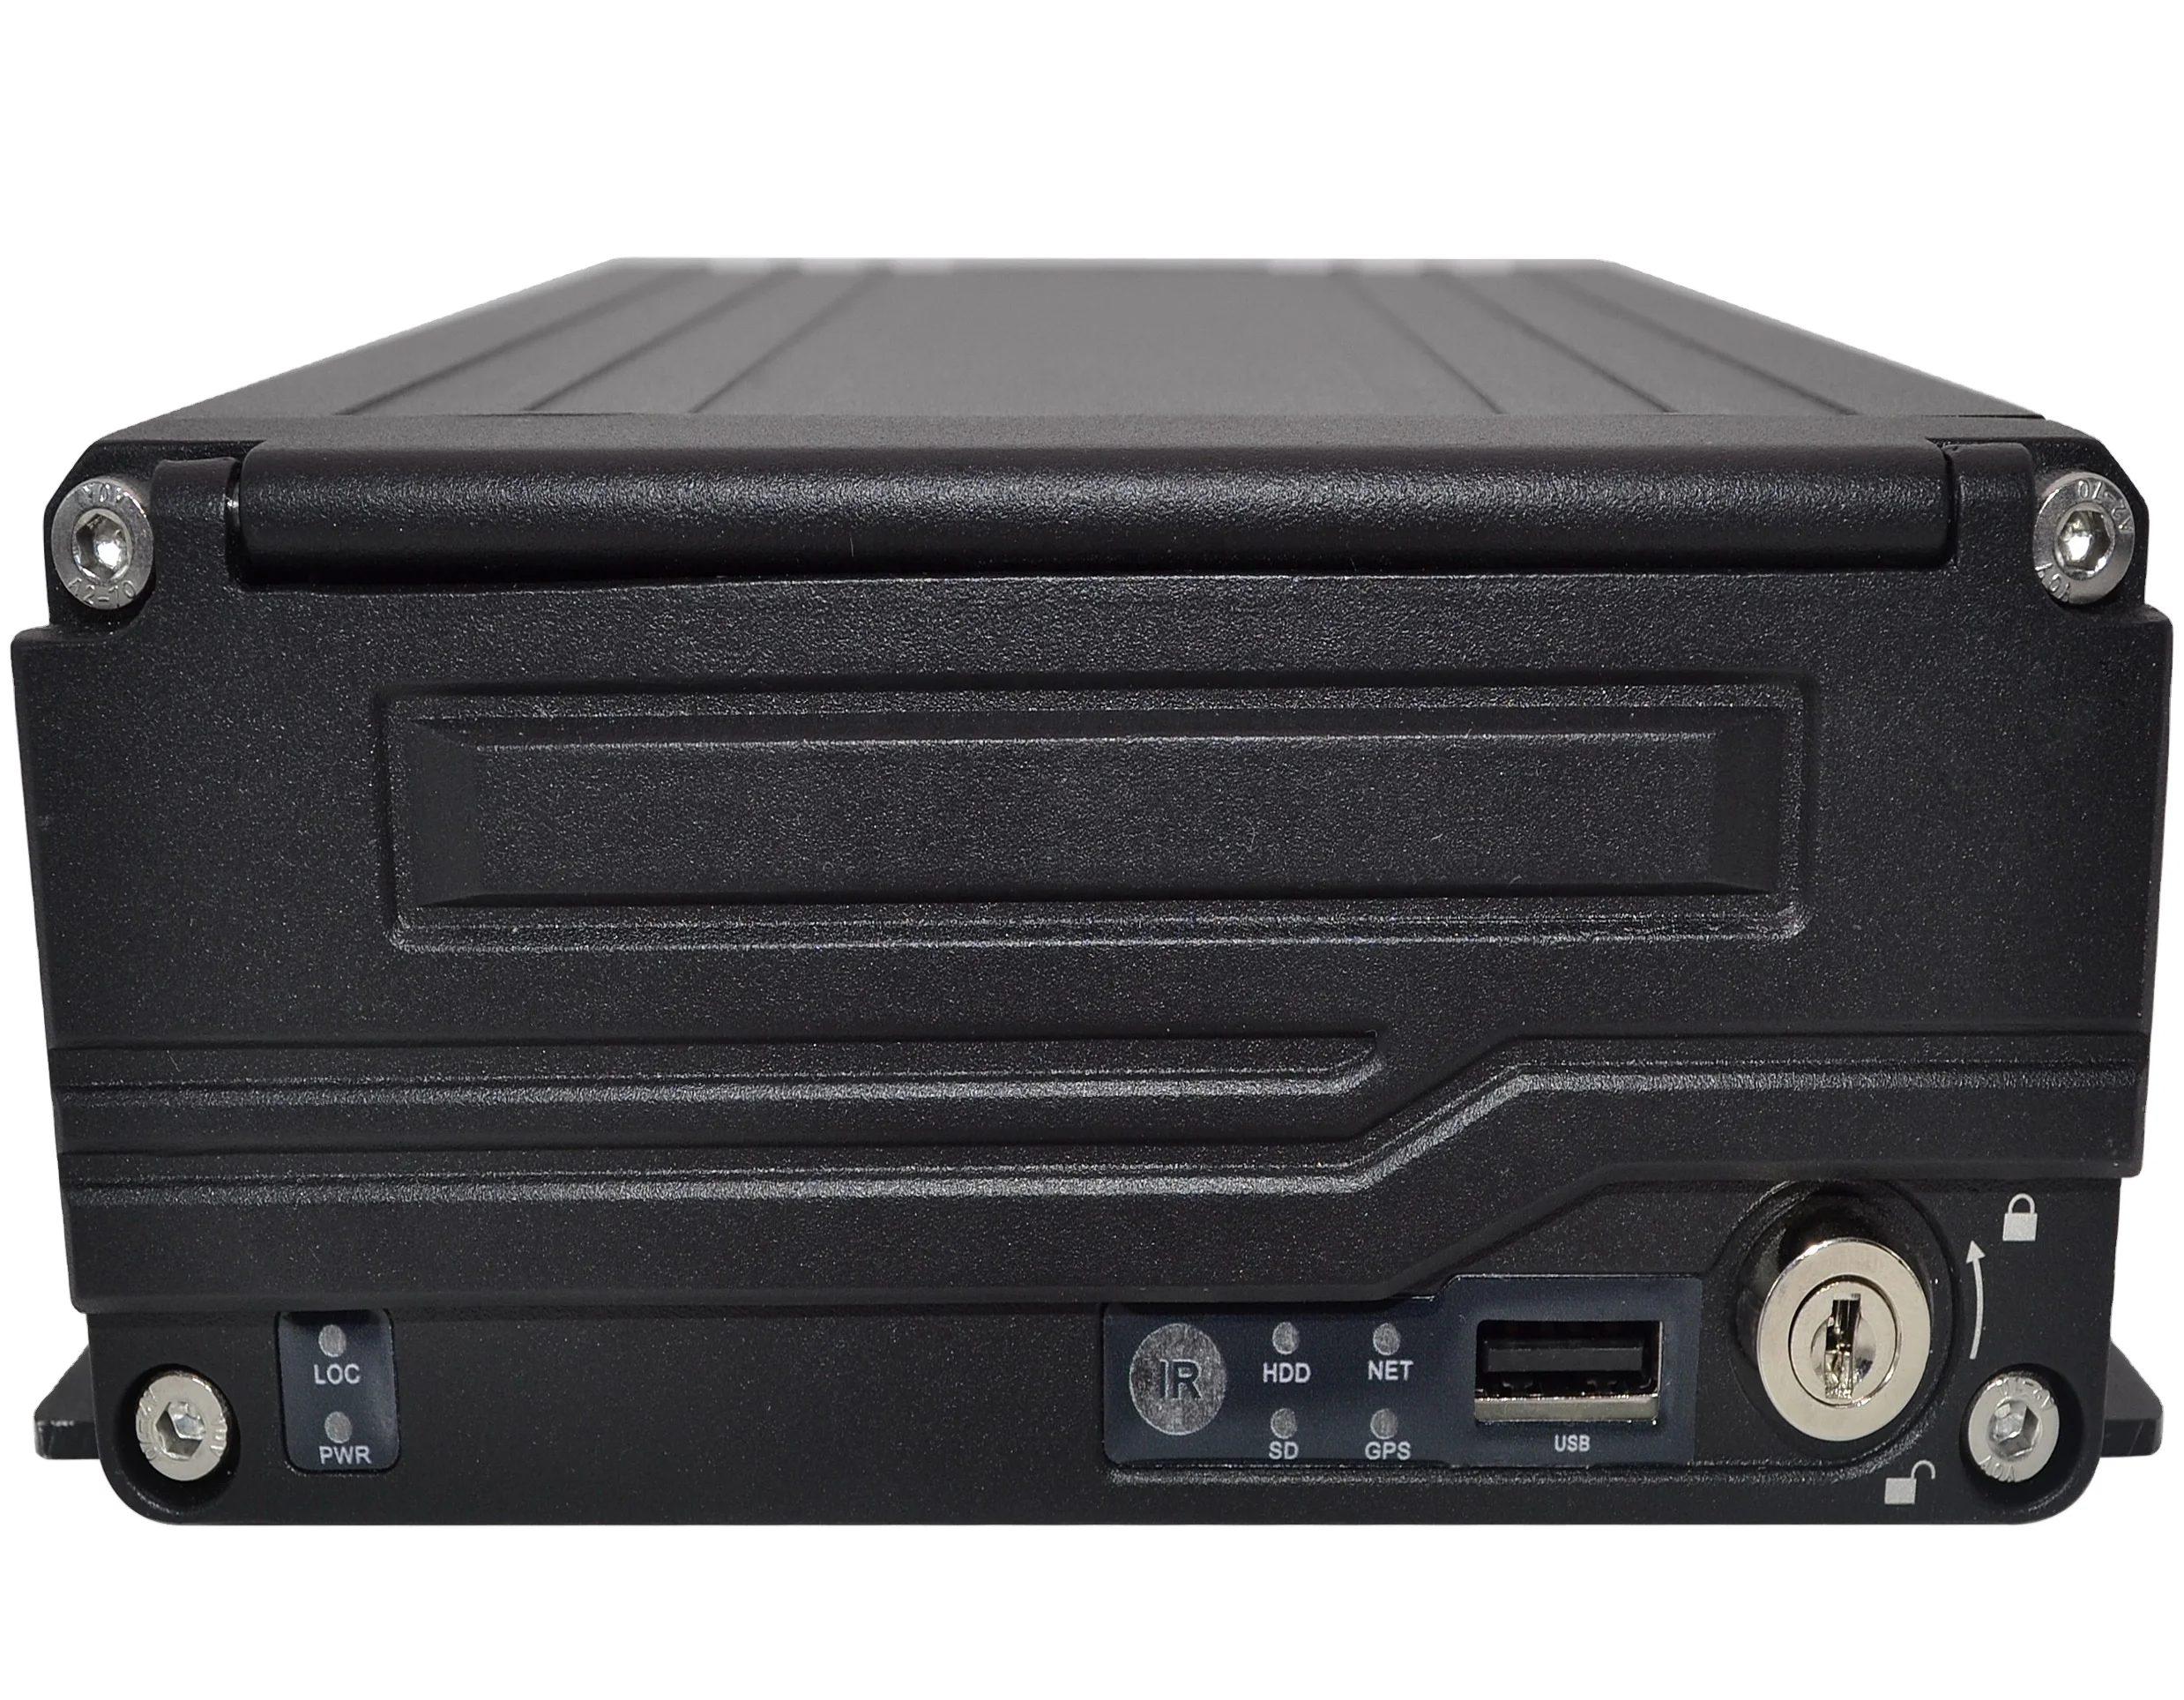
4.Indicator Light Definition:
Blue light, network indicator, blinking when the network is abnormal;
B) Green light, GPS indicator light, blinking when GPS positioning is abnormal, all functions of the machine are normal and steady on;
C) Red light, video indicator light, blinking when the recording is abnormal;
5.Button Definition
A) Short press - broadcast WIFI hotspot, machine working status;
B) Long press and hold - restore factory Settings. (Use caution to prevent the device from working properly).
6.Card insertion sequence:
The 4G data card and TF memory card are inserted before the device is powered on. If power is supplied first, the card is inserted later. The reset (R) hole on the device must be poked.
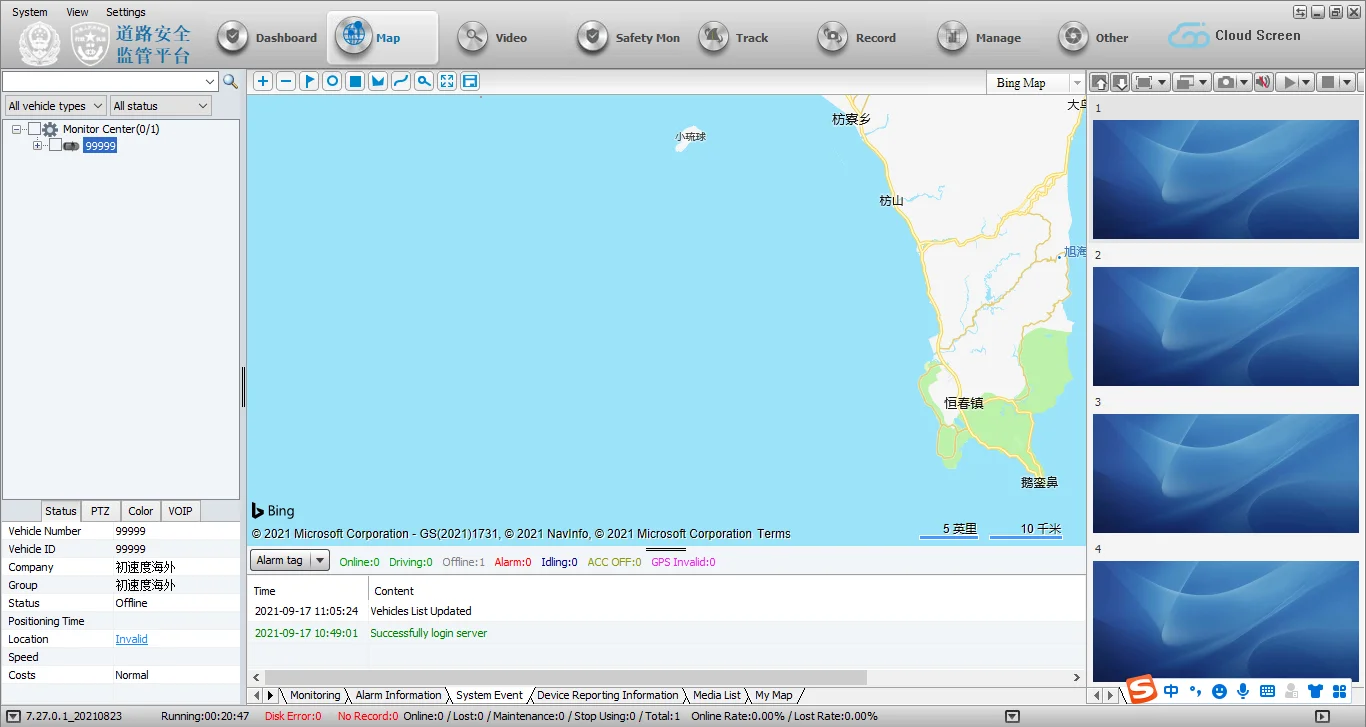
II.Mobile APP Operation Method
1. Mobile phone scan the QR code to download Cloud DVR APP.

2.Open the Cloud DVR APP on your mobile phone, click wechat or facebook (or register via an email) to log in, and enter the APP user interface.

3.Mobile phone binding the device (the person must turn on the device and the network is in normal state-phone next to the device) Open the mobile phone and search for the WIFI name of WJ-XXX or DS-XXX; Password: 12345678

4. After opening the Cloud DVR APP, click the device in the upper right corner to pop up the available device. Click the English and number of the available device to send a binding request. Click OK and press the circle button on the device, and the device will send a message that it has agreed to bind.


5.After the binding is complete, you can view and manage the bound devices in the Me - Device Management page. In the monitoring page, you can remotely monitor, remotely intercom, or delete the bound devices. Multiple mobile phones can be bound at the same time, and one mobile phone can be bound to 2000 devices.

6.PC platform parameter configuration Settings, must use Android phone (IP and port)
A) Set parameters with mobile phone (the device must be turned on next to the device and the network is in normal state) Open the mobile phone and search for the WIFI name of WJ-XXX or DS-XXX; Password: 12345678
B)After connecting to the WIFI hotspot, open the Cloud DVR APP, click the device in the upper right corner, the corresponding available device will pop up and click it.
C)Then click 5 times to enter the next interface.

D) Click 5 times in a row to enter the JT808/1078 platform configuration interface to modify the parameters you need. After modifying the parameters, click Save.

III.Device Using TF Card Upgrade Method
After decompressing the zip package, name it "cm_update" and copy it directly to the root directory of the TF card. After the TF card is inserted into the device, it will automatically restart and upgrade. After the upgrade, it will automatically restart and start recording as the upgrade OK.
We Recommend


New Arrivals
New products from manufacturers at wholesale prices