
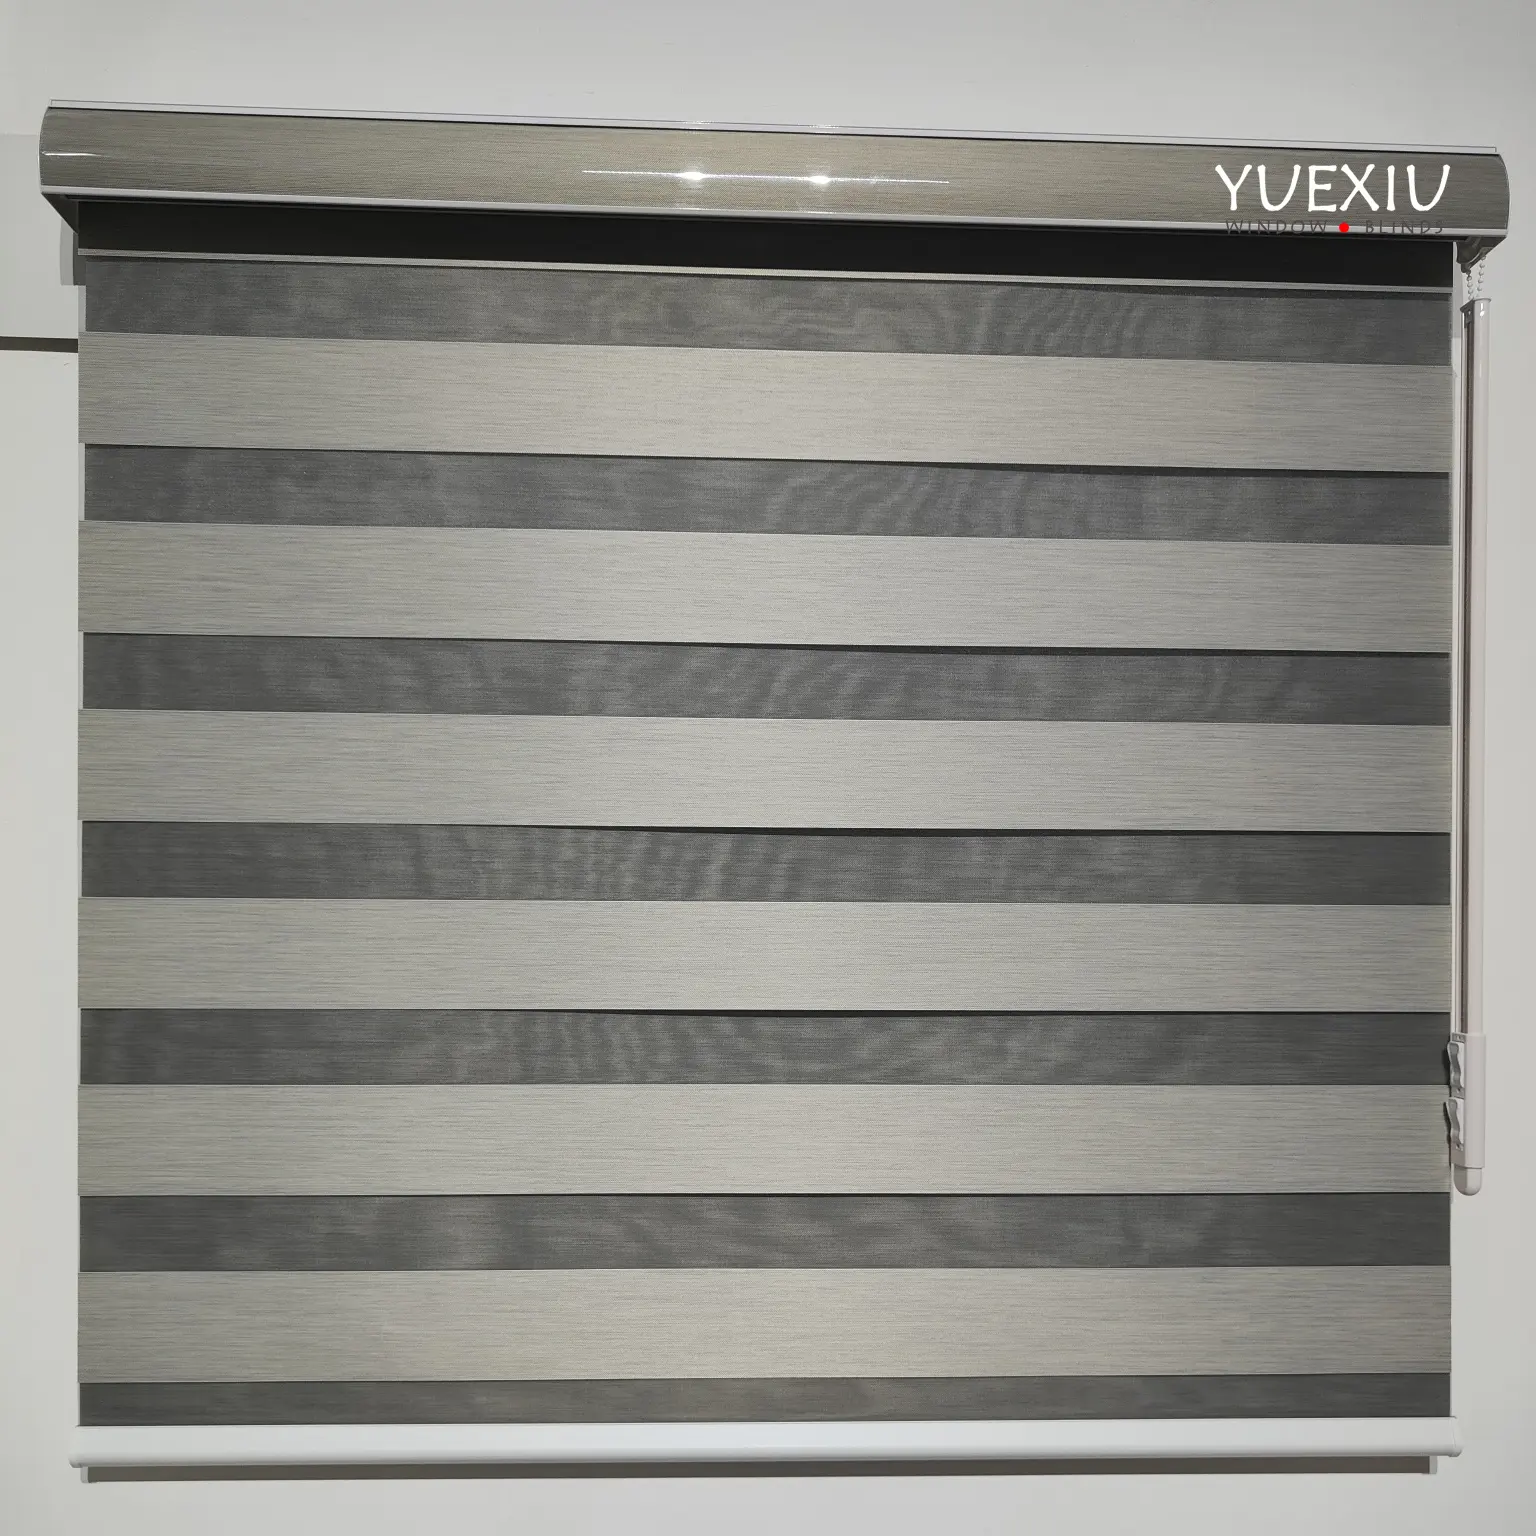
Google Wifi Control Smart Home Shades Roller Motor Electric Blind Automatic Blackout Curtain Zebra Motorized Blinds for Window
- Category: >>>
- Supplier: Shouguang Runchen Environmental Protection Technology Co. Ltd.
Share on (1601160944558):
Product Overview
Description
Product Description
Specification
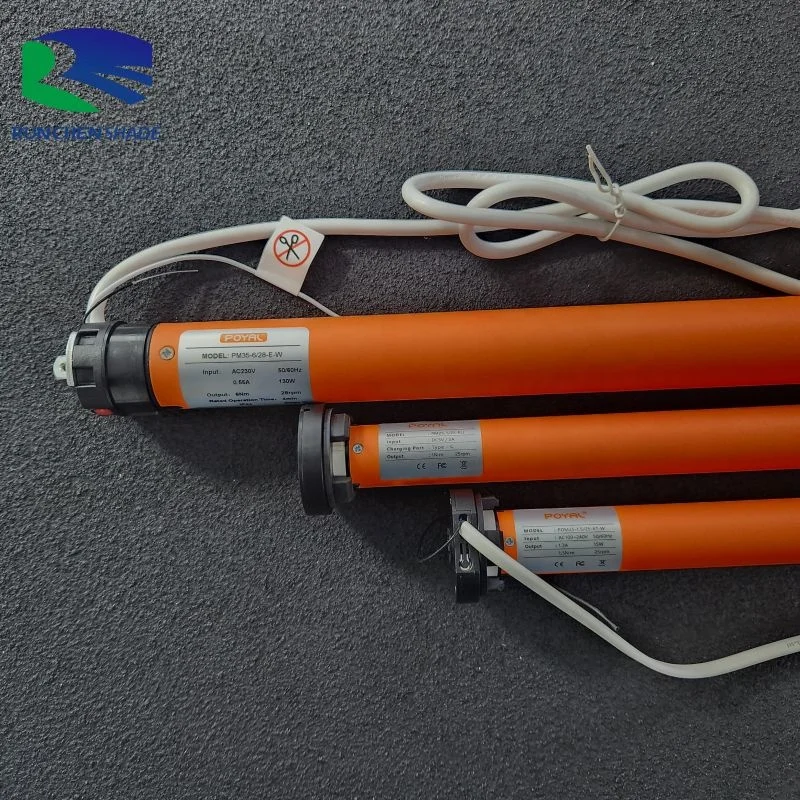
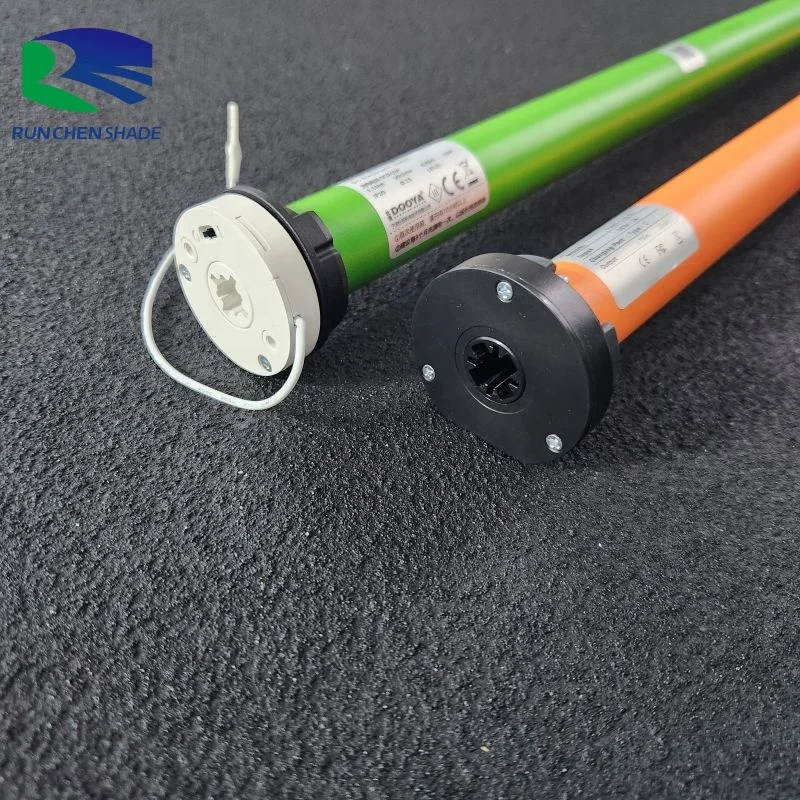
Brand | RunChen |
Input | DC5V/2A |
Rated torque | 1N·M |
Rated speed | 25Rpm |

Motor Features
• Fully sealed transformer with voltage reduction, safe and reliable
• All functions can be operated through a remote control, easy to use.
• Electronic limit, with built-in receiver
• Third point limit
• Silent design, product running noise is lower than 35dB
• Double Hall sensor is used to collect rotor shaft pulse data, ensuring precise limit
• Supports external manual switch function
Smart Modules
* WiFi
* Zigbee
* Bluetooth
* Lora
* Matter
* Zi-wave
* KNX
* RS485
* Dry contact
Warranty
Our product comes with a five-year warranty, ensuring that our customers have peace of mind and can trust the quality of our
product. We believe in the longevity and durability of our product, which is why we are confident in offering such an extensive
guarantee.
Advantages
1.Easy to installation
2.Smooth operating with low noise
3.Strict quality management system
4.Superior equipment
5.Professional services
6.OEM/ODM services
7.High quality products
1) Variety types for selection
2) Competitive price
3) Prompt delivery
1.Easy to installation
2.Smooth operating with low noise
3.Strict quality management system
4.Superior equipment
5.Professional services
6.OEM/ODM services
7.High quality products
1) Variety types for selection
2) Competitive price
3) Prompt delivery
FAQ
How to install the motor?
Step 1: Gather Your Tools
Before you begin, you will need to gather a few basic tools. These include a wrench (or socket set), pliers, screwdrivers, and a
set of wire strippers. You may also need additional tools depending on the type of motor you are installing.
Step 2: Remove the Old Motor
If you are replacing an old motor, you will need to remove it first. Begin by disconnecting the power supply and the wiring
connections. Then, remove the screws or bolts holding the motor in place and pull it out of its housing.
Step 3: Mount the New Motor
Once the old motor is removed, it is time to mount the new one. Make sure to position the motor securely in its housing and
tighten the screws or bolts firmly. Check and ensure that the motor is properly aligned and seated.
Step 4: Connect the Wiring
Next, connect the wiring to the new motor. Make sure to match the wires correctly and use wire connectors to secure the
connections. If there are any loose connections, this can cause the motor to malfunction or fail.
Step 5: Test the Motor
After everything is connected, turn on the power supply and test the motor. Observe the motor as it runs to make sure it is
working properly. If there are any issues or strange noises, turn off the power supply immediately and address the issue.
In conclusion, installing a motor is not complicated if you follow the correct steps. Always remember to take safety precautions
and wear protective gear if necessary. We hope this guide helps you in installing your motor with confidence. If you want to know
more, please contact our sales representative.
We Recommend


New Arrivals
New products from manufacturers at wholesale prices