Набор ортопедических титановых эластичных инструментов для удаления ногтей
- Category: >>>
- Supplier: Suzhou Orthocore Medical Science And Technology Co. Ltd.
Share on (62030642916):
Product Overview
Description

Titanium Elastic Nail Insert
Removal Instruments Set
Orthopedic Instruments
For fixation of fractures where the medullary canal is narrow or flexibility of the implant is paramount
| Code | Product Name | QTY | Unit |
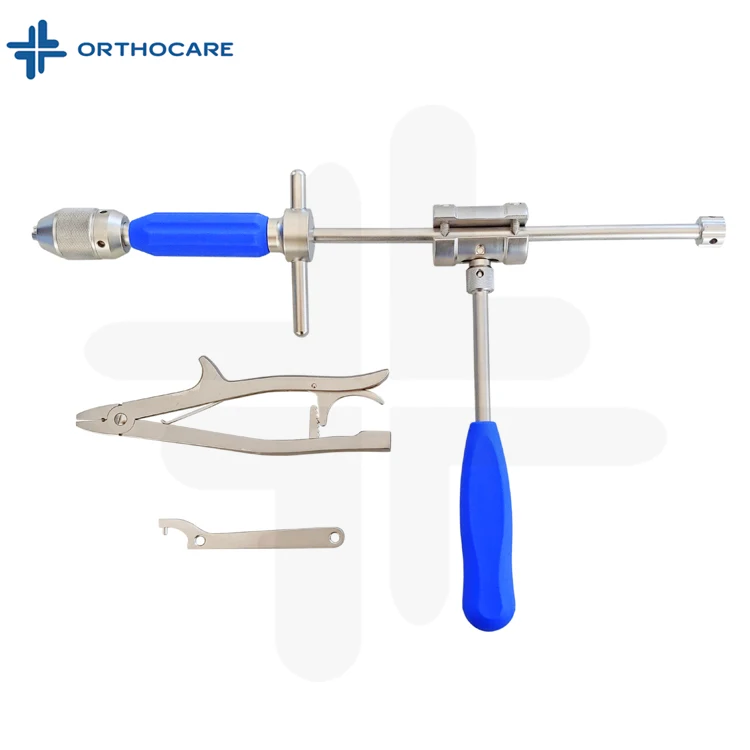
| 113.001 | Drill Bit Φ2.7x125mm | 1 | PCS |
| 113.002 | Drill Bit Φ3.2x150mm | 1 | PCS |
| 113.003 | Drill Bit Φ4.5x150mm | 1 | PCS |
| 113.004 | Double Drill Sleeve Φ4.5/3.2 | 1 | PCS |
| 113.005 | Bender, for Titanium Elastic Nails | 2 | PCS |
| 113.006 | Inserter, for Titanium Elastic Nail End Cap | 2 | PCS |
| 113.007 | Standard Tamp | 1 | PCS |
| 113.008 | Beveled Tamp | 1 | PCS |
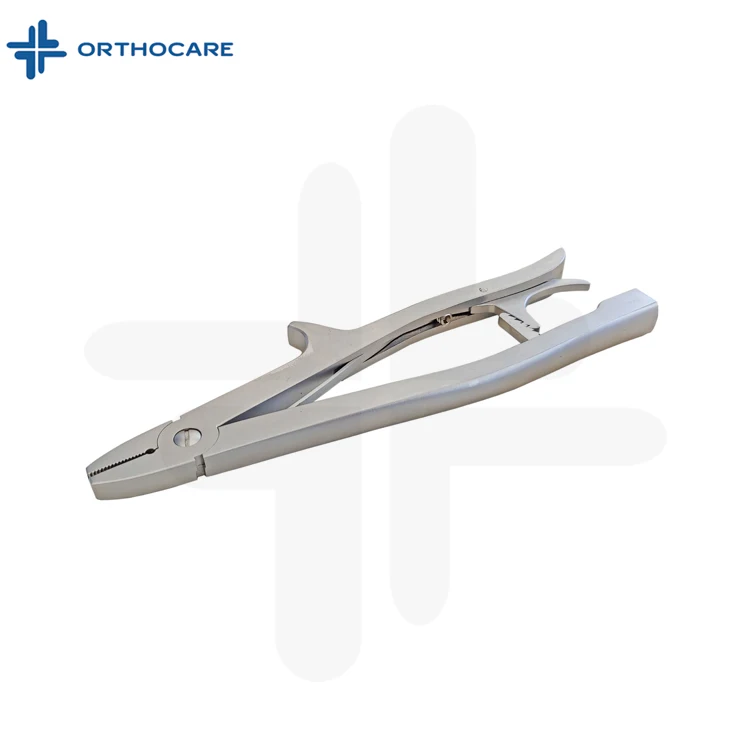
| 113.009 | Locking Pliers | 1 | PCS |
| 113.010 | Cutter, for use with Titanium Elastic Nails | 1 | PCS |
| 113.011 | Inserter, for Titanium Elastic Nails | 1 | PCS |
| 113.012 | Hammer Guide, for Titanium Elastic Nails | 1 | PCS |
| 113.013 | Locking Slide Hammer, 400 grams Spanner Wrench | 1 | PCS |
| 113.014 | Spanner Wrench | 1 | PCS |
| 113.015 | Awl, for use with Titanium Elastic Nails | 1 | PCS |
| 113.016 | Container | 1 | SET |
| 113.017 | Titanium Elastic Nails 1.5, 2.0, 2.5, 3.0, 3.5 4.0mm | 12 | PCS |


Insert nail continued
Attach the locking slide hammer to the shaft of the hammer guide. Use controlled blows to drive the nail up the medullary canal.
Monitor nail advancement with fluoroscopy. Ensure that the convex side of the nail tip is glancing off the far cortex and is advancing with each blow. The nail will bend as it progresses up the canal. This part of the procedure requires the greatest insertion force.
Technique tip: If it is very difficult to advance the nail with repeated hammer blows, consider the following options: 1. ensure that the nail is properly oriented;
2. increase the contour near the tip of the nail; or
3. change to the next-smaller diameter nail.
Drive the first nail to the level of the fracture. In a similar manner to that previously described, open the femur on the opposite side and insert the second nail up to the level of the fracture.
Note: A stainless steel elastic nail is approximately twice
as rigid as a comparable titanium elastic nail, and therefore care should be taken when contouring and inserting the stainless steel elastic nail.
Insert end caps
Instruments
113.014 Spanner Wrench
113.015 Awl
113.011 Inserter, for Titanium Elastic Nails
113.006 Inserter, for Titanium Elastic Nail End Cap
113.006 Inserter, for Titanium Elastic Nail End Cap,
small
The end cap is inserted over the external portion of the elastic nail and threaded into the cortical bone in an oblique orientation. This is to prevent nail migration and soft tissue irritation. Use of the end cap also facilitates extraction of the nail.
Attach the end cap inserter to the nail inserter and tighten with the spanner wrench.
Connect an end cap to the end cap inserter by aligning the “D” flats.
Place the end cap over the elastic nail and thread it clockwise into the bone at the entry site. The threaded portion of the end cap directed toward the bone must be fully inserted.
2
Nail removal
Instruments
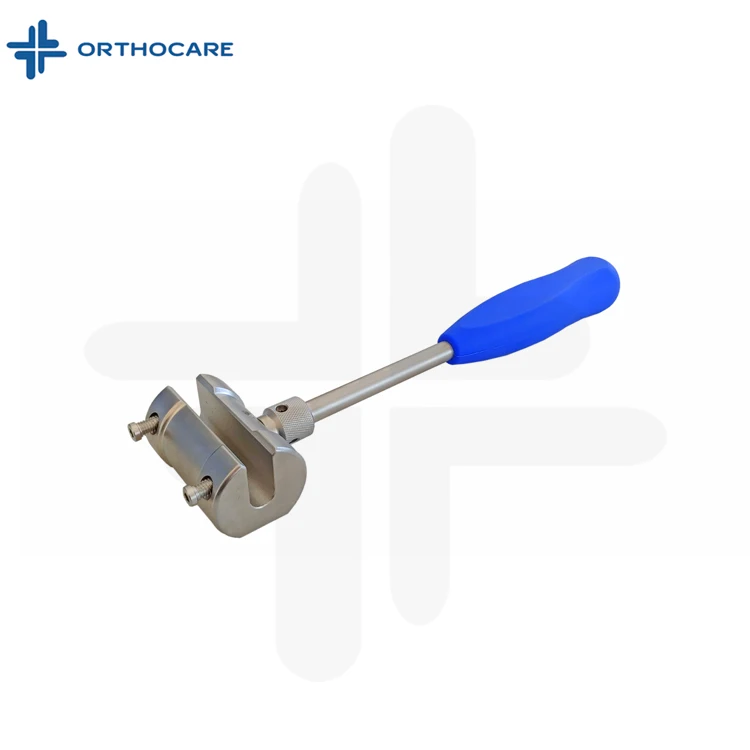
359.218 Hammer Guide
113.009 Locking Pliers, long
113.013 Locking Slide Hammer
For nail removal, the end cap must be removed first.
Once the nail end is exposed, attach the long locking pliers. The pliers require only a few millimeters of engagement with the nail for removal in most cases.
If capturing the nail is difficult, the lower jaw of the pliers can be driven under the nail end with light hammer blows. Use care to protect the physis from damage.
To remove the nail, use the flat on the hammer to strike the pliers on the “horn.” Alternatively, the hammer guide can be threaded into the end of the pliers, and the hammer can be used to back out the nail. Once the nail is retracted a few millimeters, removal can usually be completed by hand. If the nail is still difficult to remove, the inserter and slide hammer can be used to complete removal.
The cutter has movable parts. To disassemble the cutter, unscrew the stop nut and remove the cutting bolt from the cutting sleeve.
Following cleaning, and before autoclaving, lubricate the cutting bolt with Synthes autoclavable oil. The cutting bolt must be adequately lubricated to ensure smooth cutting.
After autoclaving, to reassemble the cutter, insert the cutting bolt into the cutting sleeve. Screw the stop nut onto the assembly.


We Recommend

New Arrivals
New products from manufacturers at wholesale prices