Униформа золотистого тона garпа дождевой экран сайдинг из твердой древесины
- Category: Building Boards >>>
- Supplier: Foshan Hengchi Building Materials Co. Ltd.
Share on (62308411756):
Product Overview
Description
Product Overviews
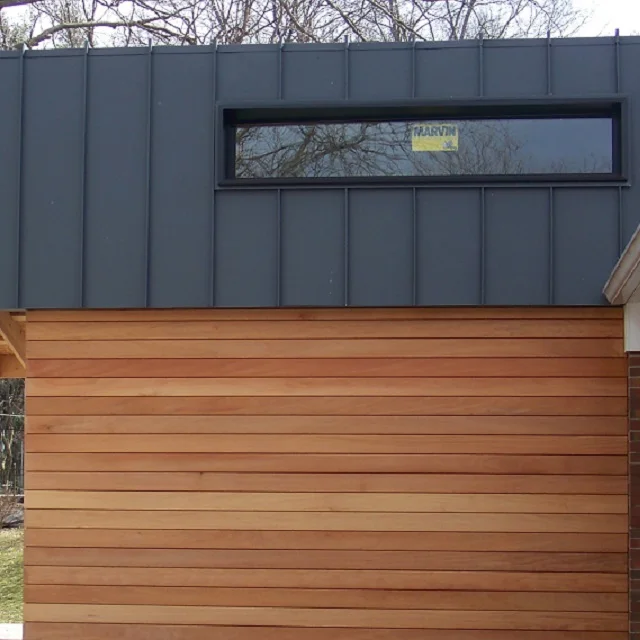
1X4 & 1X6 Garapa hardwood siding


Rain Screen Profile & Stainless steel Siding Clips


Garapa Shiplap Cladding


Product Description
Garapa is a high density ,very durable hardwood species that is ideal for use in exterior structures including decks, outdoor furniture, wood siding and more which is originating in Brazil. The scientific name for Garapa is Apuleia leiocarpa.The trade names are Garapa Gold and IronWood Garapa.
Garapa Siding has a high decay resistance rating throughout all fibers of the wood owing to it's extermely hard and comparatively density .
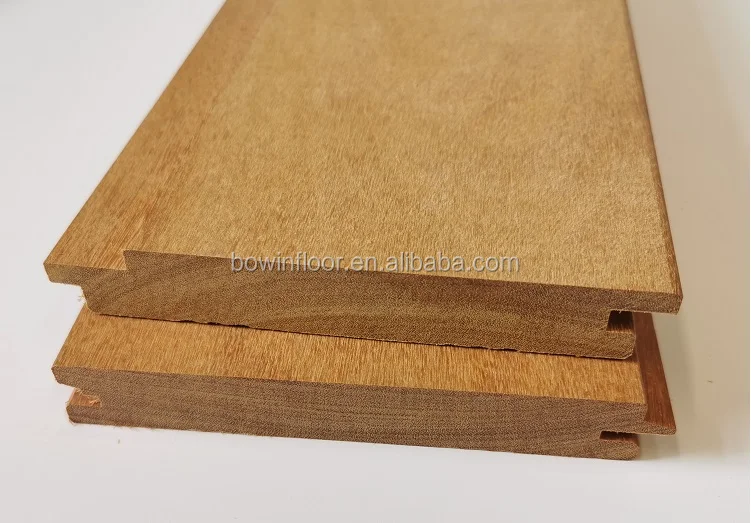
Bowin developed T&G , SHIPLAP and Rain Screen profile for all of the siding planks .
Garapa Siding specifications
1800 x 125 x 18 mm, 2400 x 140 x 18 mm | |
Grade | Select & better sap-free on three sides. Minor defects allowed on bottom side. |
Rainscreen, Shiplap, Shiplap Plus | |
Moisture Content | Kiln Dry 12 to 15 % M.C . |
Janka Hardness | 2340 psi |
Strength ( MOR ) | 21060 Ibf /in2 |
Crushing Strength | 10650 psi |
820 kg/m3 | |
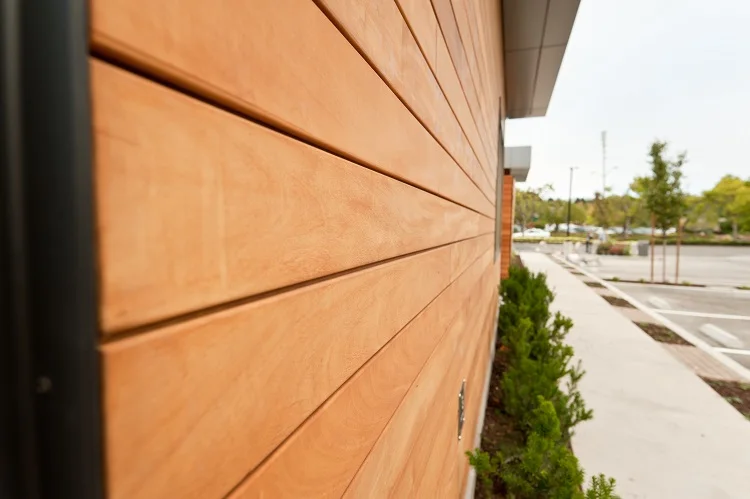
Color | Garapa has a golden to yellowish brown color, which darkens with age. The wood is fairly chatoyant and appears to shift from dark to light colouring in different lighting angles. |
Photosensitivity | Week |
4.8% Tangential, 2.9 % Radial | |
South America | |
Yes | |
Price Range | US$ 36.5-43.5 |
Grain | Grain is usually straight, but can also be interlocked. Uniform medium texture with a moderate amount of natural luster. |
Rated as durable, though vulnerable to termites and other insect attacks. |
Rain Screen Profile Working Principle


Face View and end grain views to show how siding fits on each other of different profile

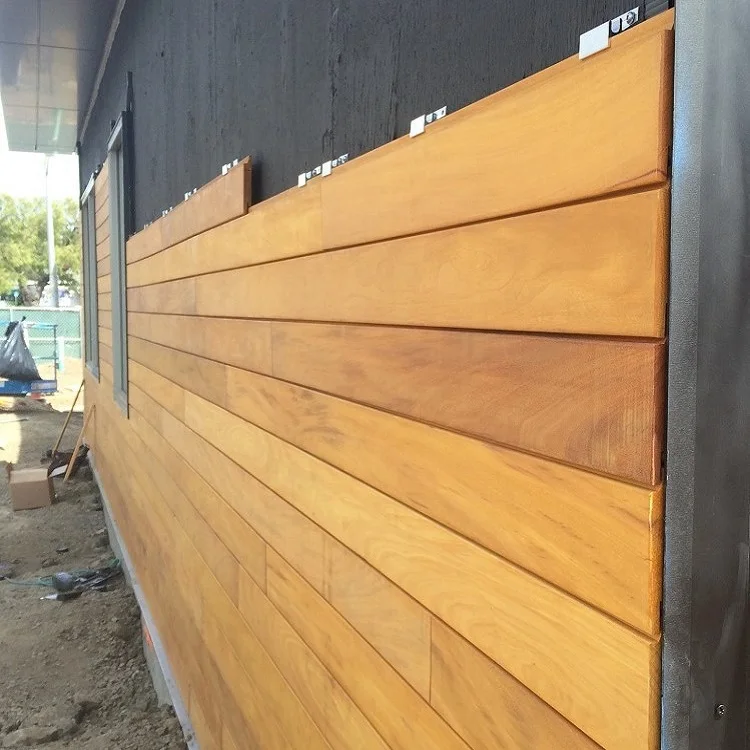
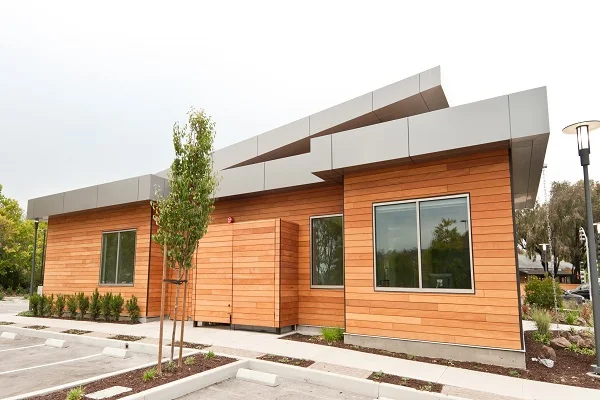
Gallry
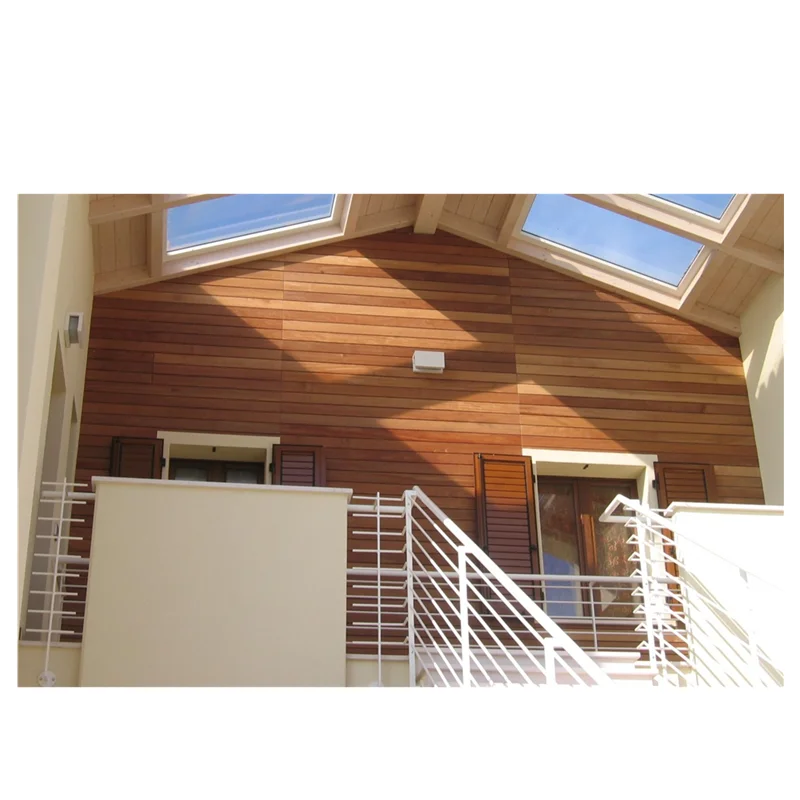
Garapa hardwood siding gallery


Garapa Interior Ceiling

Installation Guide
Install Rainscreen Siding
l Rainscreen Siding Stainless Steel Screws
l Cordless Drill
l End Seal
l Furring Strips (1x3 pine is typical)
l Base board (1x6 PT Pine is typical)
l Vapor Barrier
l Level
l Rubber mallet
l Chalk line
Before starting your rainscreen installation, check that these important items have been done properly:
Pre-Check 1 – Make sure your structural sheathing has been attached properly to the framed wall system per manufacturer’s instructions and local building codes. Plywood or Oriented Strand Board (OSB) may be used. The panel thickness should be rated for structural application and must be a minimum of 7/16” thick. Plywood is typically stiffer and stronger than OSB. Thicker plywood or OSB makes a stronger wall and has greater holding strength of the screw.
Note* : Foam and gypsum boards are not structural panels. (Installation of the Rain Screen System over non-structural panels is possible – refer to Attachment Channels and alternate installation techniques)
Pre-Check 2 – Make sure the drainage plane material has been properly installed. Use the appropriate AWB (Air and Water Barrier) or WRB (Weather Resistant Barriers) as specified by the architect or designer. There are many products available to address requirements of the exterior wall in your climate zone.
Pre-Check 3 – All windows and exterior doors should now be installed properly. Check to ensure that the installation (and flashing) instructions from the door and window manufacturers were properly followed.
Note* Window and door manufacturer’s installation instructions always take precedent over these guidelines.
Step-by-Step Installation Guide:
l Install house wrap to prevent moisture intrusion. (Always follow the vapor barrier manufacturer's instructions.)
l Install the baseboard (horizontal furring strip) with stainless screws. Ensure the baseboard is level.
l Align furring strips vertically on top of baseboard 16" on center. Attach furring strips.
l Install starter clips (included with the hidden siding fastener kit) on your baseboard. Align each starter clip with
the furring strips installed in step 3. (TIP: use a chalk line reel to create a level line).
l Install the first Advantage Rainscreen Siding board on top of the starter clips. (TIP: Use a level to ensure this first board is aligned properly).
l Place hidden siding fasteners into the pre-molded groove
l Drive stainless steel screw through the siding fastener into the furring strip at a 45 degree angle.
l Set the proceeding siding boards on top of the installed siding fasteners. (TIP: Use a rubber mallet to align boards properly).
TIP: Where two pieces of siding abut against each other, use two fasteners. (Use two starter clips if there is more than one piece of siding installed on the baseboard).
Packaging & Shipping
1 : Solid wood & Engineered flooring are packed in white box / customized box with EPE form with pallet, Solid wood flooring 1x 20' container = 1180m2, Engineered flooring 1 x 20' container can load :
= 2000m2, 12 mm thick flooring, 10 pcs/ ctn
= 1650m2, 14 mm thick flooring, 8 pcs/ ctn
= 1350m2, 18 mm thick flooring, 6 pcs / ctn
= 1200m2, 20 mm thick flooring, 4 pcs / ctn
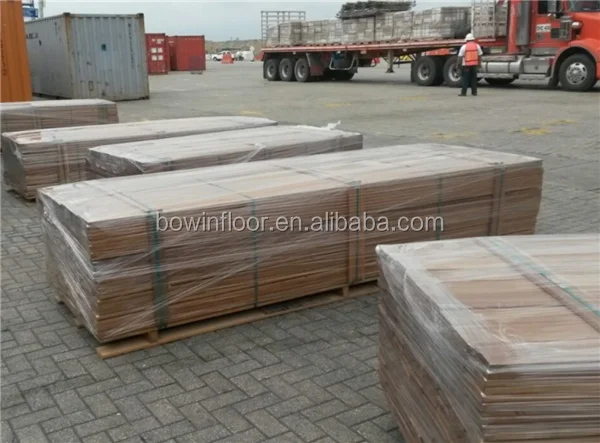
2 : Decking & Cladding packed in pallet with moisture proof shrink warp, 100 m2 / pallet .
3 : Decking tiles & 3d wall panel packed in boxes, 11 pcs / ctn .
4 : Instock products can deliver with 7 days after receipt of deposit, 15-25 days production time for common items, 35-40 days for customized product .
5 : About short planks: Cracking occurs as a result of drying and during production, so there will be about 3-5% short boards for decking & cladding . For fear of cut many oak long planks when installation, so there will be 2 pcs short planks in each carton.
Our Services
1 : Free samples, send by air cargo --- DHL, FEDEX, TNT.
2 : Products can be customized, contact us for further information, OEM is welcome.
3 : Fast reaction, 24 hours online service.
4 : Based on 1x 20' container loading, can print client's brand name on the packing-case.
5 : We supply fumigation files, CO, phytosanitary certificate if needed.
We Recommend


New Arrivals
New products from manufacturers at wholesale prices