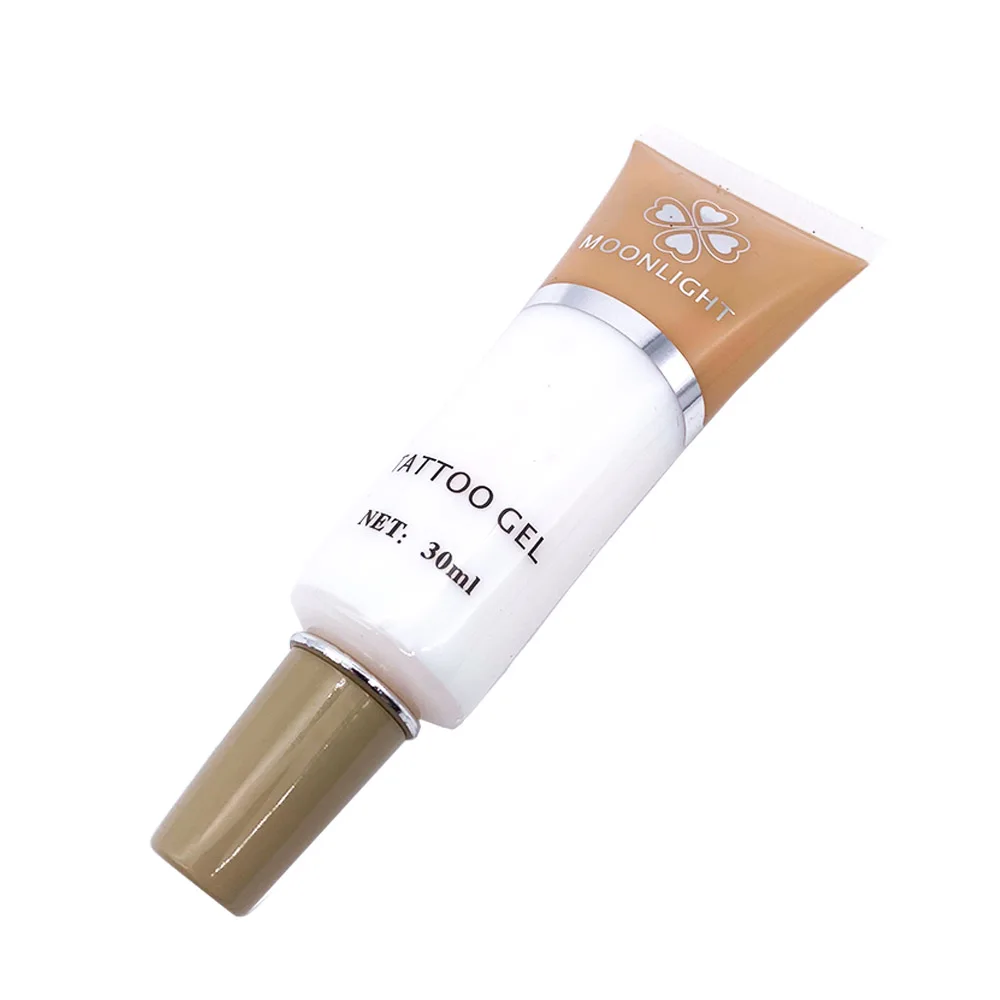

Комплект для ремонта автомобильных фар, жидкость для ремонта и ремонта синего налобного фонаря
- Category: Lubricants >>>
- Supplier: Shouguang Suliang Car Accessories Co. Ltd.
Share on (62491078093):
Product Overview
Description
Related Products

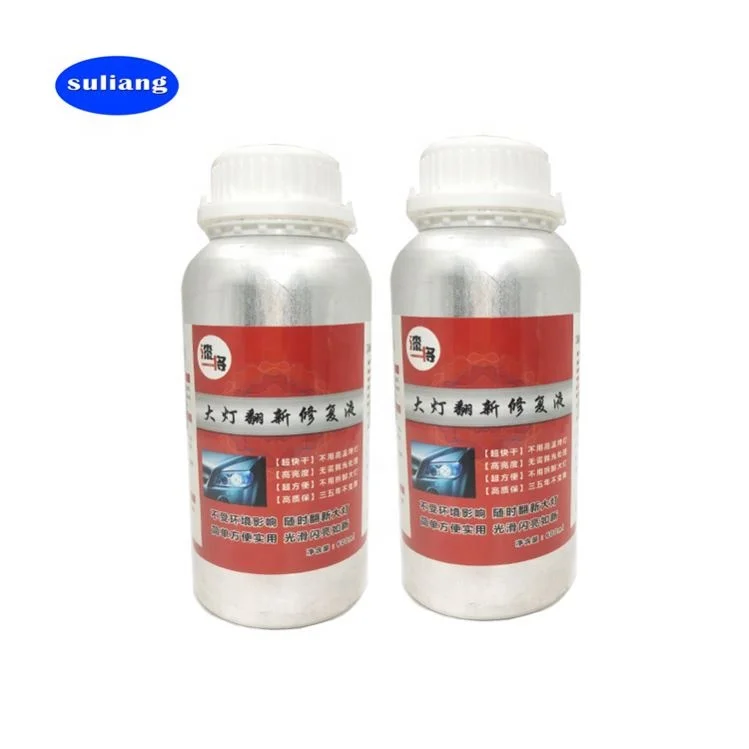
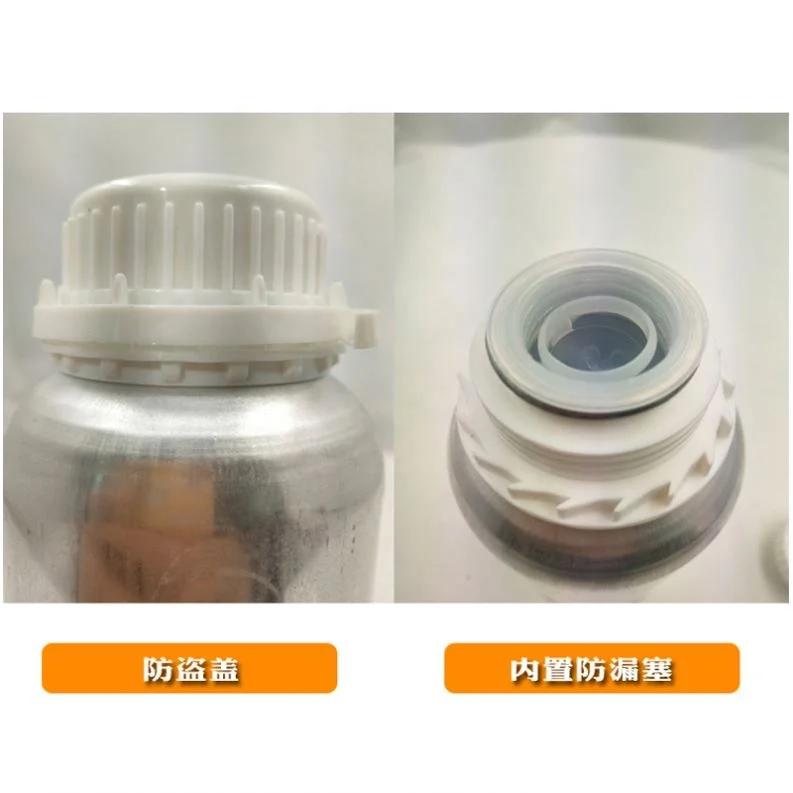
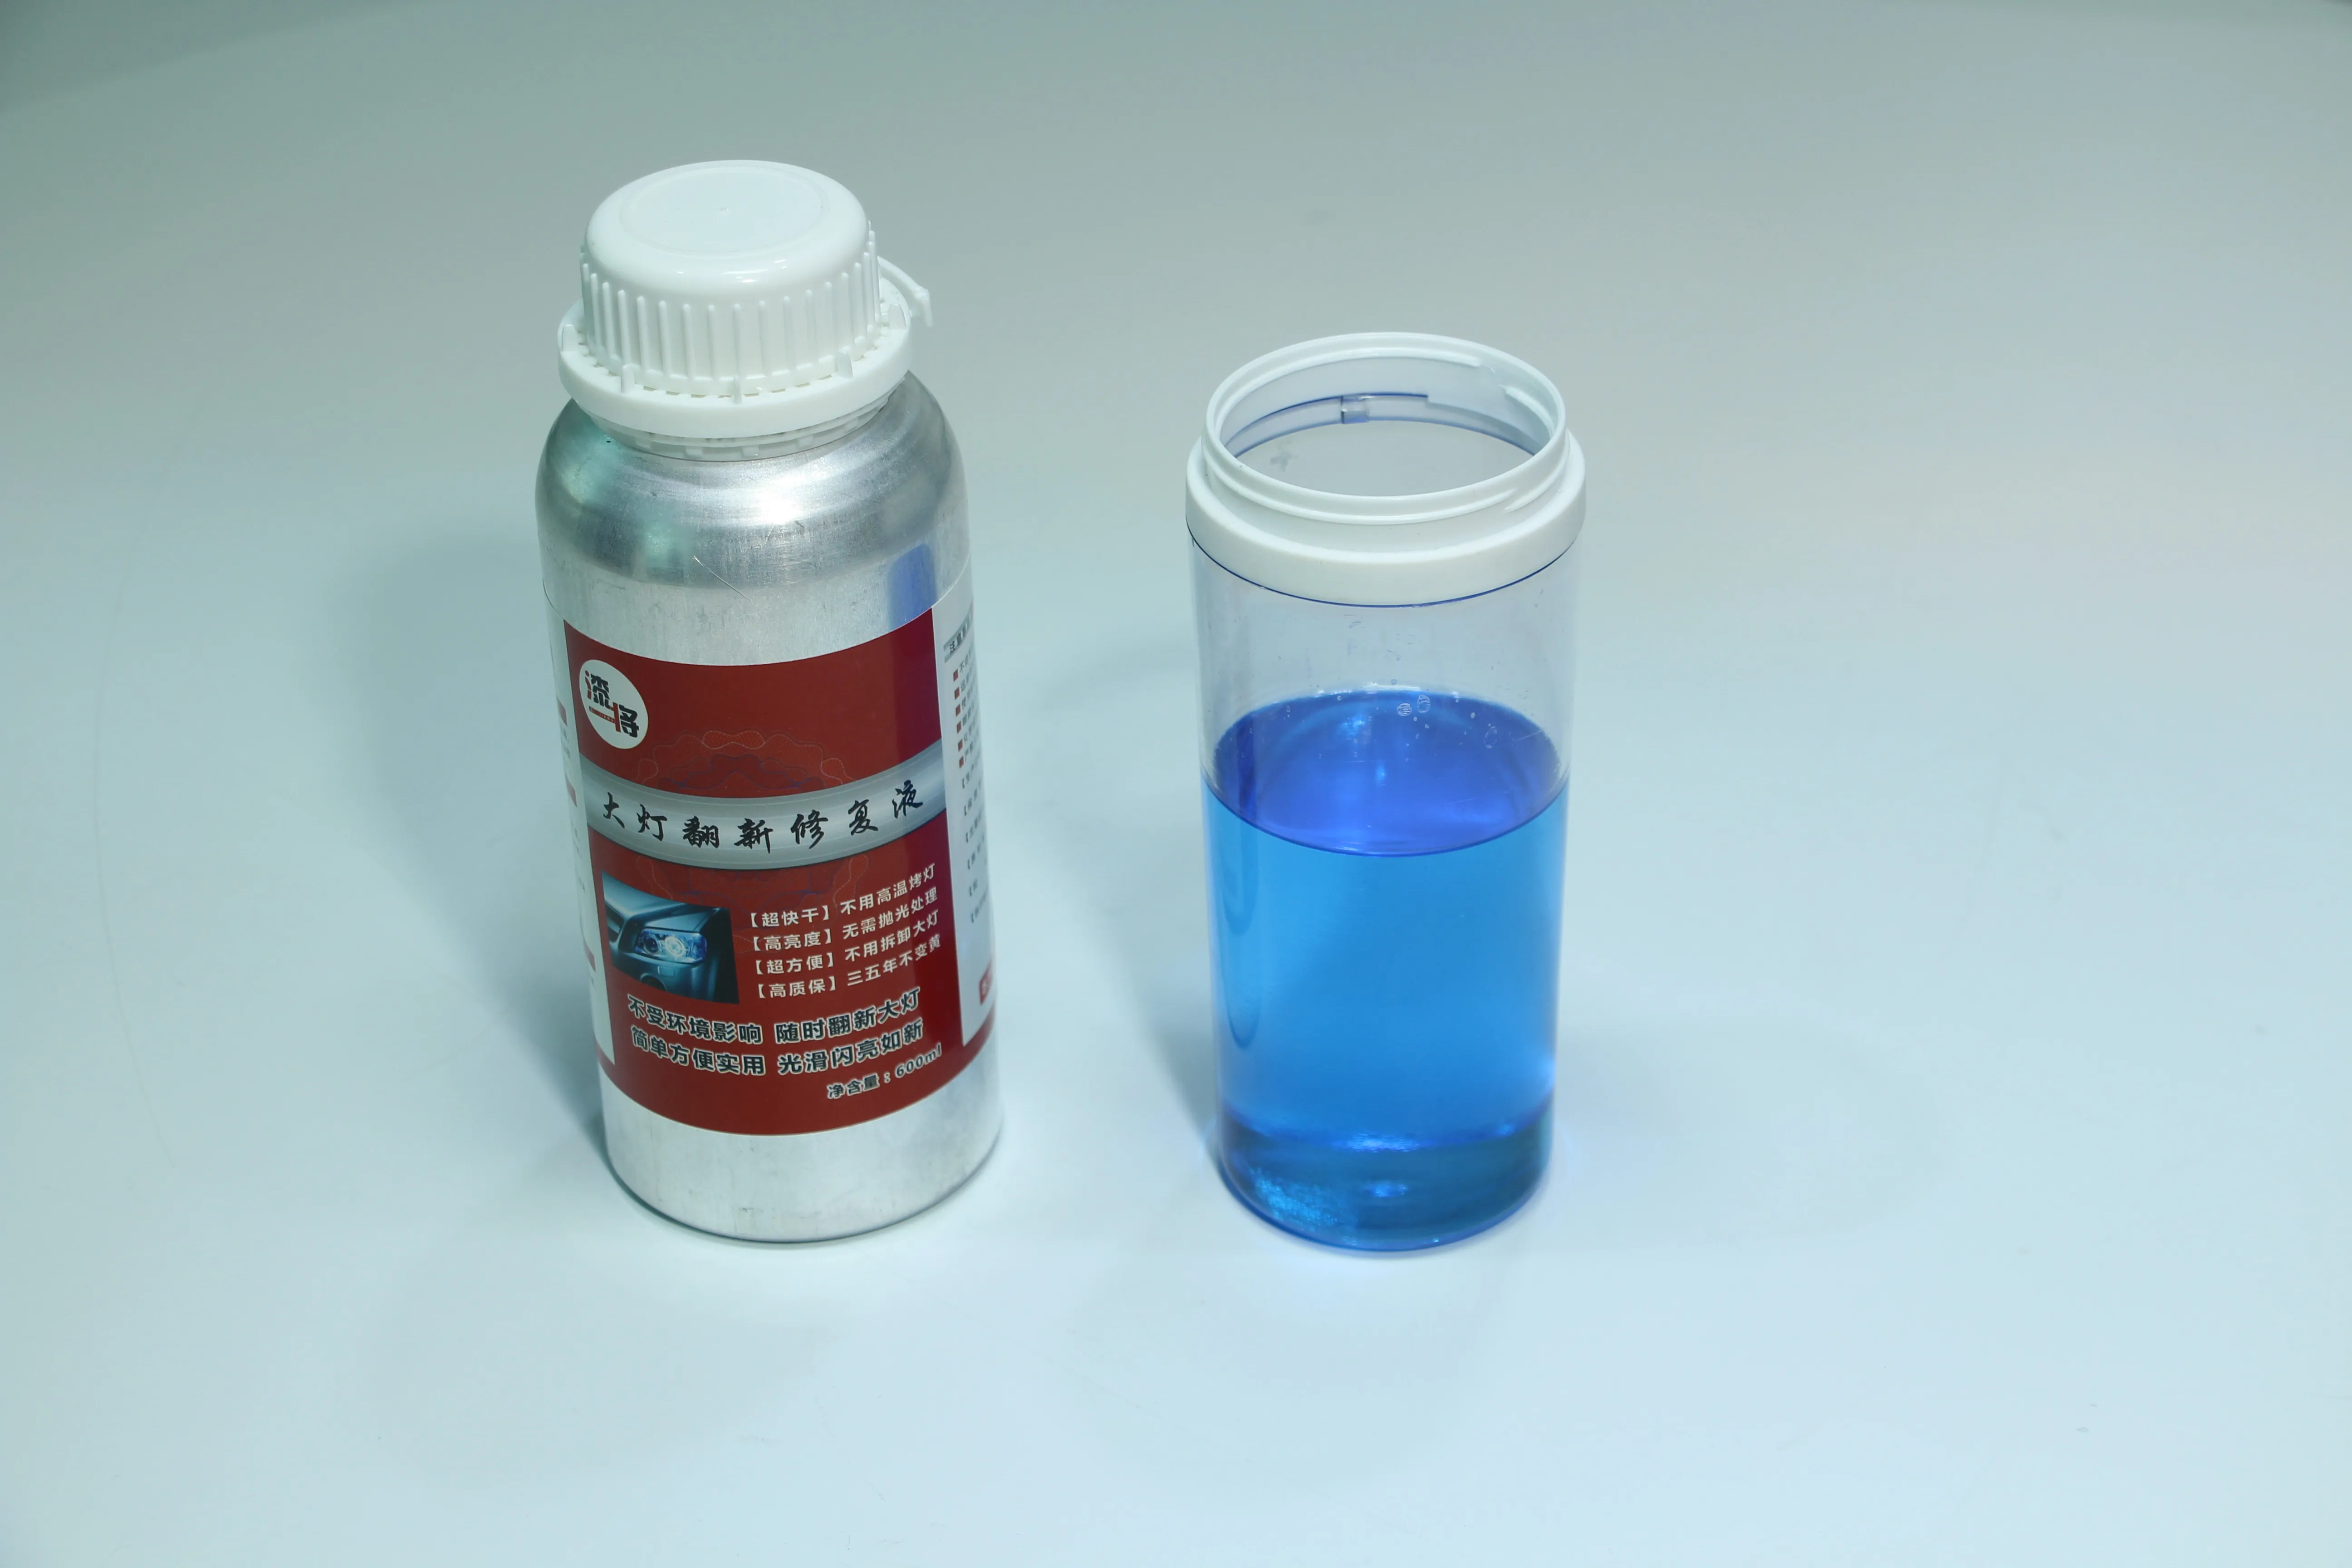
Production Plant Car Headlight Kit Restoration Cleaner
| Product name | Automobile headlight repair liquid |
| brand | QIJIANG |
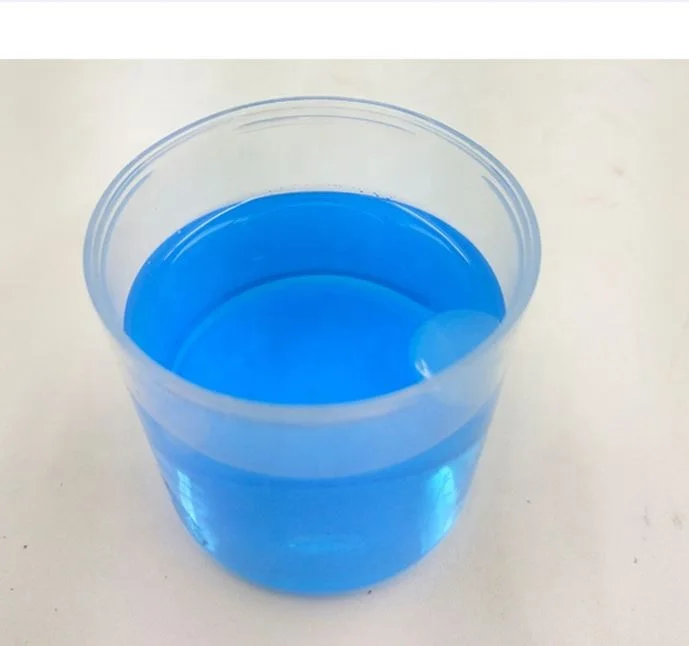
| color | blue |
| weight | 800G |
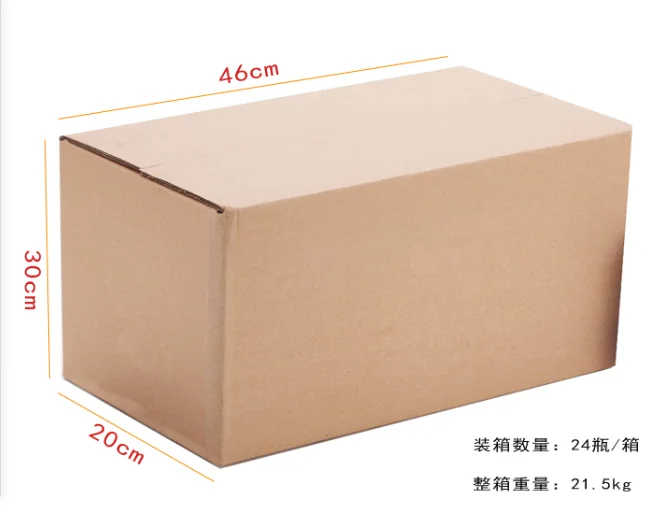
| Packing specification | 24/BOX |
| Packing size | 42*30*20 |
| oem | acceptable |
Product Description


product instructions
Pre-processing
Clean the surface of the lamp with a clean towel, and paste 2-3 layers of paper tape on the periphery of the headlight to prevent the car paint from being sanded by mistake.

Choice of sandpaper
Select different sandpapers according to the severity of the headlights. For severely cracked headlights, you can use sandpaper around 150-180 # to start sanding. If it is yellow and has no cracks, you can directly use 240 sandpaper to start sanding.
Note for polishing headlights:
First use 150 # -180 # to grind severe cracks and scratches
Large area is polished in one direction (such as horizontal polishing), and the edges can be polished freely
The second step is to replace the 240 # sandpaper, the purpose is to quickly remove the sandpaper marks from the first step, so when changing the sandpaper model, you should change the sanding direction (vertical). The edges are not free to be sanded.
The third step is to replace the 320 # sandpaper. The meaning is the same as above. For each type of sandpaper, change the direction of sanding! Although the edges are freely polished, the rough sandpaper texture must also be polished away.
Step 4: 500 #
Step Five: 800 #
Step 6: 1200 # [Key explanation] It is recommended to use 1200 # or 1500 # in the final polishing step, because after the car headlight is polished, the best leveling effect can be achieved, and the brightness of the repaired headlight is the highest.
2000 # sandpaper is too thin, the material usage is less, and the smoothing effect is not good, so there will be a hazy feeling
Part 7: Heat Repair
1: Pour the material into the cup about 1/3, not too much, you can stay for a while when the sandpaper texture is uneven.
2: When the headlights are about to be repaired, you can power off the cups in advance and use the residual temperature inside the cups to fumigate the headlights. When the headlights are all repaired, the temperature in the cups will drop. This way you can save material!
common problem:
1: The same headlight, some parts have effect, some parts have no effect.
A: There is a UV layer on the surface of the headlight. It must be polished to have an effect. Therefore, the headlights that have not been repaired with our products must be polished for the first time with sandpaper not less than 240.
2: The headlights have also been polished with grit paper, but they have no effect.
A: Some headlights are very special, with a one-thousandth chance. In this case, you can only use


Company Information

Our Services

Packaging & Shipping

FAQ

Contact us

We Recommend

Good Quality Magnetic Dusters
US $0.15-$0.60

Hot sale colorful EVA foam magnetic whiteboard eraser
US $0.12-$0.50


New Arrivals
New products from manufacturers at wholesale prices