201 нержавеющая сталь, пчелиный улей, шпуля, пчеловодство, сельское хозяйство, инструменты, оборудование, поставки Apicoltura Apicultura
- Category: >>>
- Supplier: Chengdu Flybee Trading Co. Ltd.
Share on (62580240737):
Product Overview
Description
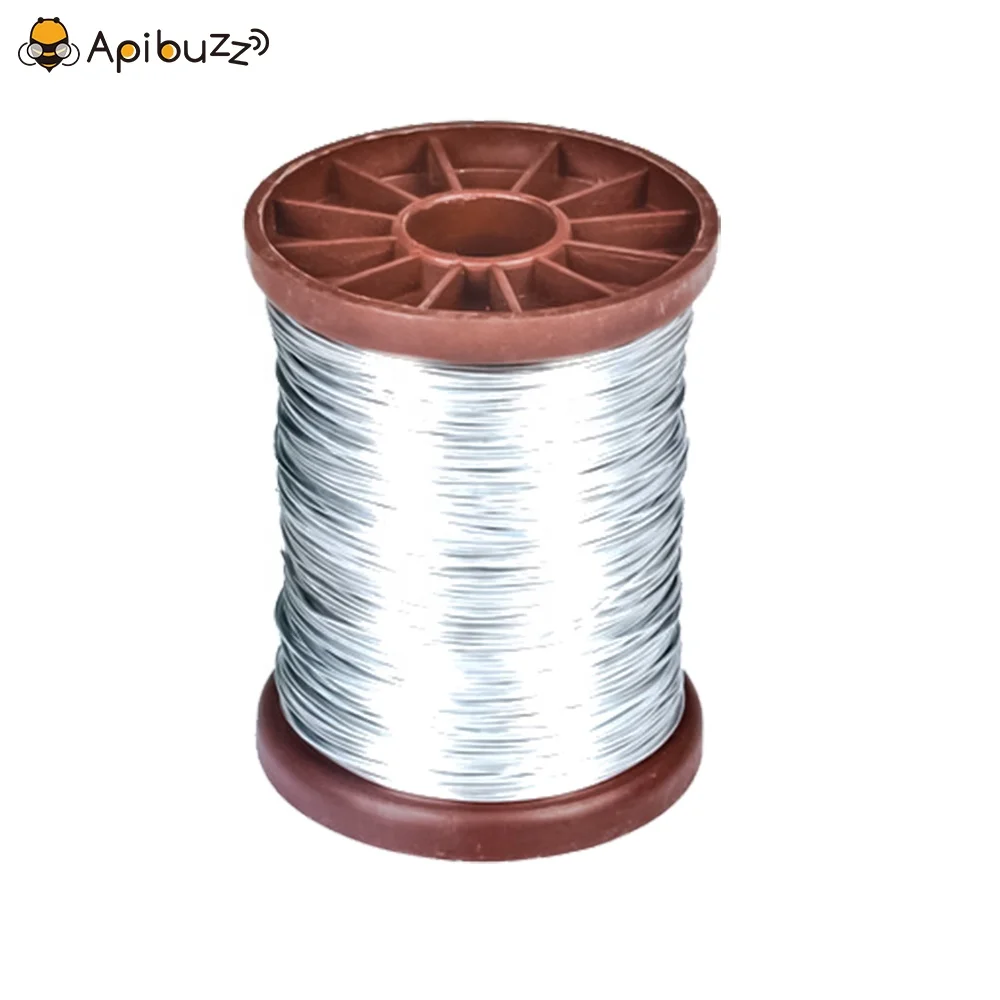
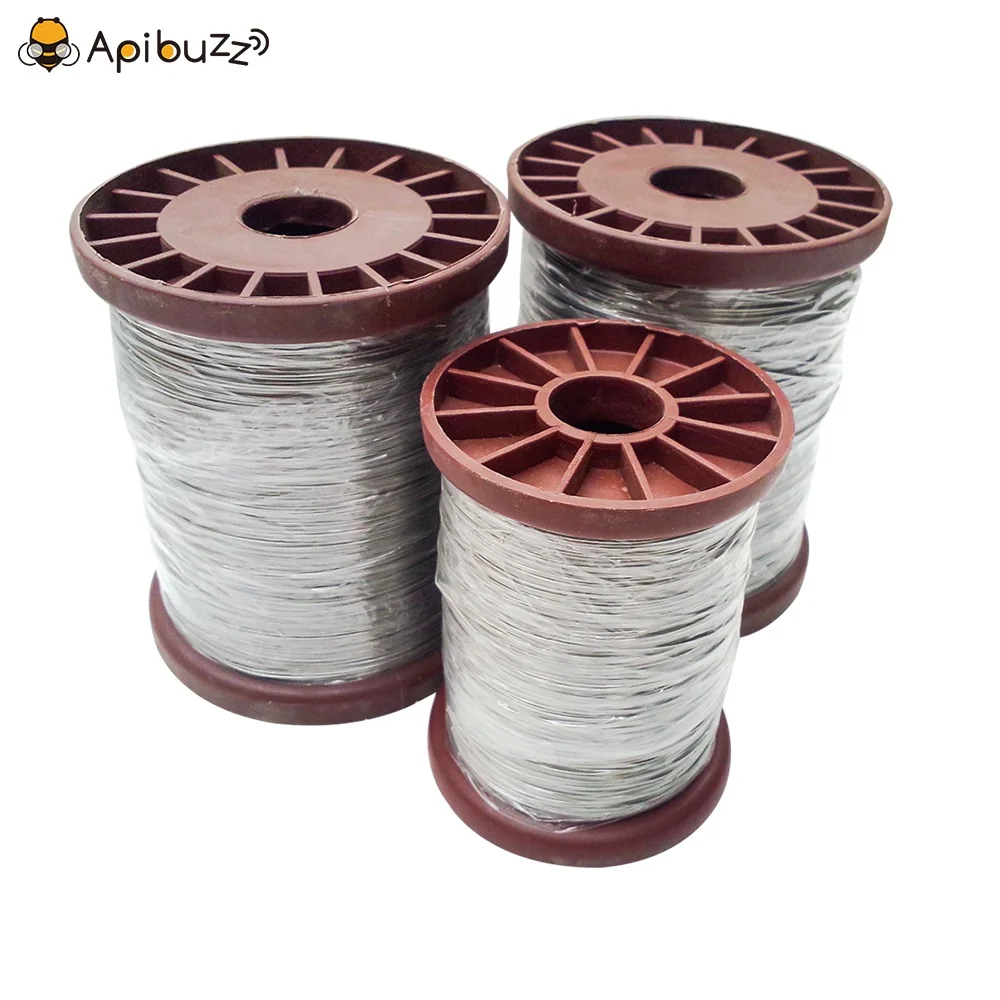
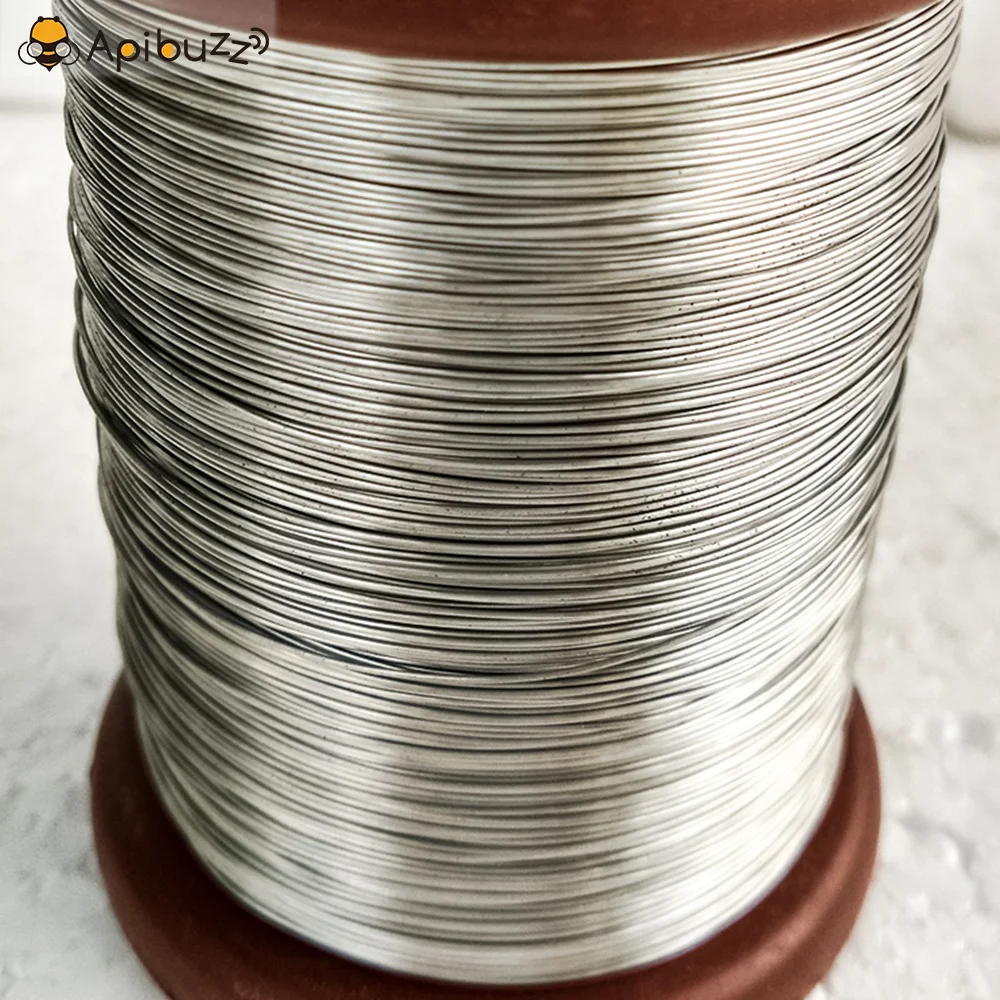
How to Wire a Beehive Frame
Knowing how to wire a beehive frame is a skill that every beekeeper needs to have in his or her arsenal. Adding wire to a beehive frame helps to give the wax foundations strength and support. It also helps to prevent the honeycomb from sagging in the middle of the frame. If you’re going to wire a beehive frame, there are a few things that you are going to need, namely:
- An assembled frame
- Frame wire
- Eyelets
- An eyelet punch
- A hammer
- A needle nose pliers or lineman’s pliers
- 5/8-inch frame nails
Steps
- Firstly, Use the eyelet punch to make holes in the sides of the frame every couple of inches. You want to make at least 4 holes in the side of the frame. For every hole you punch, make sure to punch a parallel hole on the other side of the frame. When you are done punching the holes, install an eyelet in each hole. Make sure they are installed tightly. The eyelets are important since they prevent the wire from digging into the wood.
- Secondly, hammer one of the 5/8-inch nails into the bottom bar of the frame about halfway through, on one side of the groove. You are going to be using this nail later when you are installing your wire so be careful not to hammer it all the way into the bottom bar.
- Next hammer a second 5/8-inch nail into the top bar of the frame on the same side as the first nail. Place this second nail right next to the nail holding the frame together. Again this nail will be needed to secure the wire going into your frame so don’t hammer it all the way through.
- Then start threading your wire through your eyelets on the same side as the two 5/8 inch nails beginning at the bottom. Pass the wire in through the first eyelet, across the frame, and out the matching eyelet on the other side.
- After, thread the wire into the eyelet directly above the one you just pulled it out from and out the matching eyelet on the other side of the frame. Keep going until you have run the wire through all the eyelets.
- Take the loose end of the wire and loop it round the 5/8-inch nail that you hammered into the frame earlier. There should be one next to it. Loop it a couple of times and then hammer the nail all the way into the frame. This will secure the wire to the frame. Snap off the excess wire by swinging it back and forth till it breaks off.
- Pull the wire tight through the frame and secure it by looping it around the other 5/8-inch nail at that end of the frame. Cut the wire with the pliers and make sure that the wire is as tight as possible throughout the frame. Unloop the wire, pull the wires as tight as you can and loop it tightly around the nail. Using the pliers, twist the wire around the nail by turning the nail. The wire should get tighter as the nail twists. Test it by strumming it like a guitar, if it makes a ponging sound then it is perfect. Hammer the nail all the way through the frame and that’s it. That’s it, your beehive frame has been wired.
| About us |
Established in 2019, Chengdu Flybee Trading Co.,Ltd. is an industrial and trading company in the research, development and production of beekeeping medicine, beekeeping equipment,bee product. We are located in Chengdu, with convenient transportation access. All of our products comply with international quality standards and are greatly appreciated in multiple markets throughout the world. If you are interested in any of our products or would like to discuss a customized order,please feel free to contact us. We are looking forward to developing successful business relationship with worldwide beekeepers and distributors in the near future.
|
We Recommend

New Arrivals
New products from manufacturers at wholesale prices