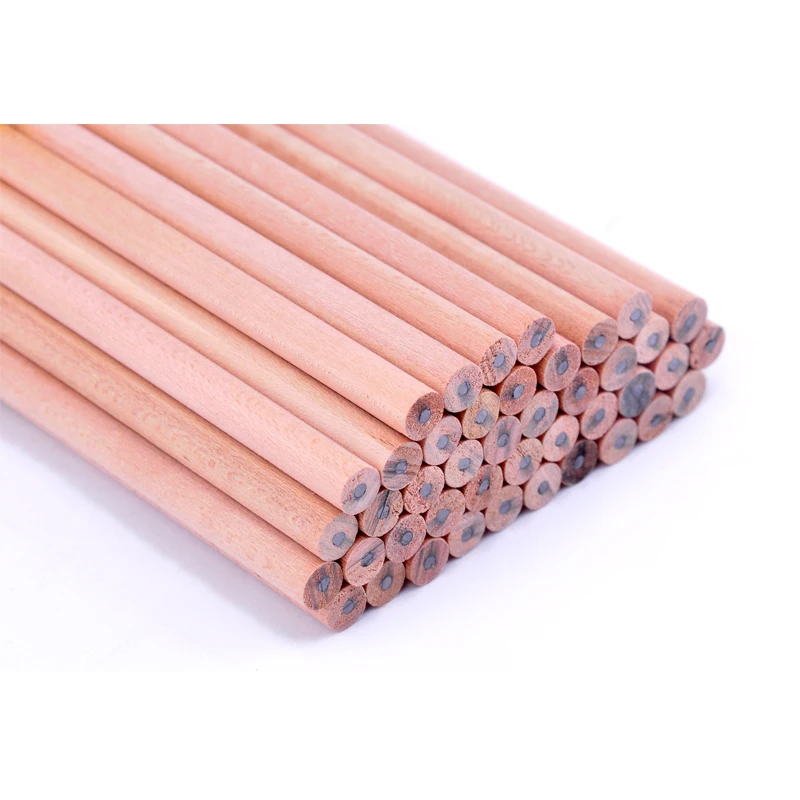
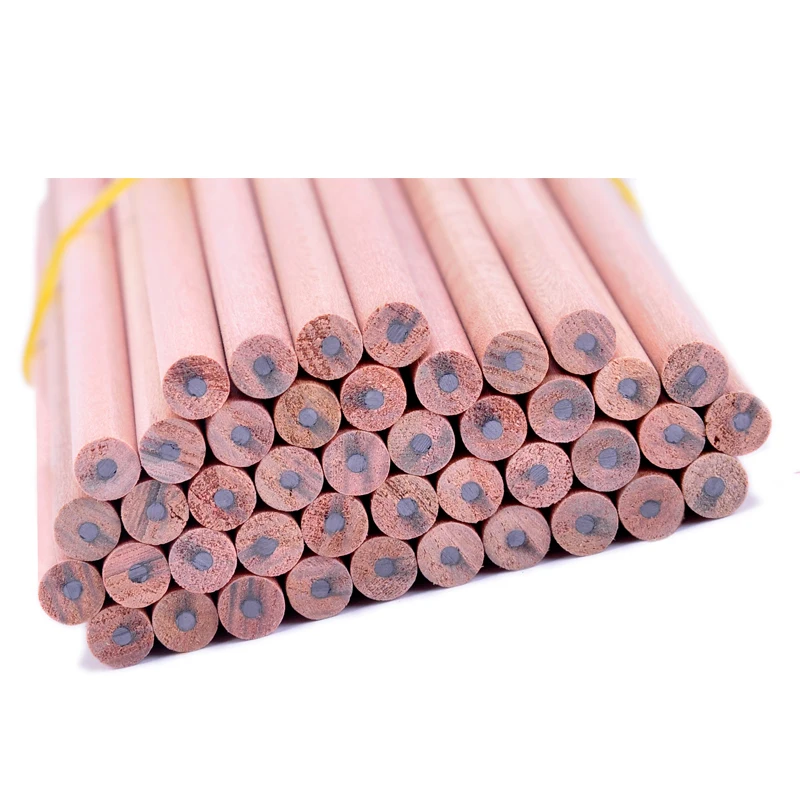
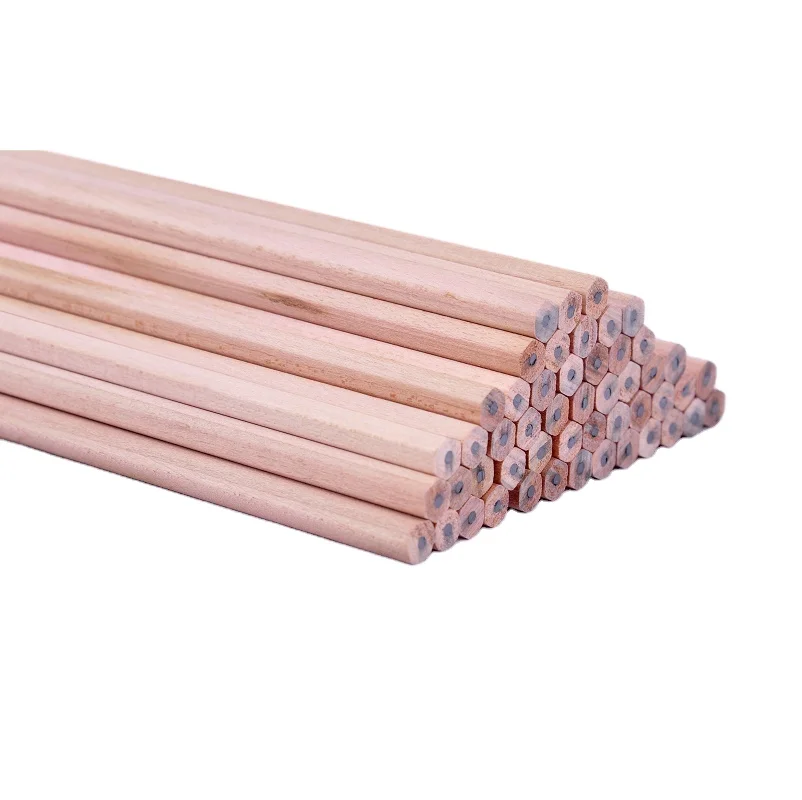
1, Logs are milled into 3 X 3 inch lumber called “pencil stock”. The pencil stock is kiln dried to ensure dimensional stability, and then cut into blocks.
2, “Pencil blocks” are sawed into “slat”, each one-half the thickness of a finished pencil.
3, Pencil slats are saturated with a non-toxic emulsion of wax and stain. This mixture gives the slats their distinctive color, and makes the pencil easier to sharpen.
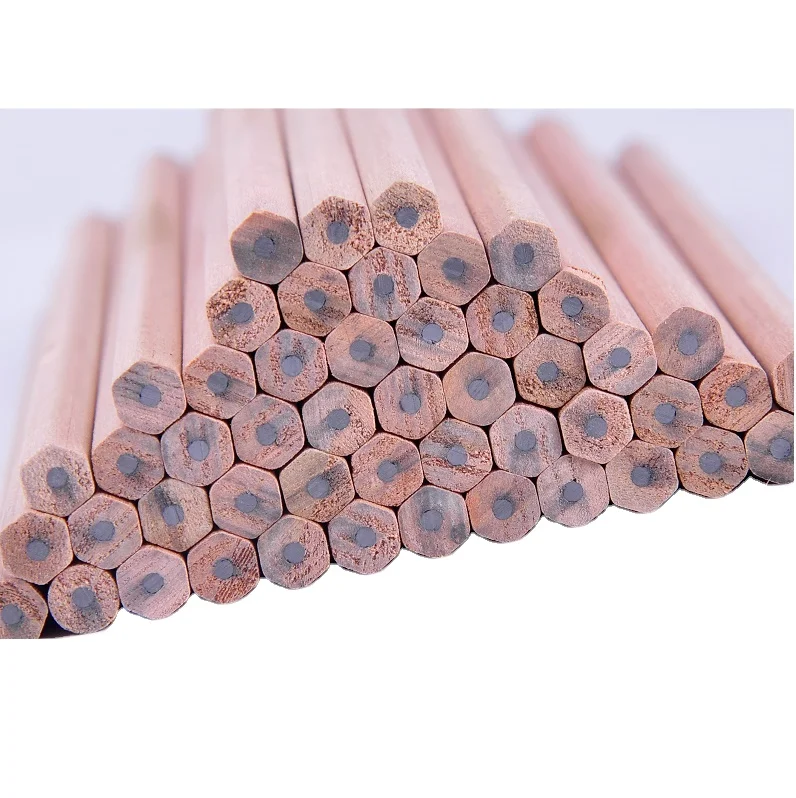
4, each stained slat is machine-grooved to receive the pencil lead.
5, pencil “lead”, a fragile mixture of clay and graphite, is placed into the grooves of the bottom slat.
6, a second grooved slat is glued on top of the leaded slat, forming a “sandwich”. Each sandwich slat is held tightly together in a hydraulic clamp until the glue dries.
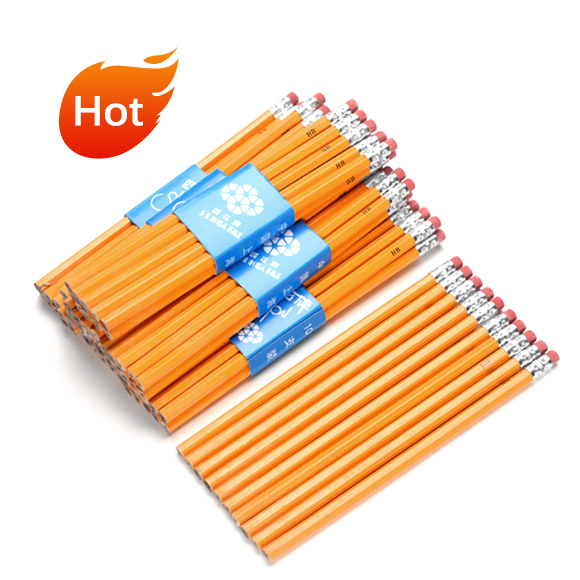
7, high-speed machinery shapes and cuts the sandwich slat into individual pencils.
8, each pencil is sanded to a smooth, satiny finish. After sanding, the pencils are ready for finishing.
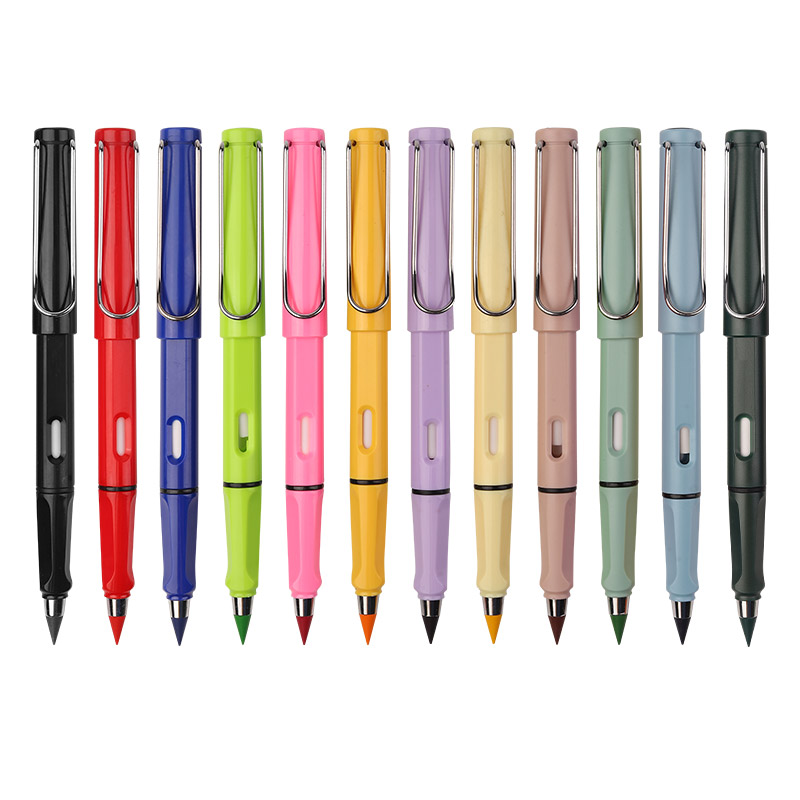
9, several coats of non-toxic finish are applied to each pencil. After the finish has dried, pencils are foil printed with many different logos and designs.
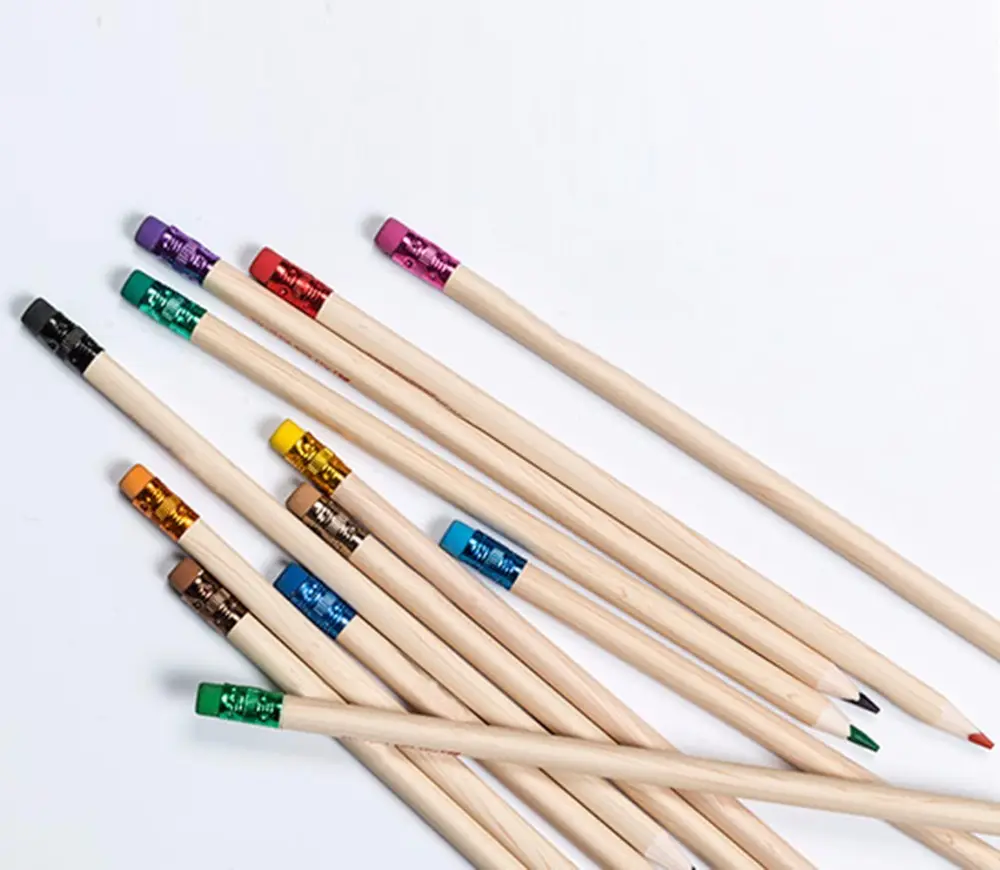
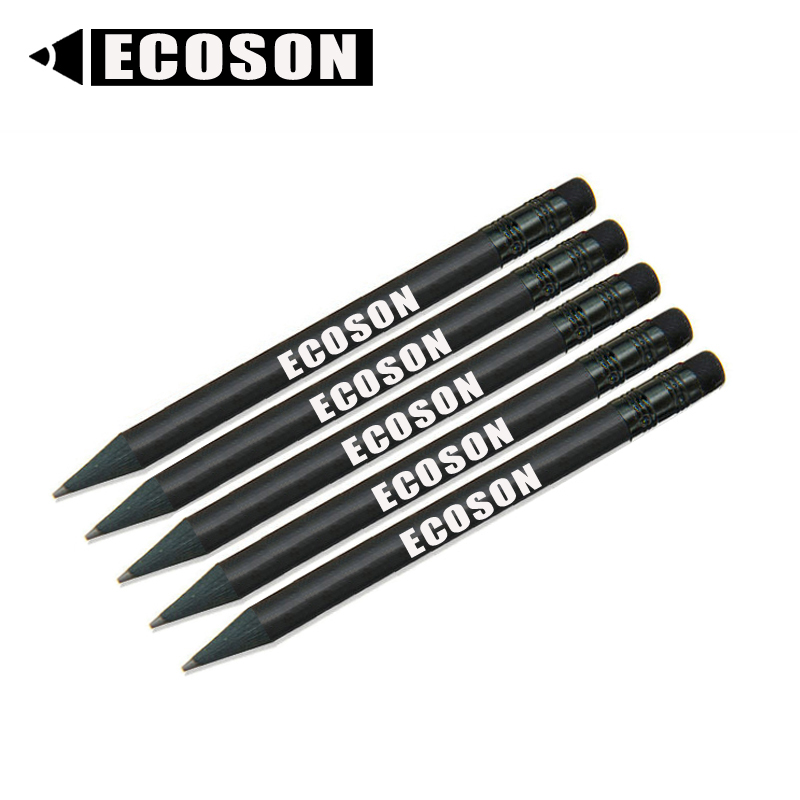
10, a shoulder is cut into one end of the pencil to accept the “ferrule”, a metal device that secures the eraser tip.
11, the ferrule is inserted onto the pencil end, and is pierced to the wood.
12, an eraser is inserted into the ferrule. The ferrule is then pierced again to secure the eraser. The finished pencil is now ready for sharpening and use.
3. Can we visit your factory? Yes, welcome to visit us.
4. Do you inspect machines or test running before packing?
Yes, we do. Each machine will be test running to adjust the accuracy to check the spare parts to suit pencil shape before packing.
5. What is the delivery time? Normally about 25-40 days. 20-35 days of production, 3 days of test running and adjusting, 1 day of cleaning and add lubricating oil, 1 day of packing.
6. What is the payment terms?
T/T 30% in advance, the balance shall be paid before delivery, LC at sight, West union and so on.
Company Information
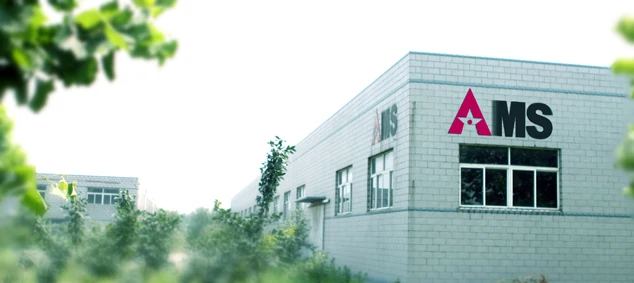
Asya-Met Stationery Co., Ltd. is a branch of Qingdao GreatWall Industry Co., Ltd., was established in 1992, who is engaged in manufacturing all kinds of pencil equipments and pencil slat (linden and poplar). Our capacity is 6million gross pencil slat and 1200sets pencil equipment a year. We supply TURNKEY solution of pencil factory. We are the best choice of your supplier of pencil equipments and raw materials.
Products comply with EN71, ASTM - D4236, T963 testing standard, quality system ISO9001:2000 and environmental protection system ISO14001:2004
Insisting on the management idea of "quality, reputation and mutual benefit", we sincerely hope to provide prompt and excellent services to clients to make development together