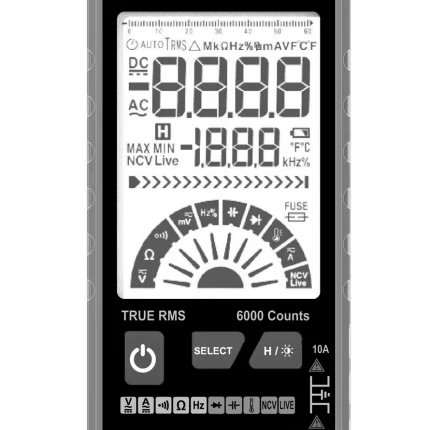
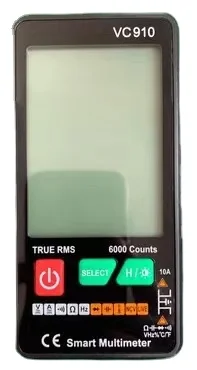
Цифровой мультиметр с автоматическим выбором диапазона и питанием от аккумулятора ЖК дисплеем 6000 отсчетов.
- Категория: >>>
- Поставщик: Dongguan Xinyibao Electronic Technology Co. Ltd.
Сохранить в закладки 1600795890538:
Описание и отзывы
Характеристики

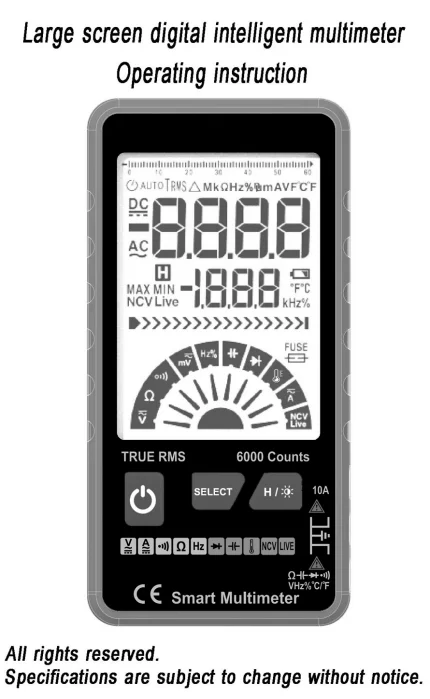
Introduction
This product is a battery-powered, auto-ranging,true RMS digital multimeter with a 6000 counts LCD display.
Safety Information
To avoid possible electrical shock, fire, or personal injury, please read all safety information product only as specified, or the protection
supplied by the product can be compromised.
Examine the case before you use the product.Look for cracks or missing plastic. Carefully look at the insulation around the terminals.
The measurement must be made within the allowable measuring range.
Do not use the product around explosive gas,vapor, or in damp or wet environments.
When the voltage to be measured exceeds 36V DC or 25V AC,the operator shall be careful enough to avoid electric shock.
Misuse of mode or range can lead to hazards,be cautious.“OL" will be shown on the display when the input is out of range.
Low level of a battery will result in incorrect readings. Change the batteries when battery level is low. Do not make measurements when the battery door is not properly placed.
Instruction Buttons

Measurements
Measure DC/AC Voltage
1. Only when the voltage is higher than 1V, this product will show the display. Using the SELECT key to SELECT dc voltage or AC voltage mode for measurement is not restricted by the threshold.
2. Put the red lead into the terminal, put the black lead to the COM terminal.
3. The DC or AC voltage will be auto matched. ( you can also SELECT ac or DC voltage exclusive measurement mode by SELECT key)
4. Touch the probes to the correct test points of the circuit to measure the voltage.
5. Read the measured voltage on the display.
Measure Resistance
1. Put the red lead into the terminal, put the black lead to the COM terminal.
2. The resistance measure will be auto matched.
(you can also SELECT Resistance exclusive measurement mode by SELECT key)
3. Touch the probes to the desired test points of the circuit to measure the resistance.
4. Read the measured resistance on the display.
Test for Continuity
1. Put the red lead into the terminal, put the black lead to the COM terminal.
2. The resistance measure will be auto matched.
3. Touch the probes to the desired test points of the circuit.
4. The built-in beeper will beep when the resistance is lower than 50Ω, which indicates a short circuit while .
Test for NCV
1. Press“SELECT”to selectively enter NCV test mode.
2. Pick up the tester and move it around, thebuilt-in beeper will beep when the inner sensor detects AC voltage nearby. The stronger the voltage is, the quicker the beeper beeps while the central LED light will twinkle.
Test for capacitance
1. Connect the black test lead to the COM terminal and the red lead to the Terminal.
2. Press“SELECT”to selectively enter Capacitance test mode.
3. Connect the red probe to the anode side and the black probe to the cathode side of the capacitor being tested.
4. Read the measured capacitance value on the display once the reading is stablized.
Test for Current
1. Connect the black test lead to the "COM" and the red lead to the“10A” Terminal.
2. Press SELECT key to select DC or AC current test mode.
3. Touch the probes to the correct test points of the circuit to measure the current.
4. Read the measured current on the display
5. When you input the current over 1 A,the testing time should be less than 3 seconds.
Test for frequency
1. Connect the black test lead to the COM terminal and the red lead to the Terminal.
2. Press“SELECT”to selectively enter Frequency mode.
3. Contact the probe with the test point to be measured.
4. The measured frequency values are displayed on the screen.
TEMPERATURE MEASUREMENT
1) Press SELECT key to select mode..
2) Plug the thermocouple into the meter's “ ” and “COM” terminals,
3) The working end (testing end) on or inside the object being tested.
4) The value of the temperature is shown on the display.
Note:
a) The testing temperature is displayed automatically when the thermocouple is put into the testing terminals.
b) The surrounding temperature is shown when the circuit of the sensor is cut off.
c) The limit temperature measured by the thermocouple given together with the instrument is 250℃, 300℃ is acceptable within short period.
Specifications


LIMITED WARRANTY
AND LIMITATION OF LIABILITY
Customers enjoy one-year warranty from the date ofpurchase.
This warranty does not cover fuses, disposable batteries,damage from misuse accident, neglect,alteration,contamination, or abnormal conditions of operation or handling, including failures caused by use outside of the product's specifications, or normal wear and tear of mechanical components.
SALES AND SERVICE NETWORK

FAQ
Q1. What is your terms of packing?
A: Gift box. If you have legally registered patent,
we can pack the goods in your branded boxes after getting your authorization letters.
Q2. What is your terms of payment?
A: T/T 30% as deposit, and 70% before delivery. We'll show you the photos of the products and packages
before you pay the balance.
Q3. What is your terms of delivery?
A: EXW, FOB, CFR, CIF
Q4. How about your delivery time?
A: 30 days after payment.
on the items and the quantity of your order.
Q5. Can you produce according to the samples?
A: Yes, we can produce by your samples or technical drawings. We can build the molds and fixtures.
Похожие товары
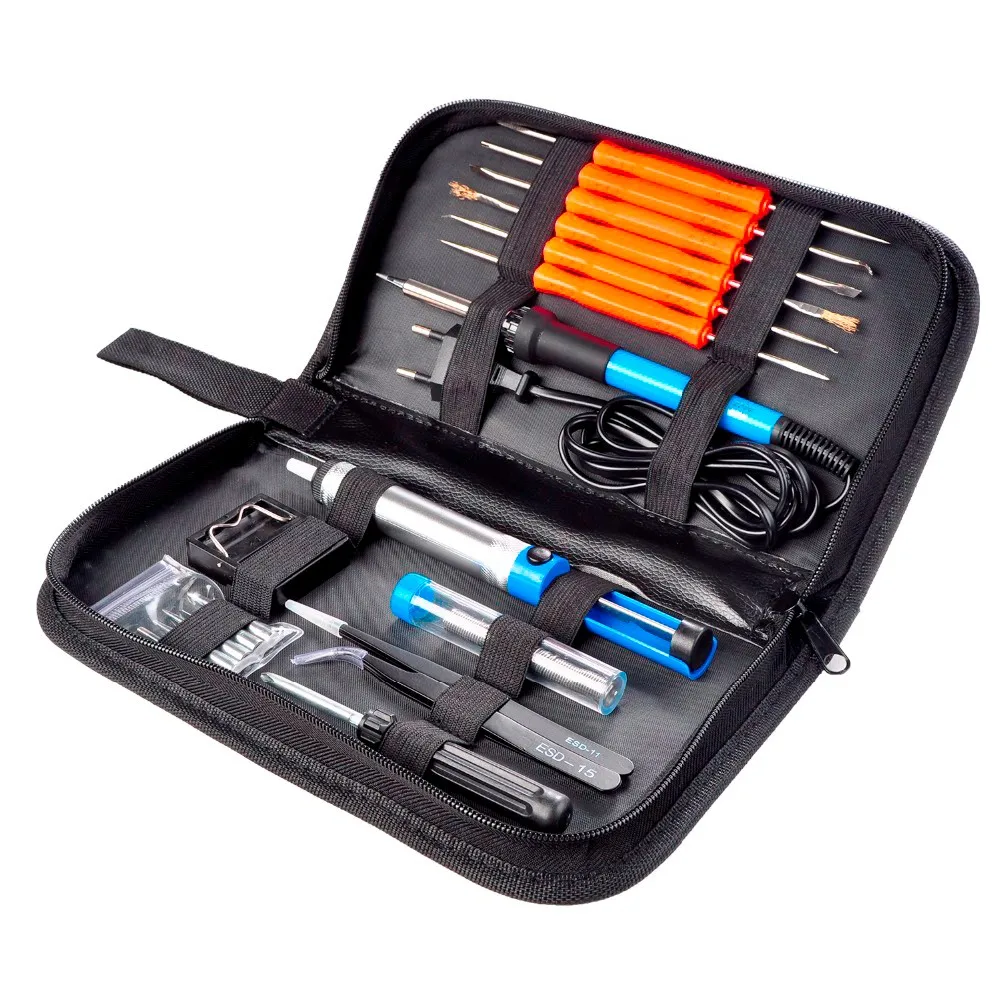
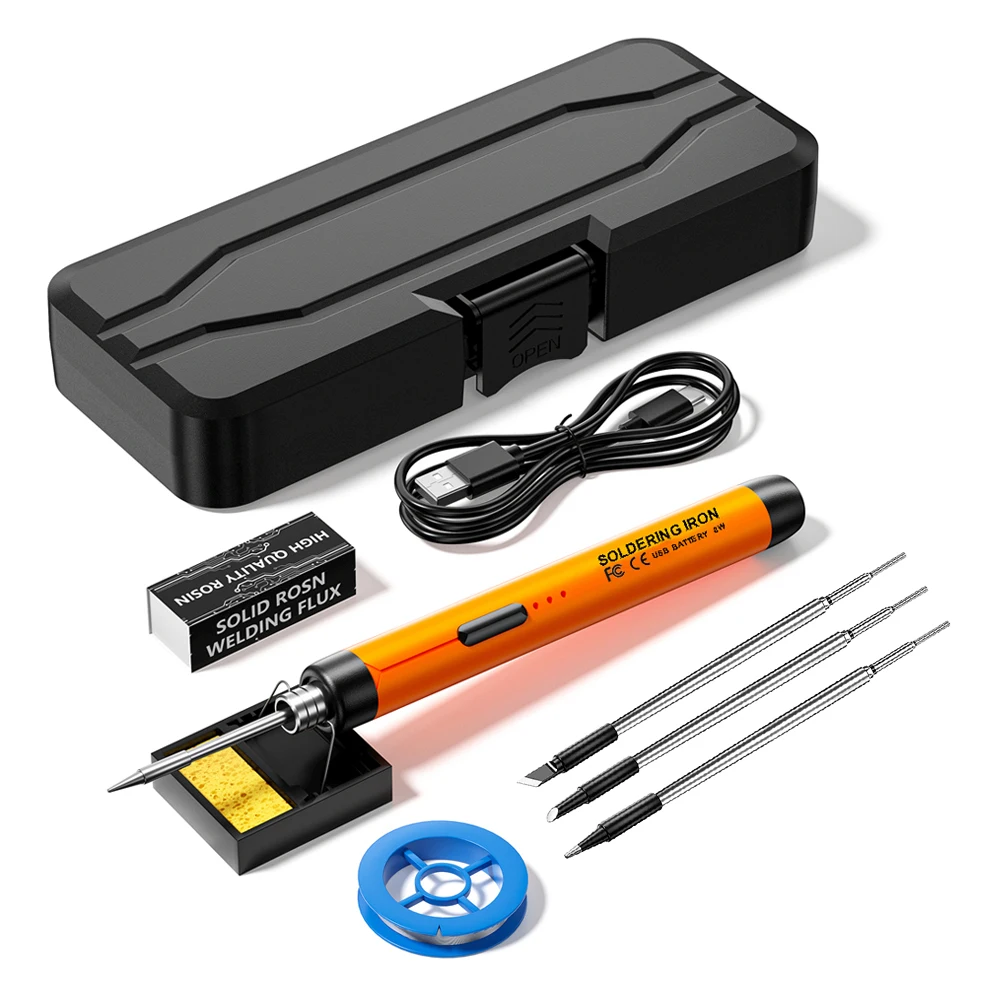
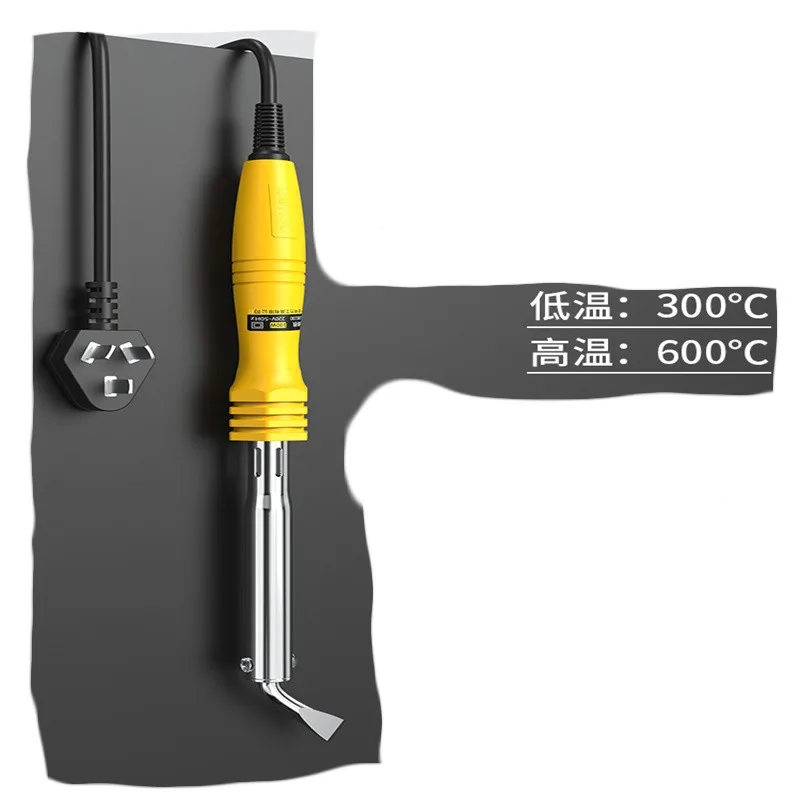
60 Вт, 110 В/220 В, набор инструментов для пайки с регулируемой температурой
596,40 ₽ - 650,62 ₽
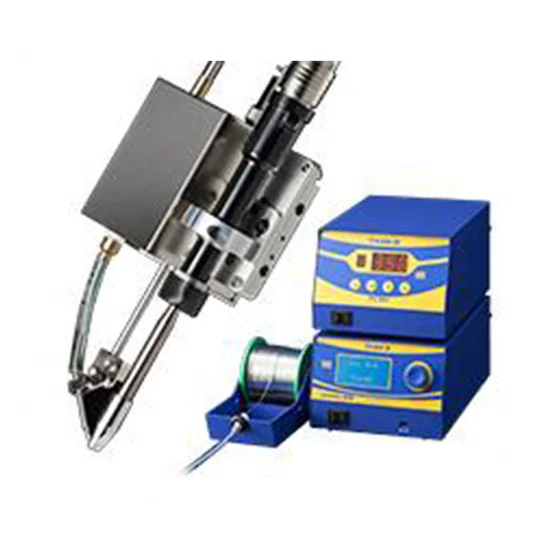
Паяльник с регулируемым напряжением HAKKO, паяльное оборудование начального уровня, совместимое с RoHS, паяльный пистолет 981
615 915,92 ₽
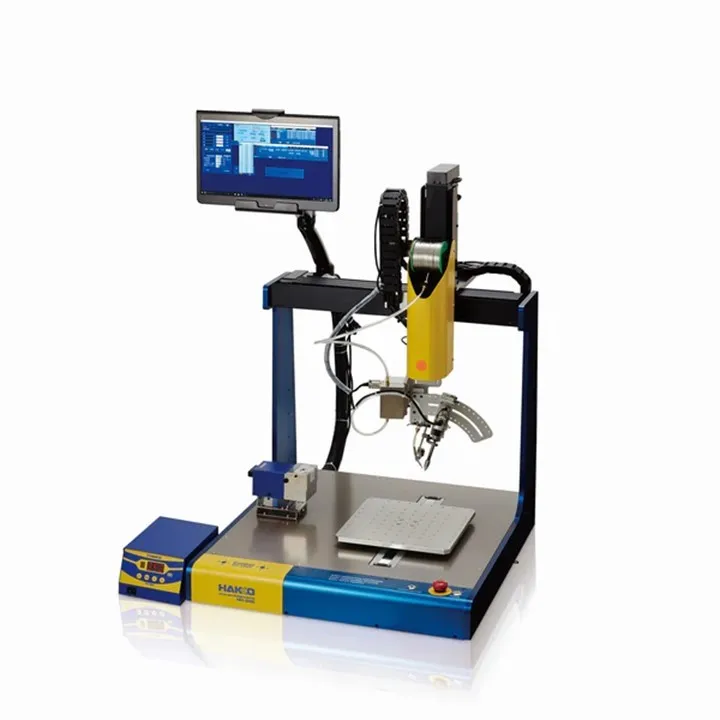
HU-200 паяльный робот HAKKO
2 819 333,40 ₽
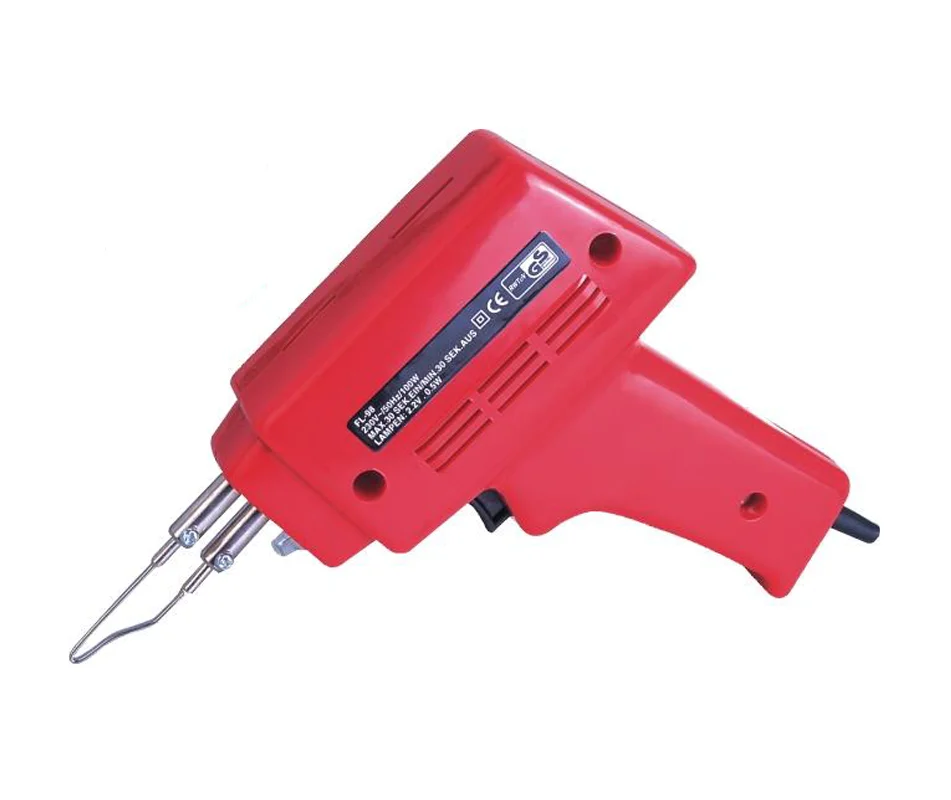
100 Вт паяльник пистолет
596,40 ₽ - 601,82 ₽
Мини-паяльник с беспроводной зарядкой USB5V8W 800mAh Type-C
737,37 ₽ - 813,27 ₽
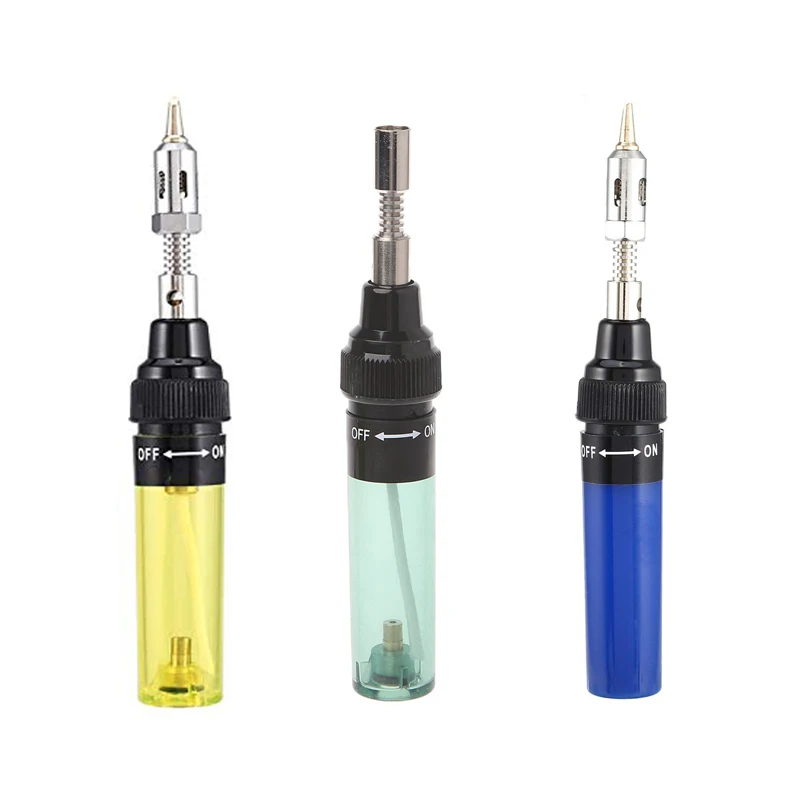
Портативный бутановый Газовый паяльник, Электрический выдувной факел, пистолет, беспроводные инструменты
487,97 ₽ - 650,62 ₽
Паяльник высокой мощности
759,06 ₽
Новые поступления
Новинки товаров от производителей по оптовым ценам
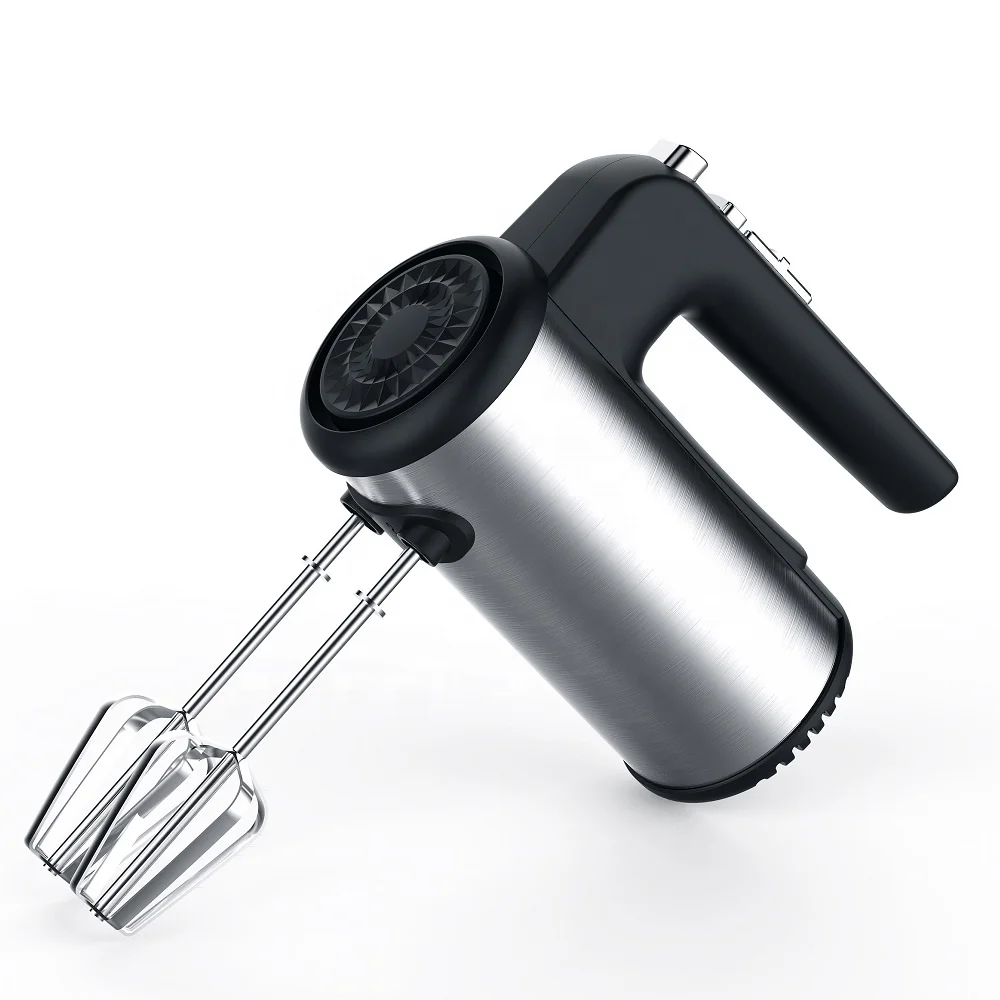
300 Вт безопасный для посудомоечной машины 5-скоростной турбо с крючками для теста, венчик, электрический ручной миксер
571,11-666,30 ₽
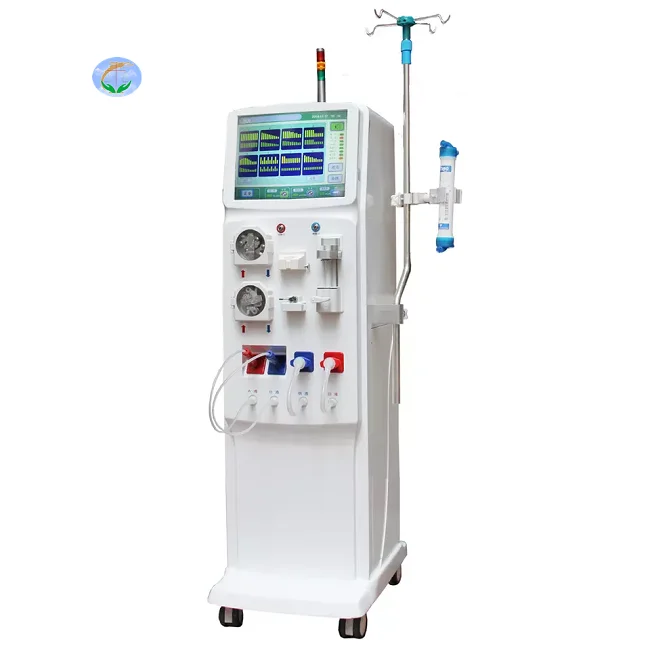
Медицинский портативный прибор для гемодиализа катетер и кровообращения диализа почек ухода за здоровьем
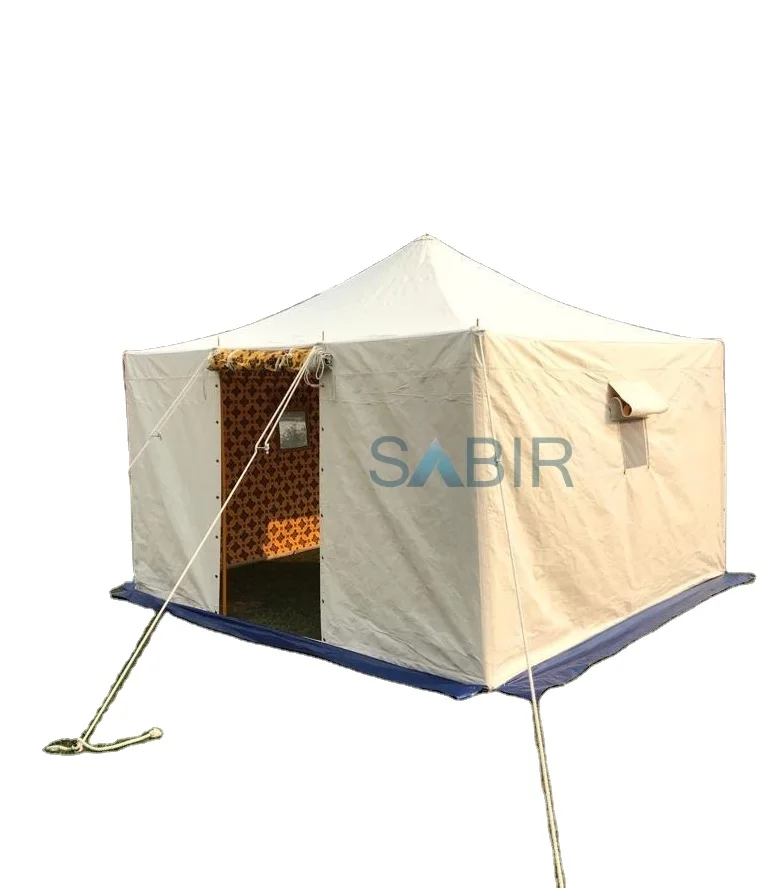
Многофункциональная роскошная водонепроницаемая палатка из брезента для кемпинга однокомнатная всесезонная с настраиваемым размером новый стиль рынка Ближнего Востока
45 688,76-56 159,10 ₽

Санитарно-гигиеническое сиденье для
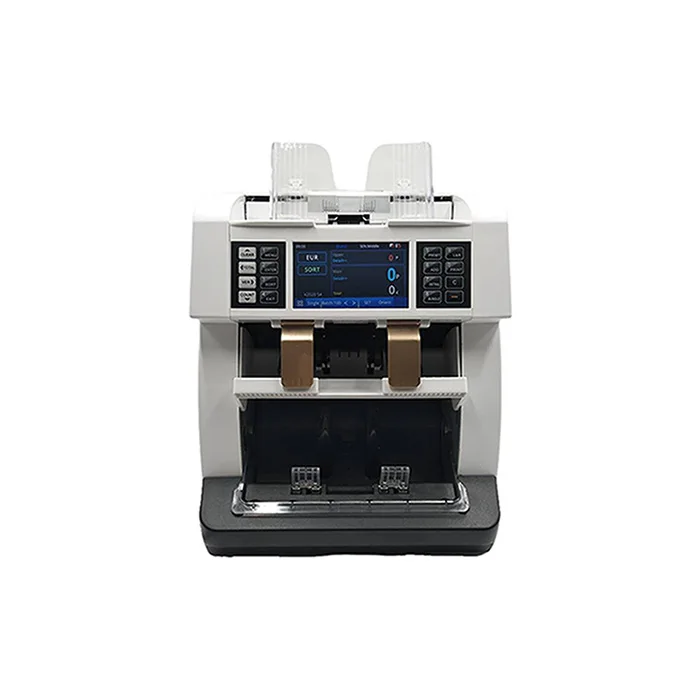
Счетчик купюр с низким уровнем шума на тонкопленочных транзисторах, автоматическое определение разных валют, 4,2 дюйма
50 448-52 351,70 ₽

Ожерелье из нержавеющей стали изящное ожерелье с чакрами на заказ модное позолоченное ювелирное изделие водонепроницаемой подвеской без
121,84-217,03 ₽

Мужские спортивные кроссовки с логотипом
856,67-999,45 ₽

OEM ODM, настоящее изобретение, персонализированный прямой автоматический открытый пользовательский логотип, рекламный зонт для гольфа с логотипом для отелей
842,39-938,53 ₽