The steps for using the garlic puller are as follows:
1、 Preparation workClean all components of the garlic puller and ensure they are in a dry state. Meanwhile, prepare the garlic cloves that need to be chopped. Be careful with the blades when cleaning to avoid cutting your hands.
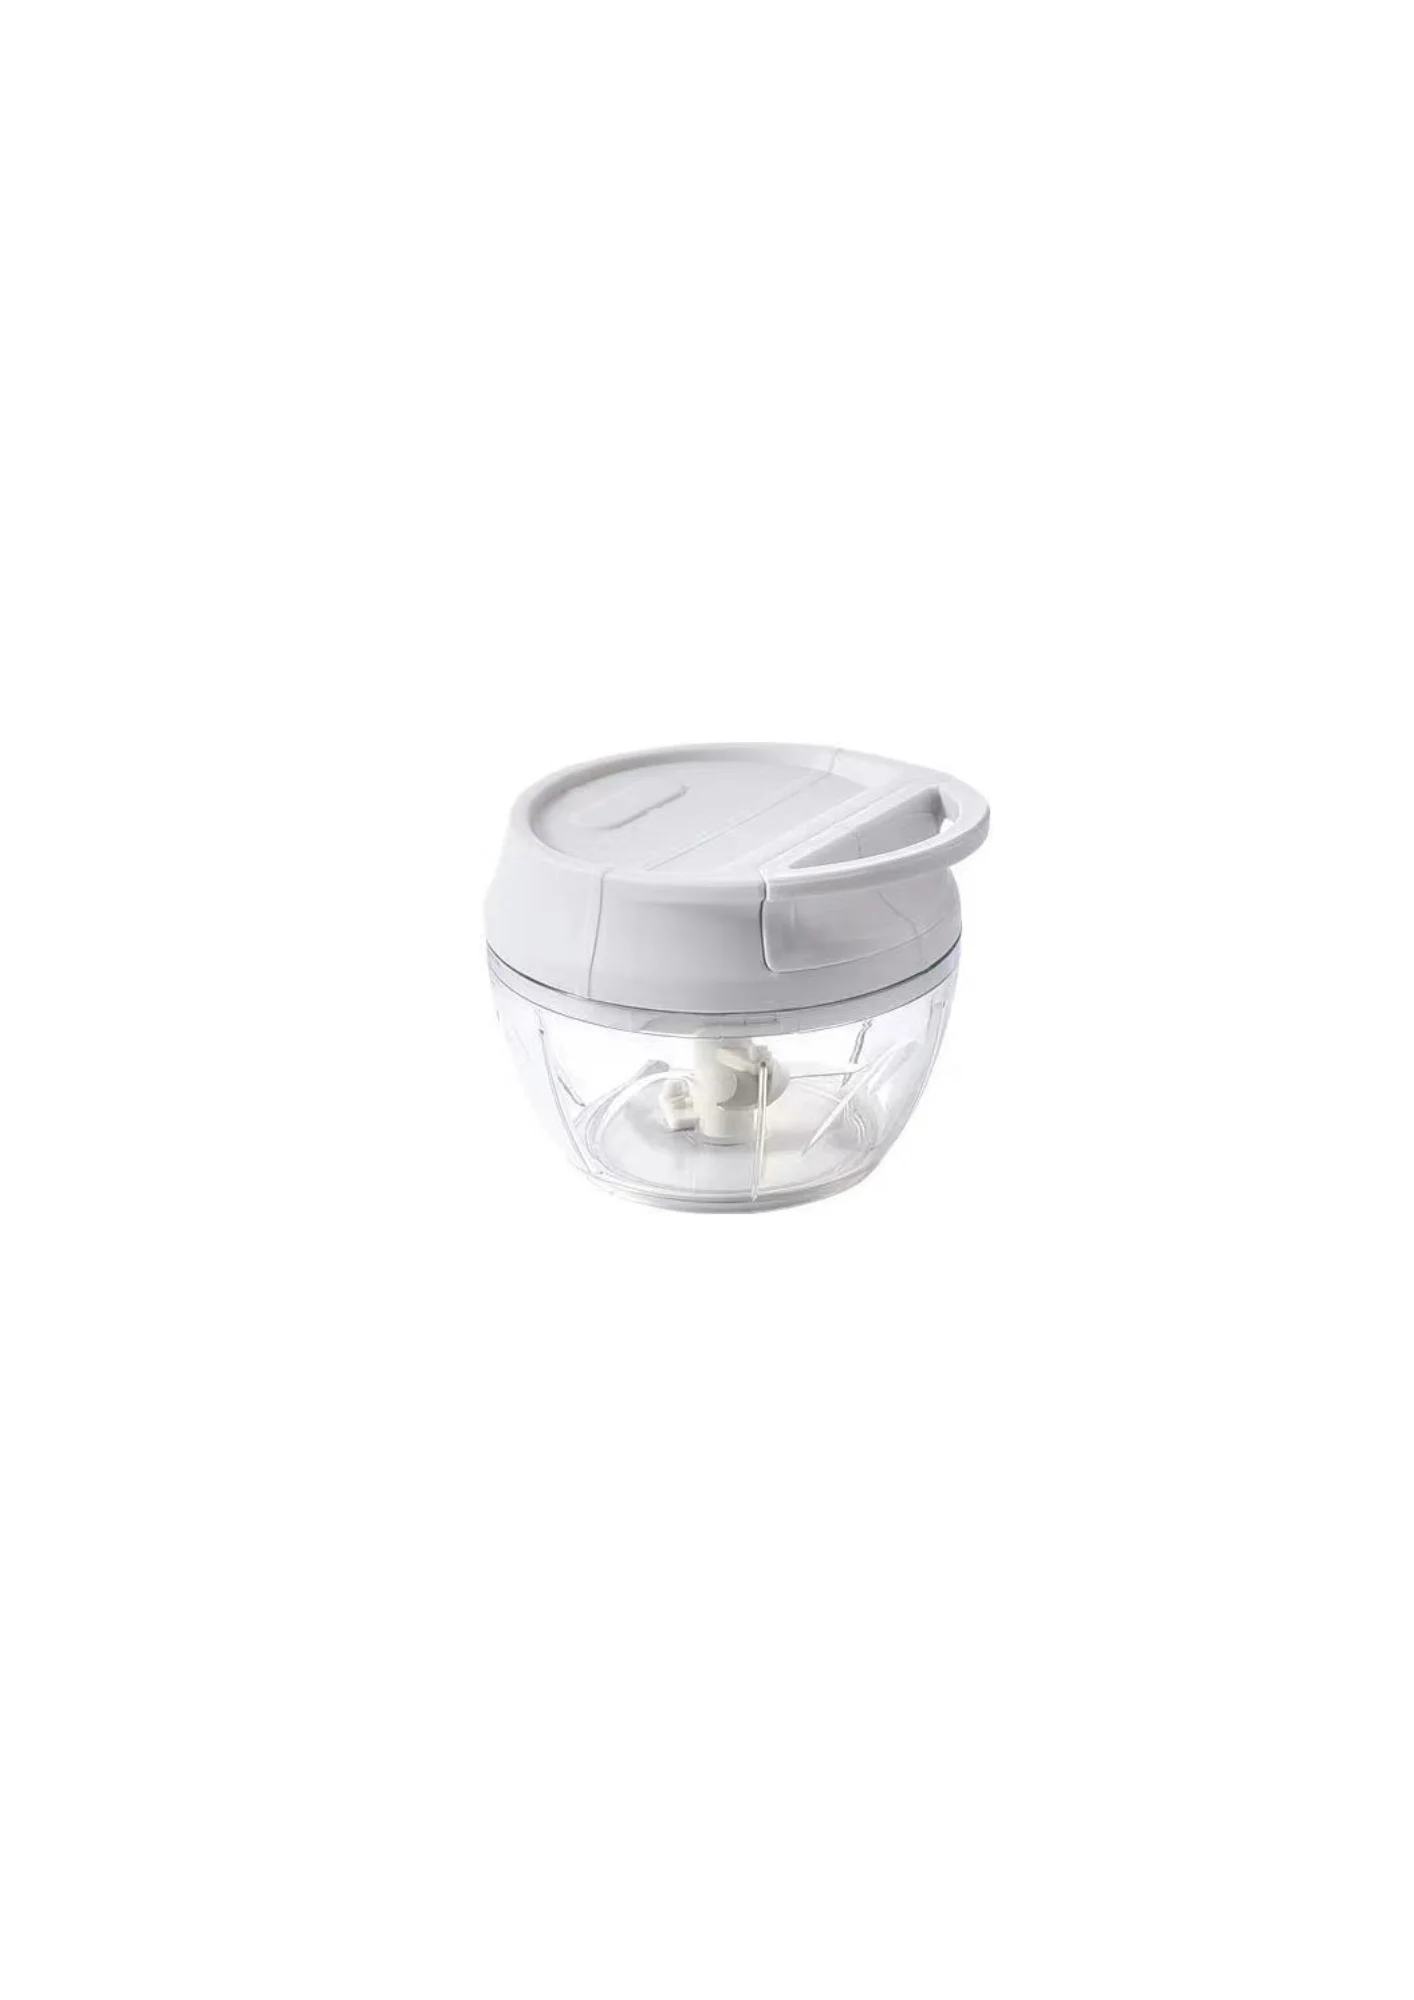
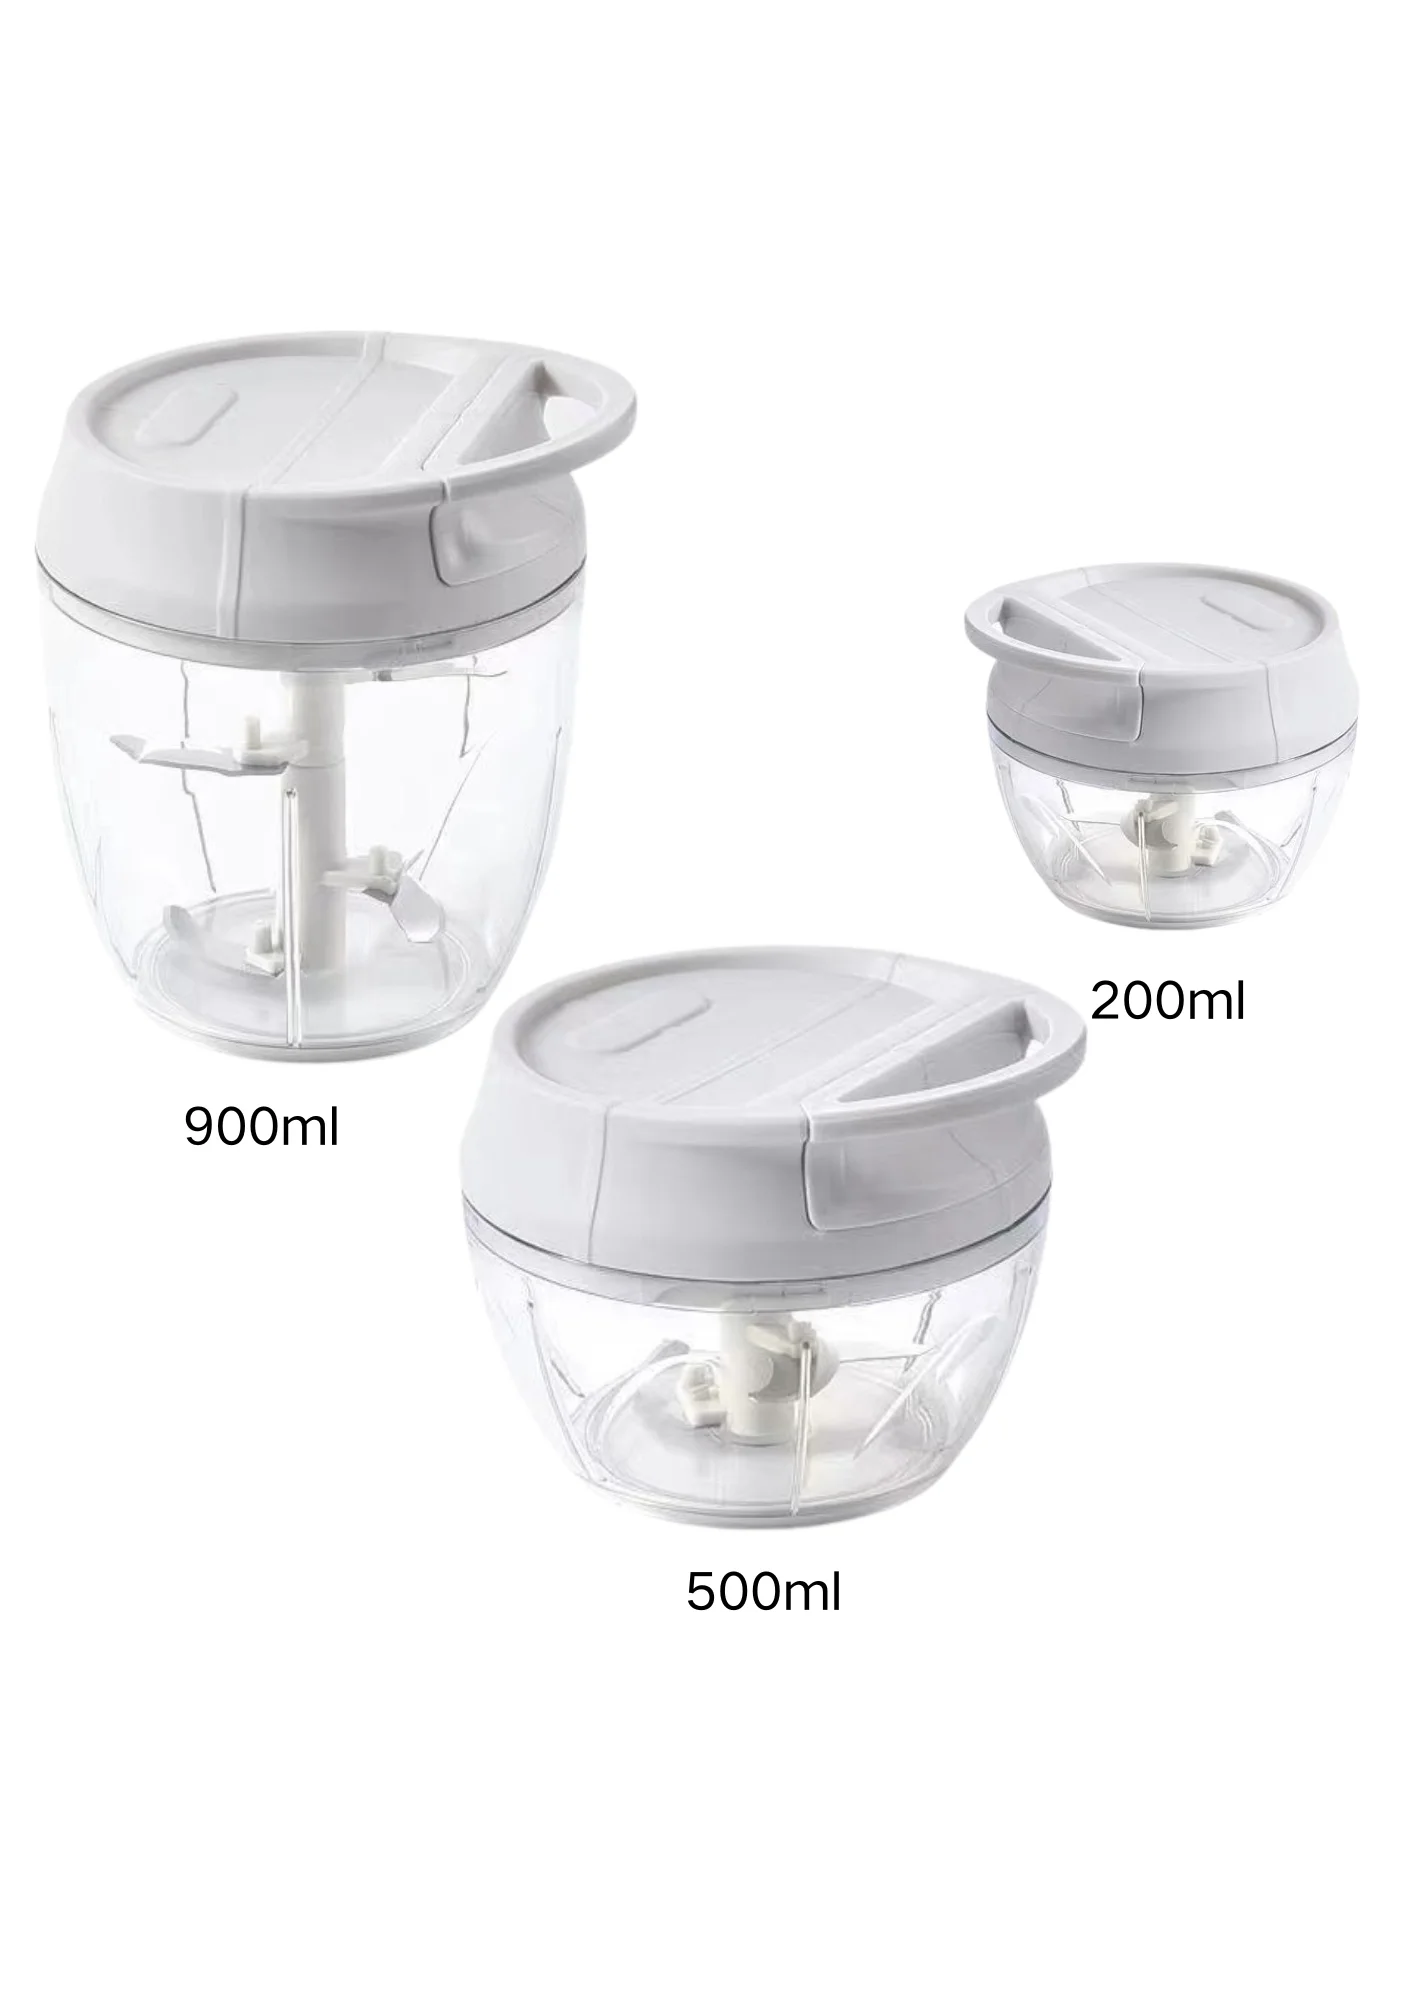
2、 Install bladeInstall the blade into the container of the garlic puller. Ensure that the blade is securely installed and will not loosen. Do not apply excessive force during installation to prevent blade damage or injury to yourself.
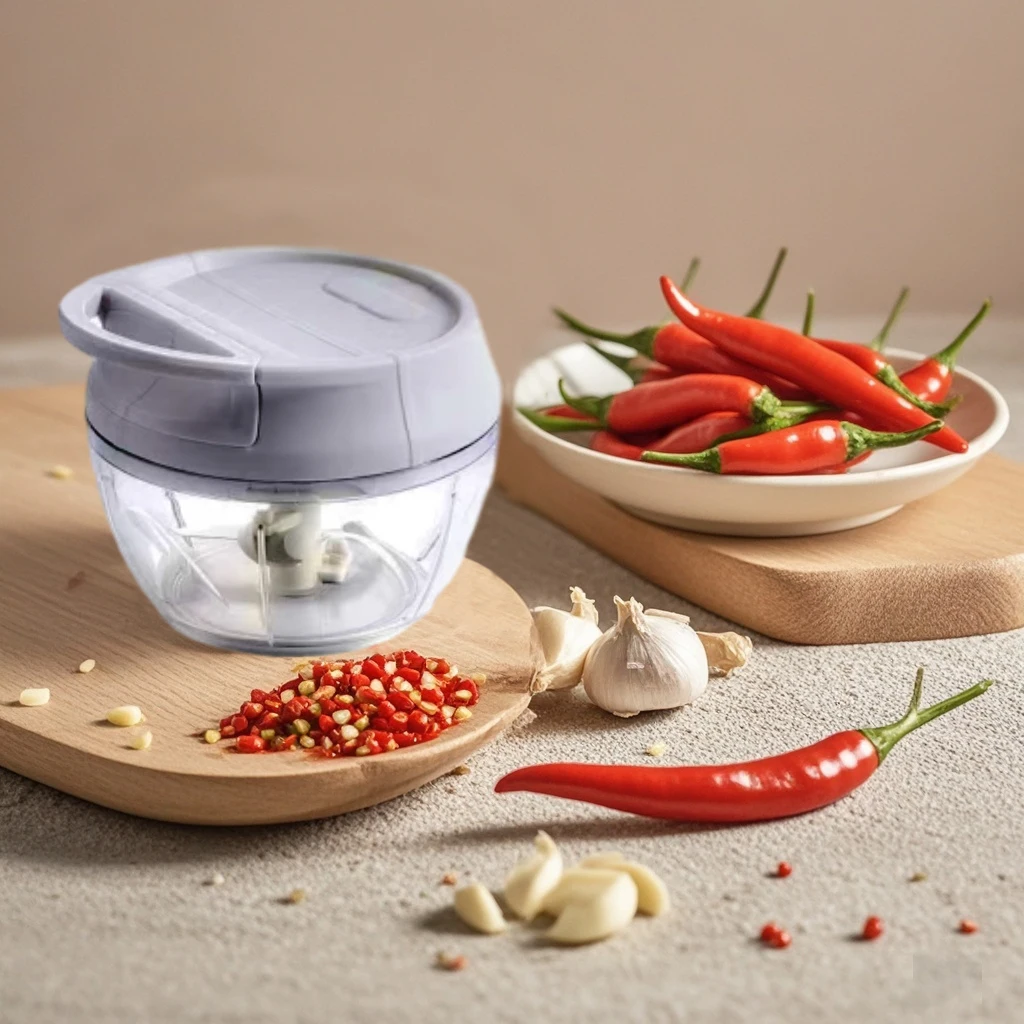
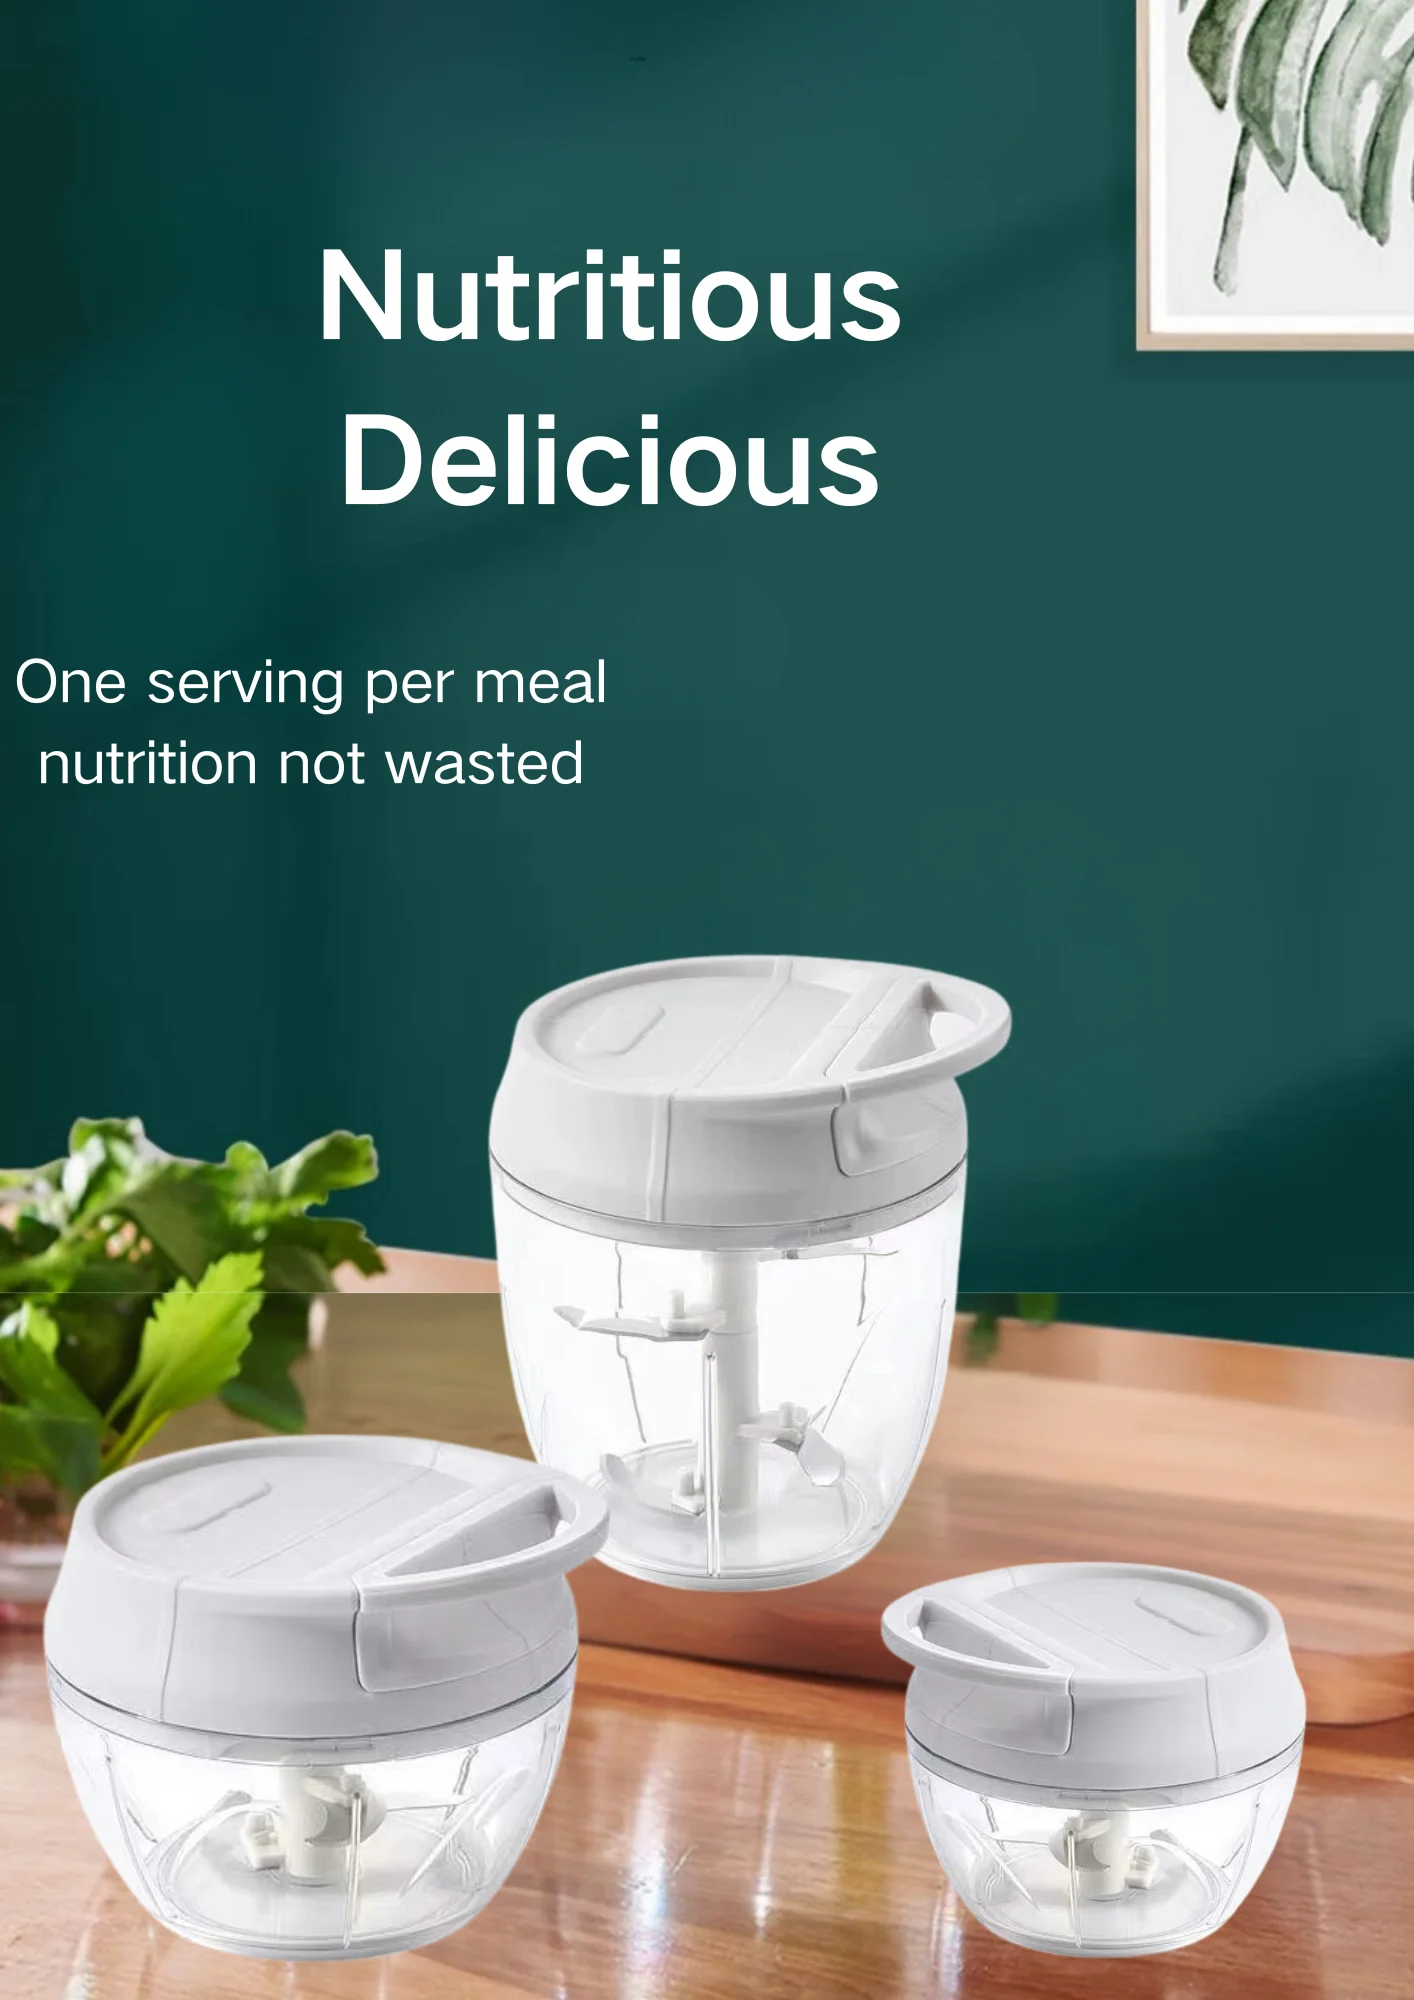
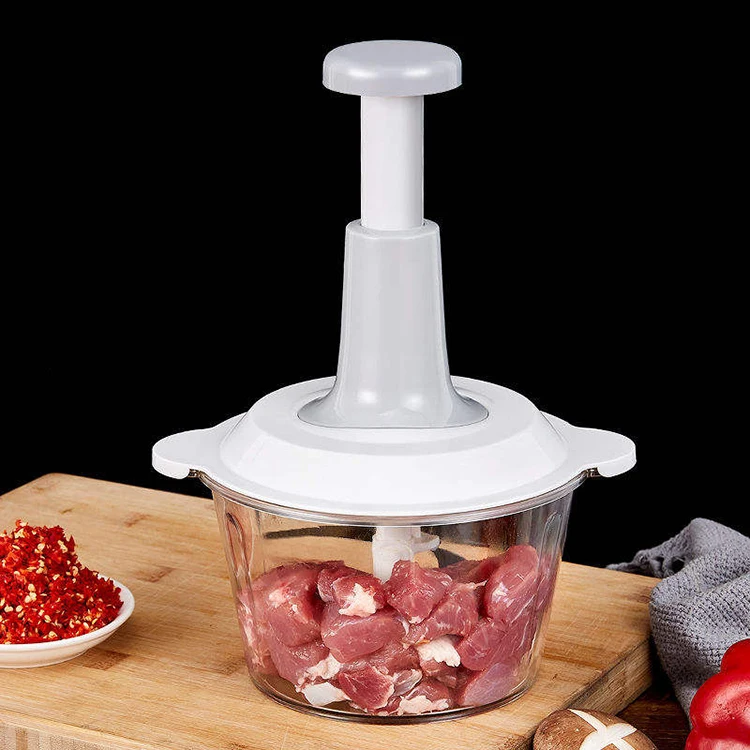
3、 Add garlic clovesPut the garlic cloves into the container of the garlic puller. Be careful not to add too many garlic cloves to avoid affecting the chopping effect. At the same time, try to choose garlic cloves of uniform size to chop them more evenly.
4、 Cover the lidCover the lid of the garlic puller, making sure it is tightly closed and not loose. Ensure that the lid is installed in place to prevent it from falling off during the pulling process, which could cause food to splash.
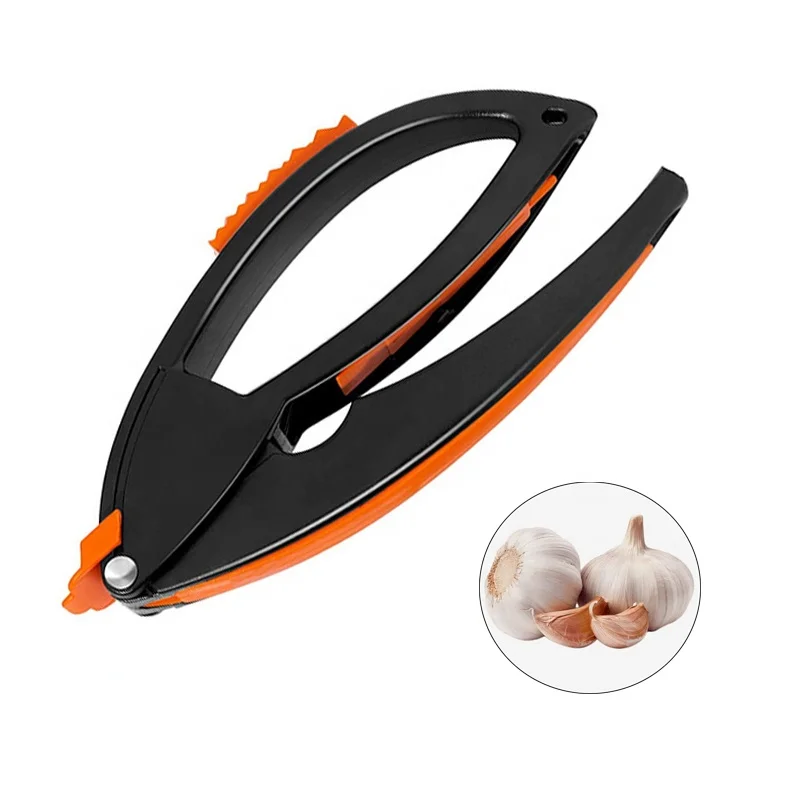
5、 Start pulling garlicGrasp the handle of the garlic puller and start pulling it back and forth. During the pulling process, the blade will shred the garlic cloves. The speed and frequency of pulling can be adjusted appropriately according to the required degree of shredding. When pulling, the force should be moderate and not too strong to avoid damaging the garlic puller.
6、 Complete garlic pullingStop pulling when the garlic cloves are chopped to the desired degree. Open the lid and pour out the chopped garlic cloves. Be careful when pouring out ingredients to avoid being scratched by blades.
Not only garlic, but also other vegetables (such as chili, nuts, ginger, etc.)It should be noted that when using the garlic puller, safety should be taken into account to avoid scratching the fingers with the blade. At the same time, attention should also be paid to cleaning and maintenance to extend the service life of the garlic puller. Clean the garlic puller promptly after each use to maintain its cleanliness and hygiene.