
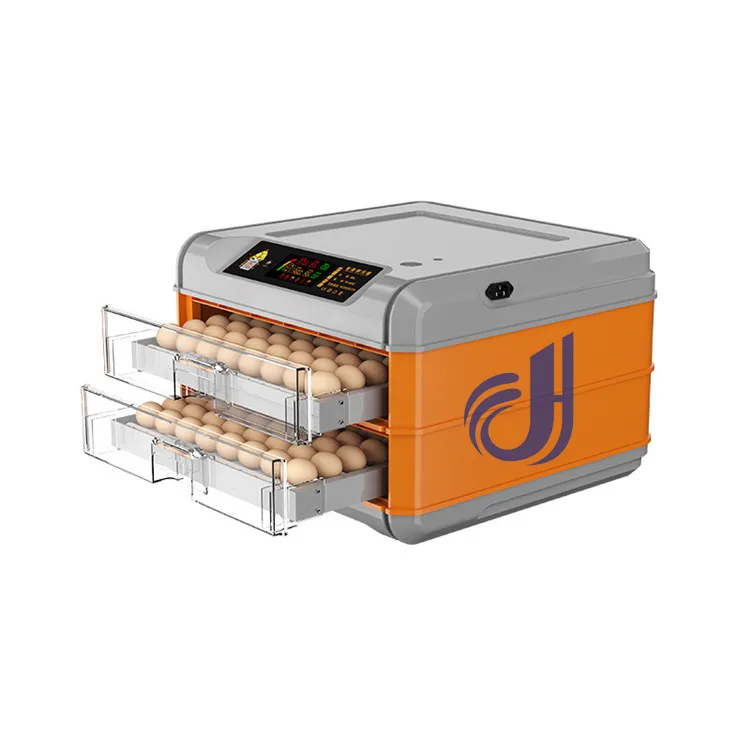
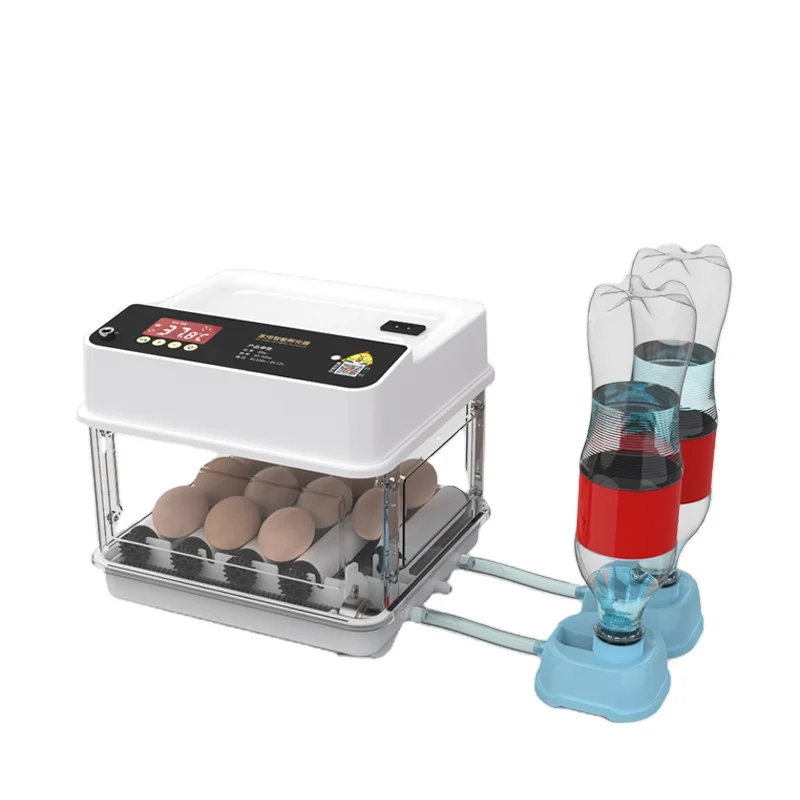
Высокое качество 272 куриное яйцо инкубатор 98% скорость вылупления Wi Fi пульт дистанционного управления автоматический 220 В 12 роликовый лоток новое состояние ПВХ
- Категория: >>>
- Поставщик: Dezhou Leader Agricultural Machinery Co. Ltd.Dezhou Ltd.
Сохранить в закладки 1601352233296:
Описание и отзывы
Характеристики
Product Description

Preparation before installation
--- Choose a suitable installation location: The incubator should be installed on a concrete floor that is flat, and the incubator should be slightly tilted forward (some models are tilted backward) to facilitate the discharge of sewage during cleaning. Leave 2 to 3 meters of operating space in front of the machine door.
---Environmental requirements: The temperature in the incubation room should be maintained at 20 to 27 degrees Celsius, the humidity should be around 50%, and there should be good ventilation conditions indoors.
Egg Candling Guide
First Candling:
Chicken embryos are incubated for 5-6 days, duck embryos for 7 days, and goose embryos for 8 days. The purpose is to observe the development of embryos and pick out azoospermia, dead embryos, and hatching eggs. At this stage, normally developing embryos have a distinct vascular network distributed radially, with a spreading surface accounting for 4/5 of the egg body. When the egg is exposed, there is a clear black dot, commonly known as a "single bead"
Second Candling:
Chicken embryos are processed in over 10 days, while duck embryos and goose embryos are processed in over 20 days


 The more model parameters are as per below:
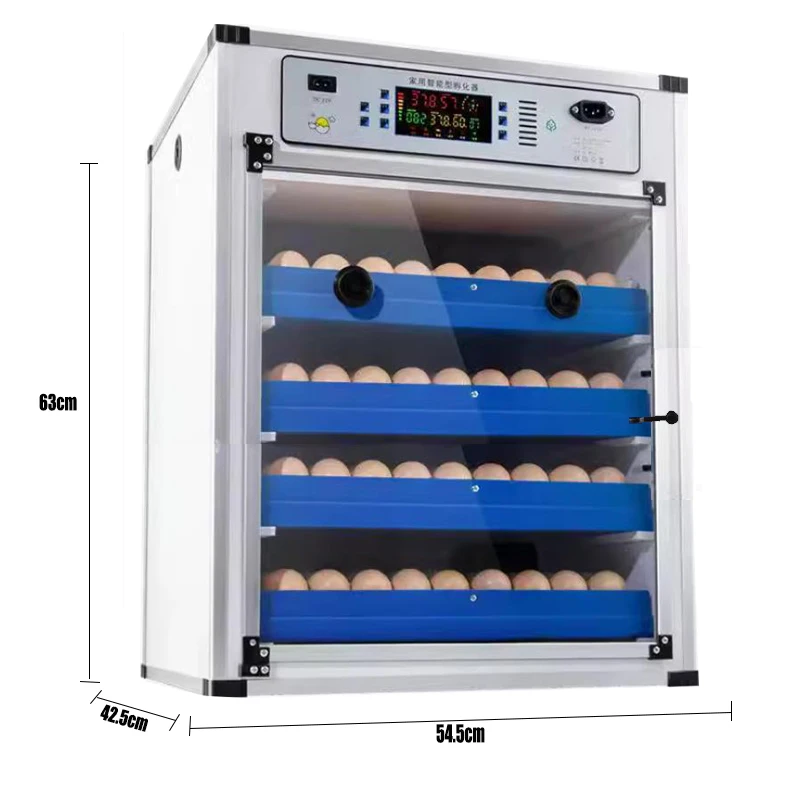
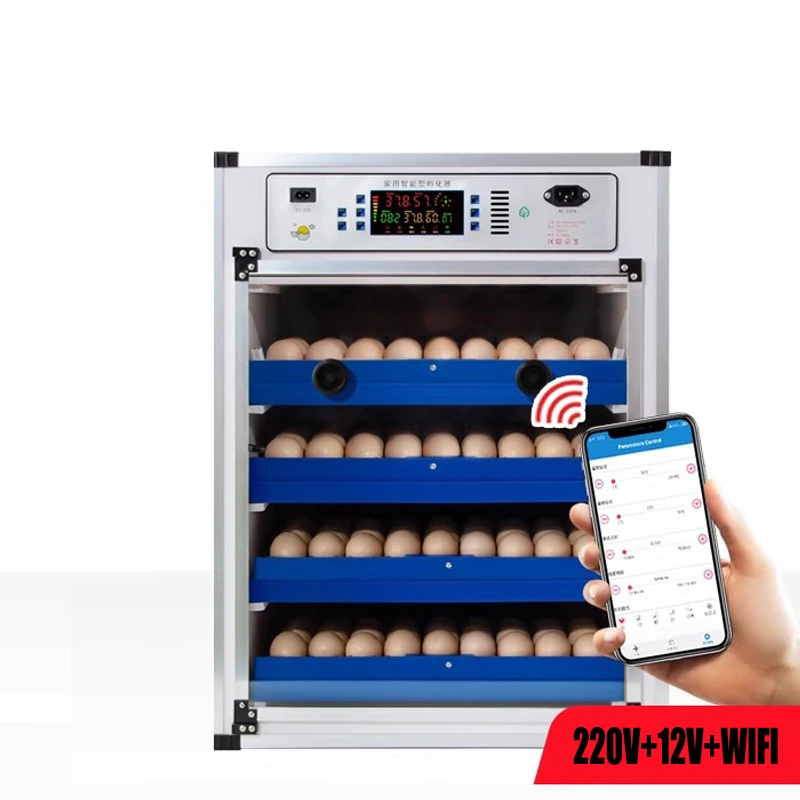
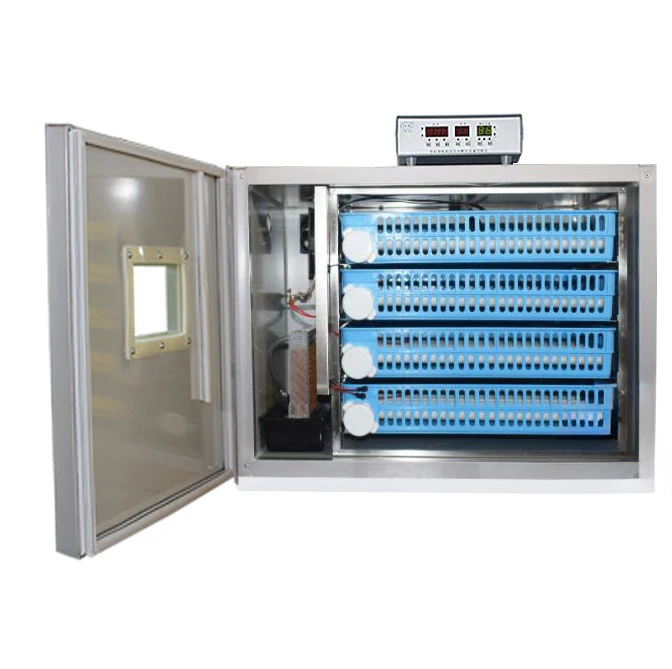
Item | Capacity | Size | Weight | Voltage |
LZ-68A | 68chicken eggs | 55*54*38cm | 13.5KG | AC220v |
LZ-68B | 68chicken eggs | 55*54*38cm | 13.5KG | DC12v+AC220v |
LZ-68C | 68chicken eggs | 55*54*38cm | 13.5KG | DC12vAC+220v |
LZ-136A | 136chicken eggs | 55*54*49.5cm | 16.5KG | AC220 |
LZ-136B | 136chicken eggs | 55*54*49.5cm | 16.5KG | DC12v+AC220v |
LZ-136C | 136chicken eggs | 55*54*49.5cm | 16.5KG | DC12v+AC220v |
LZ-204A | 204chicken eggs | 55*54*59.5cm | 19.5KG | AC220 |
LZ-204B | 204chicken eggs | 55*54*59.5cm | 19.5KG | DC12v+AC220v |
LZ-204C | 204chicken eggs | 55*54*59.5cm | 19.5KG | DC12v+AC220v |
LZ-272A | 272chicken eggs | 55*54*70cm | 22.5KG | AC220 |
LZ-272B | 272chicken eggs | 55*54*70cm | 22.5KG | DC12v+AC220v |
LZ-272C | 272chicken eggs | 55*54*70cm | 22.5KG | DC12v+AC220v |
LZ-340A | 340chicken eggs | 55*54*82cm | 25.5KG | AC220 |
LZ-340B | 340chicken eggs | 55*54*82cm | 25.5KG | DC12v+AC220v |
LZ-340C | 340chicken eggs | 55*54*82cm | 25.5KG | DC12v+AC220v |
Check after installation
Power on test machine: Check whether the temperature and humidity control system is normal, adjust the temperature according to the requirements, check whether the over temperature and low temperature alarm system is faulty, and whether the automatic timed egg flipping system is normal. Wait for 1 to 2 days of operation until everything is normal before officially incubating
An incubator is a device used to simulate a natural hatching environment, allowing eggs to hatch smoothly into chicks.
Here are some precautions when using an egg incubator:
1, Preparation before hatching
1. Equipment inspection
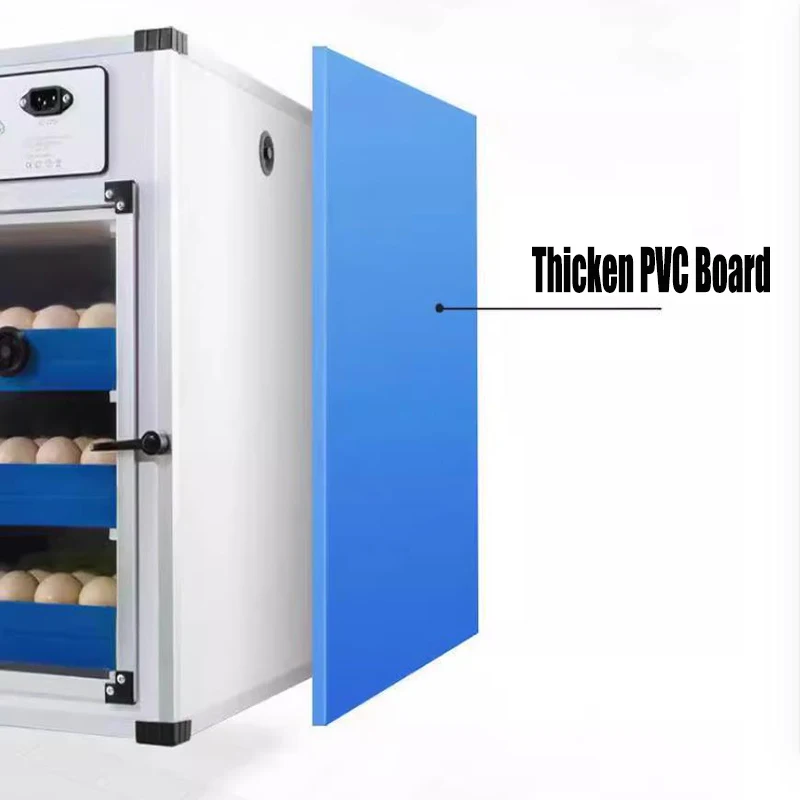
1. Carefully inspect the appearance of the incubator to ensure that the body is not damaged and that the door can be closed and sealed properly. Any cracks or damages may cause heat loss or abnormal entry of external air, affecting the hatching effect.
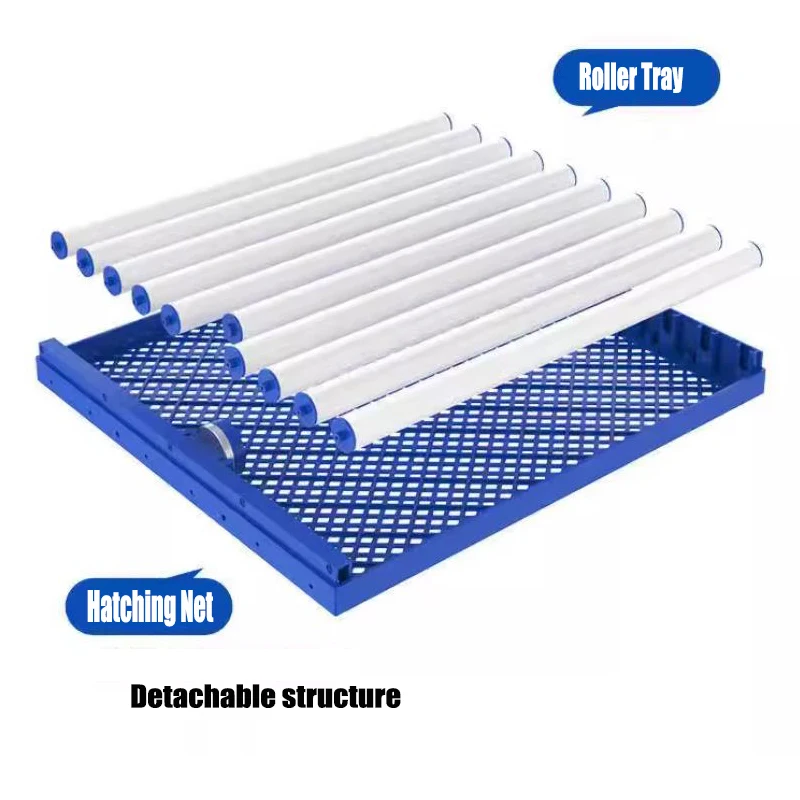
2. Check if the egg tray is intact, without deformation or damage. The quality of the egg tray directly affects the stability of the egg placement. If there is a problem with the egg tray, the eggs may roll or collide during the hatching process, increasing the risk of embryo damage.
3. Connect the power and test various functions of the incubator. Check if the heating system is working properly by observing the temperature display to see if the temperature can steadily rise within the set range. At the same time, test the ventilation system to see if there is enough airflow at the air outlet. Also check the egg flipping device to ensure that it can flip eggs according to the set time interval and angle.
2. Hatcher cleaning and disinfection
Cleaning the interior of the incubator is crucial. Use a mild cleaner and a clean damp cloth to wipe the inner walls, egg trays, humidification trays, and other components of the incubator to remove dust, dirt, and organic residue from the previous batch of hatching.
2. Disinfection can be carried out using various methods. The common method is to use formalin and potassium permanganate for fumigation disinfection. Mix the two drugs in a ceramic or glass container according to a certain ratio (usually 28 milliliters/cubic meter of formalin solution and 14 grams/cubic meter of potassium permanganate), place them in an incubator, close the door and fumigate for 2-3 hours, then ventilate and eliminate harmful gases until there is no pungent odor. This can effectively kill pathogens such as bacteria, viruses, and fungi, reducing the likelihood of embryonic infections.
3. Egg selection and processing
1. Eggs should be selected from healthy and high-yielding breeding birds. The shape of the hatching egg should be normal, usually elliptical. Eggs that are too long, too round, or deformed may affect the development of the embryo. The size of the eggs should also be moderate, and there is a suitable range for the size of eggs from different poultry. For example, the weight of eggs is generally around 50-65 grams.
2. The surface of the eggs should be clean and free of pollutants such as feces and soil. If there is mild pollution, it can be gently wiped with a clean soft cloth, but care should be taken to avoid damaging the eggshell. Before placing the eggs in the incubator, they can be left at room temperature for several hours to balance the temperature and reduce the adverse effects of temperature differences on the embryos.
Precautions after hatching
1. Poultry processing
1. When chicks start hatching, do not rush to remove them from the incubator. After most of the chicks have hatched and their feathers have dried, transfer them to the brooding room. This is because newly hatched chicks have fragile bodies and need to adapt to a relatively stable environment for a period of time.
2. Be careful when transferring chicks to avoid causing harm to them. Soft tools such as clean towels or specialized poultry transfer equipment can be used.
2. Hatcher cleaning and maintenance
After hatching, it is necessary to clean the incubator in a timely manner. Remove the egg tray and other components, clean them with a cleaning agent, and then disinfect them to prepare for the next hatching.
2. Inspect various components of the incubator, such as the heating system, ventilation system, egg flipping device, etc., to see if there are any damages or areas that require repair. Timely replace damaged components to ensure the smooth progress of the next incubation.
Company Information

Dezhou Leader Agricultural Machinery specializes in the production of fully automatic control incubators and complete incubation equipment, integrating research and development, production, sales of incubators, incubators and other services Focused on industry production for 20 years, with a unique independent research and development team, we have mastered multiple advanced production technologies in the industry. We not only sell well throughout the country, but also export to more than 100 countries. Over the years, our good reputation and comprehensive after-sales service have gained widespread recognition from domestic and foreign customers The total number of global users has exceeded 500000.
At the same time, our company integrates upstream and downstream suppliers to provide customers with various high-quality and affordable agricultural and animal husbandry machinery and equipment, such as feeders, water dispensers, manual seeders, small seeders, harvesters, and other agricultural machinery suitable for small farms, large-scale breeding farms, etc.
In future collaborations, our company will delve deeper into this field and provide customers with better and higher quality services.
Packaging & Shipping
Good package keep product arriveing safely.

NOTE:
For Mini type egg incubator ,plz donot remove the foam cover, it is used for isolation between outside and inner of the egg incubator.
Our Services
Kindly contact us with your cable standerd before order.
we provide plug OEM and lable customzied.
 We will choose the best way for dispatch the parcel to your home.

whole transport process

FAQ
1)Can eggs bought in supermarkets be hatched? A: Hatching requires laying eggs.
Roosters and hens are raised together, and only the eggs laid by the hens can be used for hatching. Eggs bought from supermarkets are not suitable.
2)How to improve hatching rate?
The quality, temperature, humidity, and other factors of hatching eggs can have a significant impact on the hatching process. Therefore, it is necessary to strictly follow the machine operation process, select high-quality hatching eggs (fertilized eggs born 2-4 days ago), maintain the internal temperature and humidity of the machine within a reasonable range, and consult customer service in a timely manner if there are any problems to ensure stable hatching of hatching eggs.
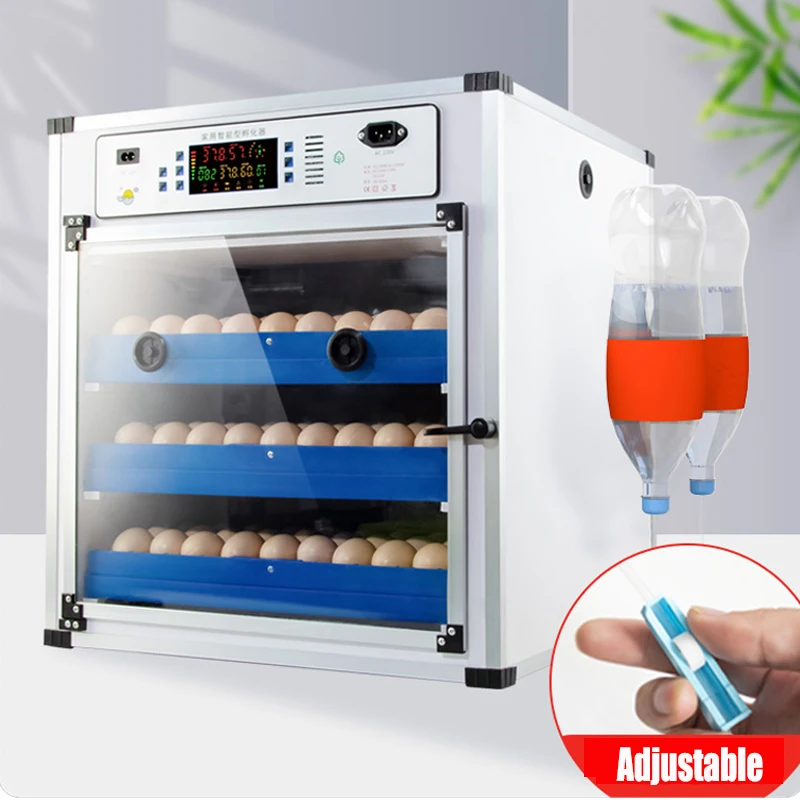
3)How to add water to the machine?
In the early stage, pour water directly into the bottom and incubate the eggs. In the later stage, use a water kettle to fill the water hole at the bottom of the machine with water.
4)How often do you add water? How much to add?
The automatic model only requires adding water at the bottom of the machine, with 50-100 milliliters of water added each time. The humidity should be within the normal incubation range of 50-80, and water should be added once every 1-2 days; When it is cloudy or humid, the machine can add less water, and when it is hot or dry, it can add more water appropriately.
6)How many incubation modes are there for the product? How to switch? This product has a total of 5 modes, including four automatic temperature changing incubation modes for chickens, ducks, geese, and pigeons, and a custom temperature mode. Press and hold the mode button for five seconds, and the hatching poultry indicator light will turn on to switch modes.
7)What type of battery is needed to power the machine with a 12V power supply?
Any 12V battery can be used to power machines, such as car batteries, electric vehicle batteries, motorcycle batteries, etc
for more info plz contact with our sales person.

Похожие товары
Полностью автоматический инкубатор для яиц 220 В + 12
HHD более интересная забавная хорошая продукция лучшего качества LT-8 лабораторный инкубатор для яиц.
13,99 $
Заводская цена, полностью автоматический инкубатор для яиц и инкубатор, лоток для яиц 88, курица
Озонатор Wonegg устройство для удаления запахов ионизатор Дезодоратор генератор озона дома автомобиля дыма домашних животных и автомобилей
23,30-26,70 $
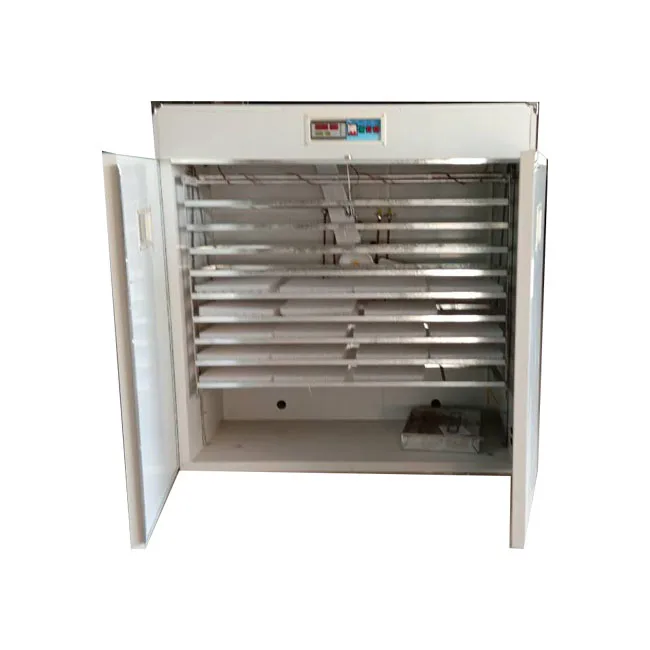
Лучший инкубатор для яиц 3168 автоматический инкубатора курицы утки гуся перепела голубя
450,00-500,00 $
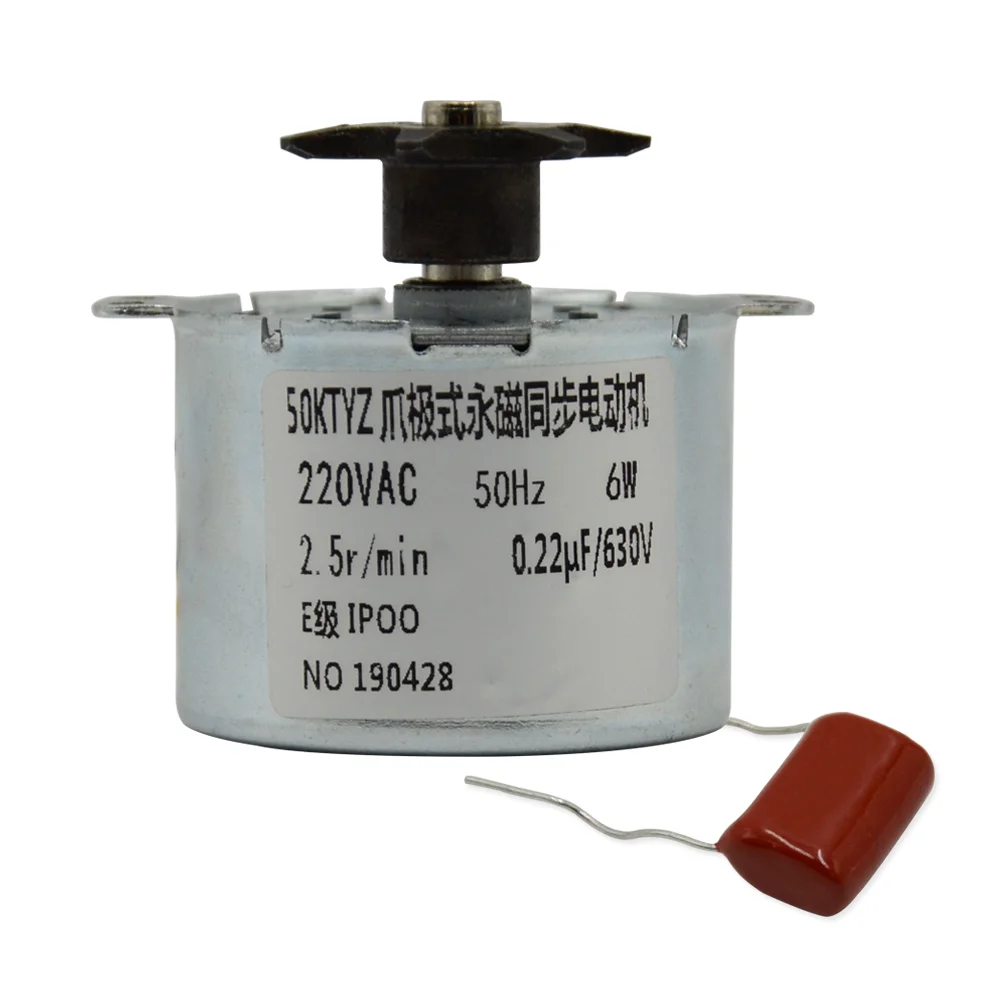
Оптовая продажа синхронный двигатель переменного тока 220 В 6 Вт микро-редуктор низкоскоростной 50ktyz
3,90-4,50 $
Недорогой домашний небольшой инкубатор для куриных яиц с емкостью 10
9,99-11,50 $
Новые поступления
Новинки товаров от производителей по оптовым ценам

Светлая Золотая морская солнечная энергия ландшафтное украшение постмодерн минималистский стиль чистая ручная роспись маслом 24x3 1 дюйм/60x80
35-53 $
Европейские антикварные простой Последние двойной металлической кровати
Автоматизированная складская система автоматического хранения в Гуанчжоу Eyda с эффективными стеллажами и
10 000-35 000 $
Декоративный чехол для PS5 Сменный Чехол консоли пластины Playstation5 пылезащитный с защитой от царапин
7,50-7,70 $
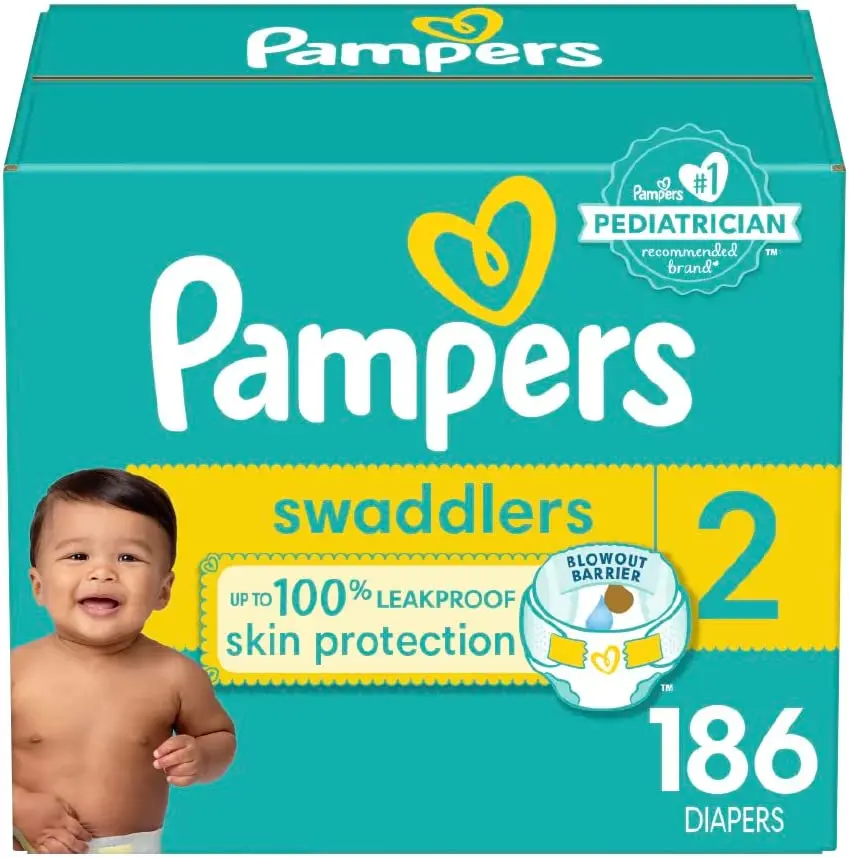
Лучшее качество детские подгузники для сухих подгузников новорожденных размер 2 4 и большие доставка или
3 $
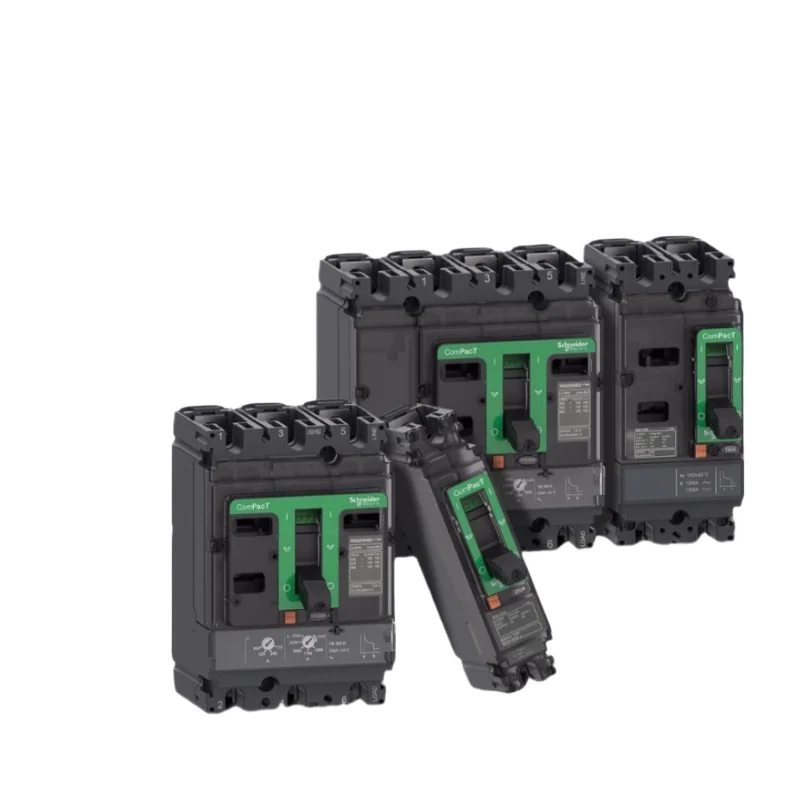
Выключатель для формованного корпуса Schneider NSX100N 50KA AC 3P3D 25A TMD новая модель C10N3TM025
Буф2-.. М .. Краны
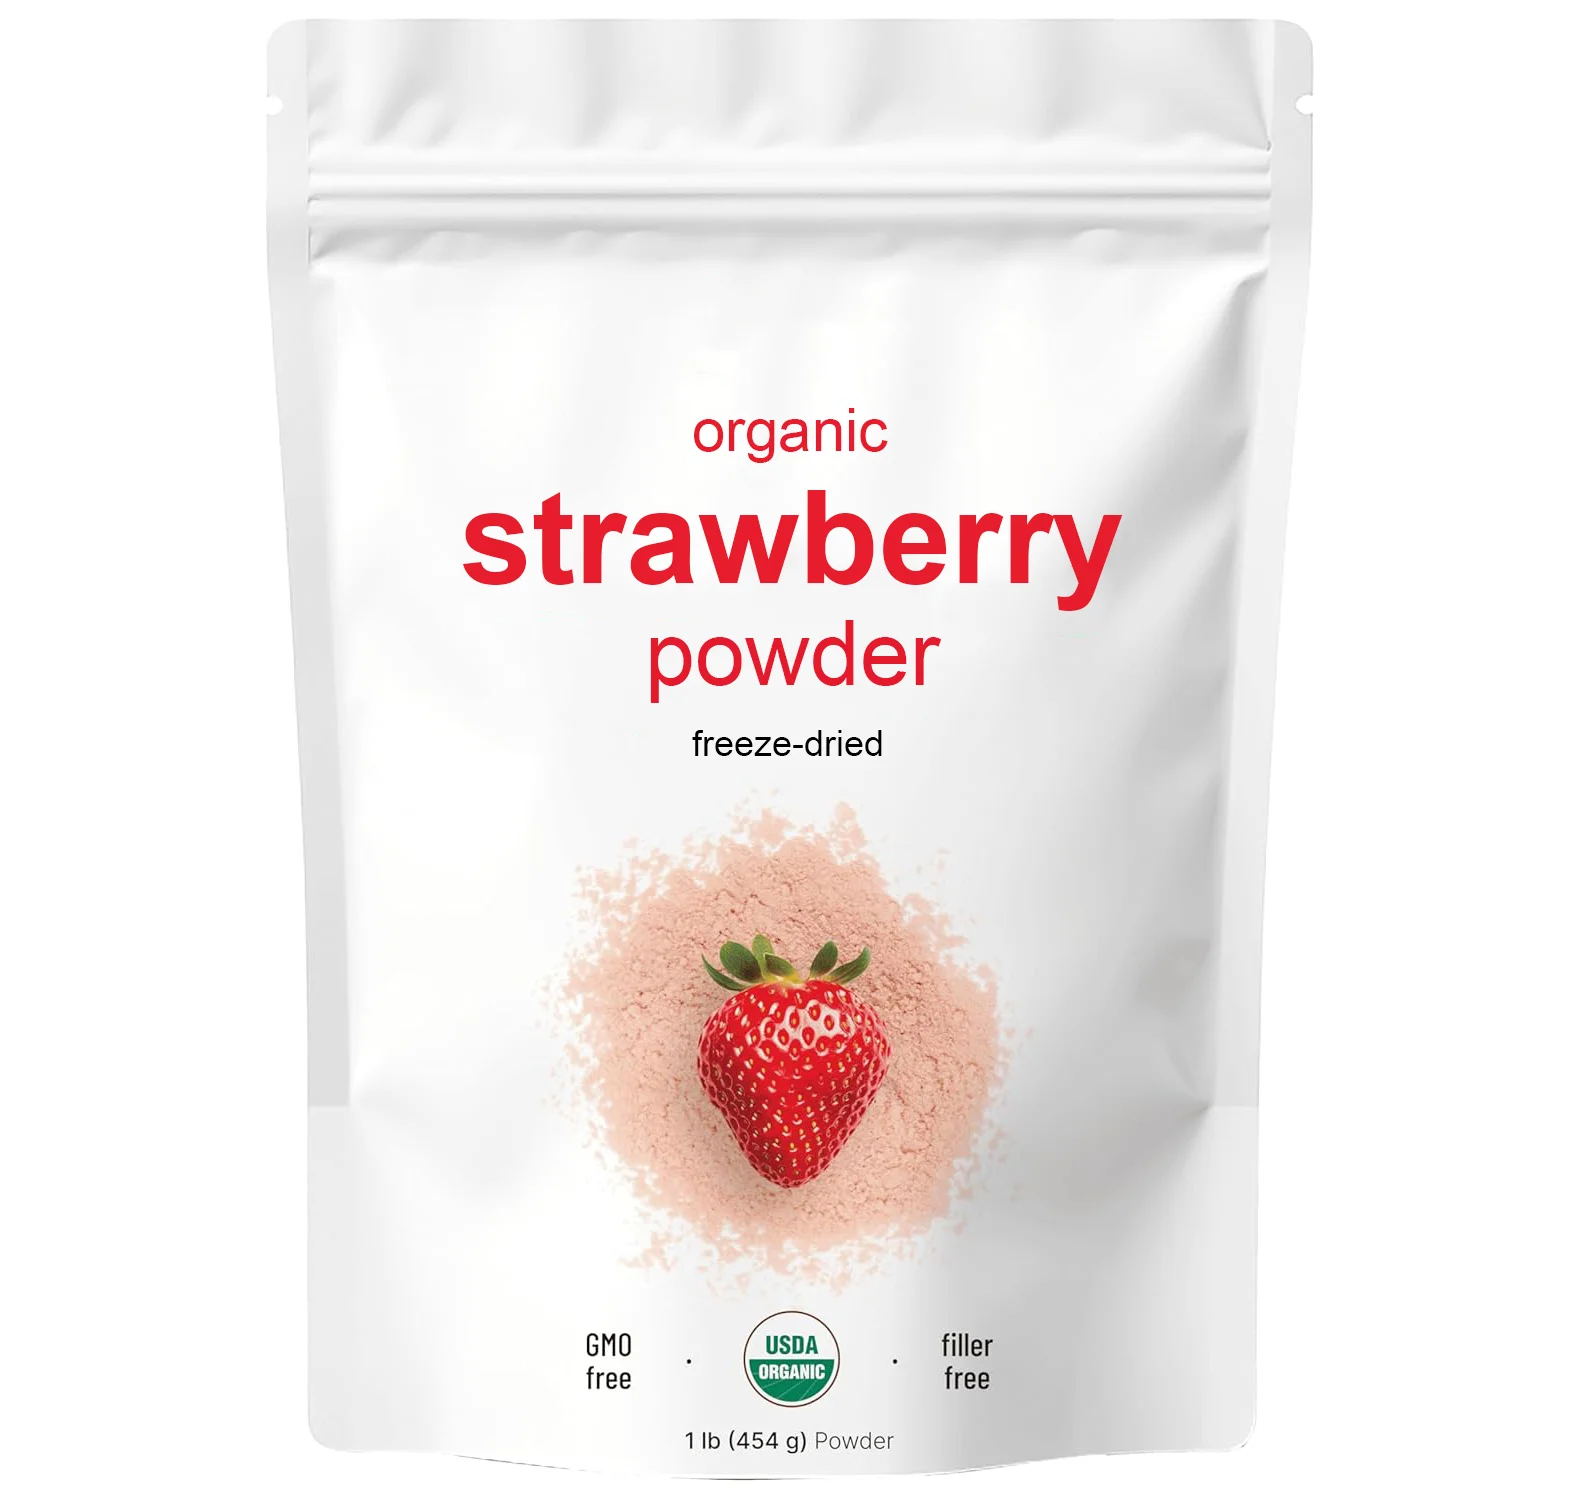
Оптовая продажа высококачественный сублимированный клубничный порошок Заводская поставка
5,50-6,40 $