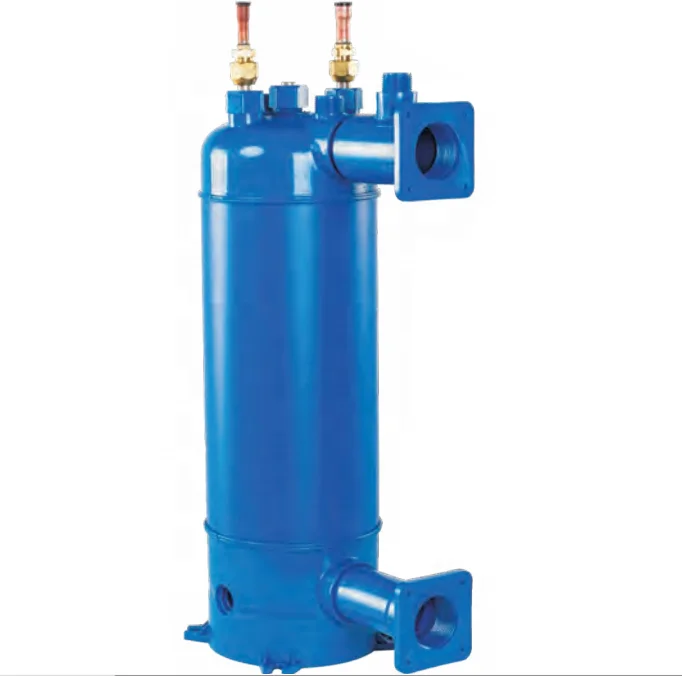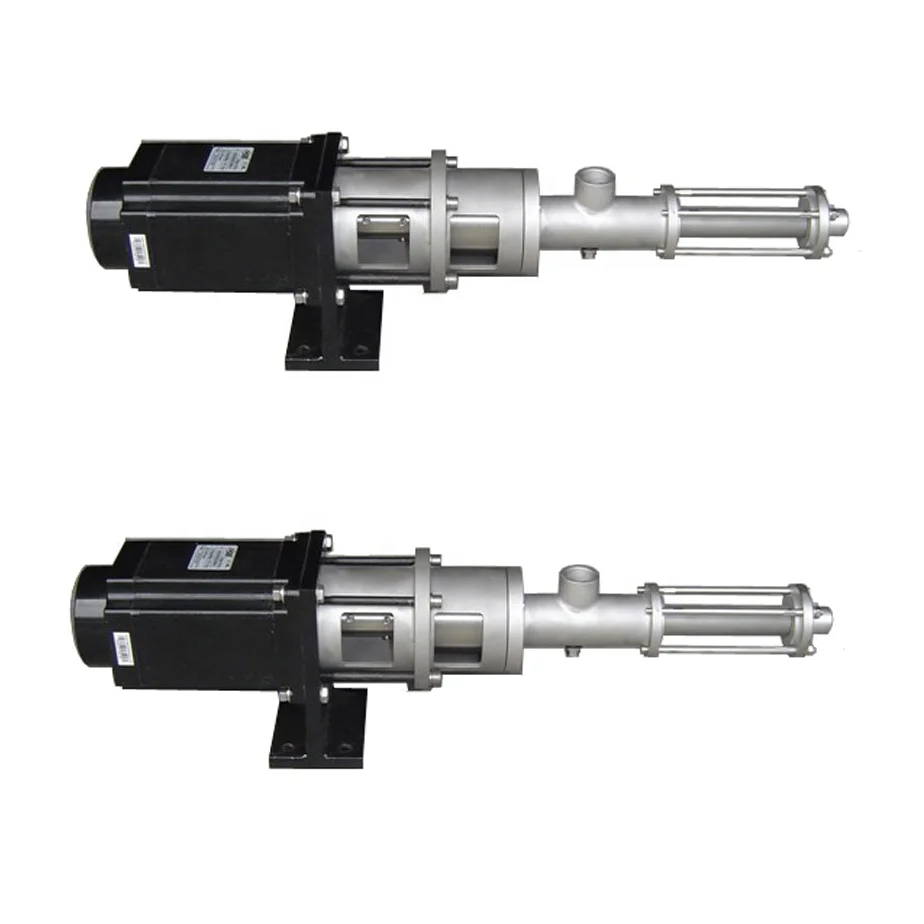
Высокое Качество Химический дозирующий насос
470,00-500,00 $


Сохранить в закладки 1601358037605:
Part name | |||
1 | Leakage joint | 1 | Borrowed parts |
2 | Sealing ring for shaft | 1 | |
3 | Hexagon socket screw | 4 | |
4 | Crosshead | 1 | |
5 | O-type rubber sealing ring | 1 | |
6 | Composite bushing | 1 | |
7 | Cover as-filler | 1 | Borrowed parts |
8 | Drain plug | 1 | |
9 | Tapered roller bearing | 1 | |
10 | worm | 1 | |
11 | Cabinet | 1 | |
12 | Elastic cylindrical pin | 1 | |
13 | coupling | 1 | |
14 | electric machinery | 1 | |
15 | Hexagon socket screw | 4 | |
16 | Composite bushing | 1 | |
17 | Crosshead pin | 1 | |
18 | Circlip for hole | 2 |
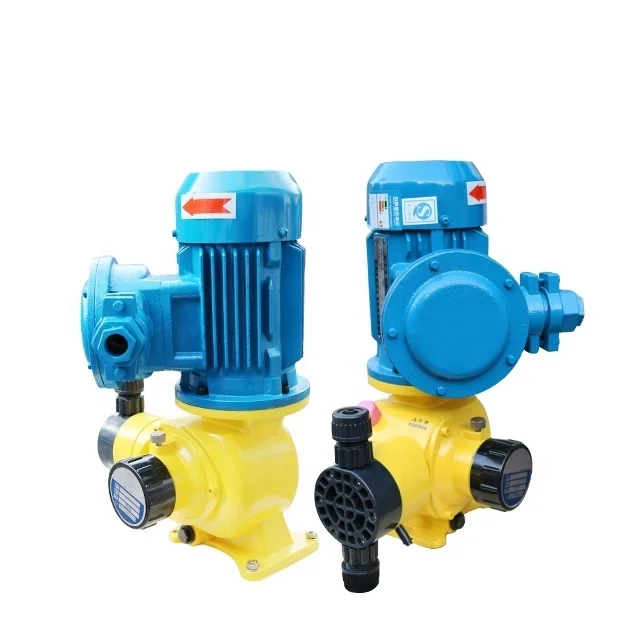
Number type | flow (L/h) | pressure (MPa) | Pump speed (uim) | trip (mm) | Diameter of inlet and outlet (mm) | Motor power (KW) |
DJZ 2.25/1.2 | 2.25 | 1.2 | 36 | 1.2 | DN8 | 0.25 |
DJZ 5/1.2 | 5 | 48 | ||||
DJZ 10/1.2 | 10 | |||||
DJZ 22/1.2 | 22 | 4 | DN15 | |||
DJZ 50/1.0 | 50 | 1.0 | ||||
DJZ 85/1.0 | 85 | 72 | 6 | 0.37 | ||
DJZ 120/0.7 | 120 | 0.7 | 96 | 8 | ||
DJZ 170/0.7 | 170 | 6 | ||||
DJZ 240/0.7 | 240 | 144 | 8 | DN25 | ||
DJZ 315/0.5 | 315 | 0.5 | 0.55 | |||
DJZ 400/0.5 | 400 | 10 | DN15 | |||
DJZ 500/0.5 | 500 | |||||
DJD 80/1.0 | 80 | 48 | DN15 | 0.75 | ||
DJD 175/1.0 | 175 | 96 | ||||
DJD 237/1.0 | 237 | |||||
DJD 365/1.0 | 365 | |||||
DJD 410/1.0 | 410 | |||||
DJD 480/0.7 | 480 | |||||
DJD 580/0.7 | 580 | 144 | DN25 | 1.1 |
Fault phenomenon | reason | Clearance method |
1.Shaft center not aligned 2. Power failure 3. The fuse is burnt out and the circuit is disconnected 4. The line is disconnected; 5. The wiring is wrong; 6. The shut-off valve is closed | 1. Link and align 2. Check power supply 3. Replace larger fuse 4. Find out where to disconnect and repair 5. Check wiring diagram 6. Open valve | |
1. The motor does not run 2. The line is blocked 3. The supply tank is empty 4. The ball check valve enters the solid matter 5.The pipeline valve is closed 6. The air pocket 7. The filter is blocked 8. The perfusion loss | 1. Check the power supply and check the circuit diagram 2. Clean and flush the circuit 3. Inject liquid 4. Carry out cleaning inspection 5. Open the pipeline valve 6. Increase the suction pressure 7. Remove the cleaning and replace if necessary 8. Refill to check whether there is leakage | |
1. Motor speed is too low 2. Plunger cap is worn or hardened due to impurities 3. Product cavitation 4. Product viscosity is too low 5. Standard system error 6. Check valve wear or dirt | 1. Check the voltage, frequency, wiring and terminal connection. 2. Check the plunger cap and replace it if it is aged. 3.Increase the suction pressure and cool the product if necessary. 4. Raise the product temperature to reduce the viscosity. 5.Judge and correct. 6. Clean and replace if damaged | |
1. The gear box is too full; 2. The pump head gasket is leaking; 3. The cover gasket is leaking; 4. The oil seal is leaking; 5. The diaphragm is broken | 1. Remove the excess oil 2. Replace or tighten the pump head bolt and seal 3. Replace or tighten 4. Replace 5. Replace | |
The air is continuously discharged from the automatic relief device | 2. Suction pressure too low 3. Oil level in mailbox too low | 1. Change the type of oil, consult the manufacturer; 2. Increase the pressure; 3. Refill to the correct oil level |
1. Too high discharge pressure 2. Bearing wear 3. Gear wear 4. Worm upper rocker shaft 5. Eccentric or turbine 6. Hydraulic bypass valve setting too high | 1. Reduce the pressure or reduce the pipe size 2. Replace 3. Replace the gear adjustment hydraulic bypass valve 4. Add gasket to thrust 5. Tighten or replace 6. Readjust | |
1. Pump overload 2. Oil viscosity too high 3. Low pressure 4. Loose wire 5. Mechanical constraints | 1. Check the operating conditions according to the pump design value 2. Use light oil 3. Check the power supply 4. Find and repair 5. Check the gear box machinery | |
2. Pump head or joint damage | 1. Stop pumping, remove the leakage part, and check the deformation and damage. If necessary, O-ring and other parts should be replaced with new ones. 2. Stop running the pump, remove the leakage part and replace the new one |


Новинки товаров от производителей по оптовым ценам