Installation instructions and schematic diagram:
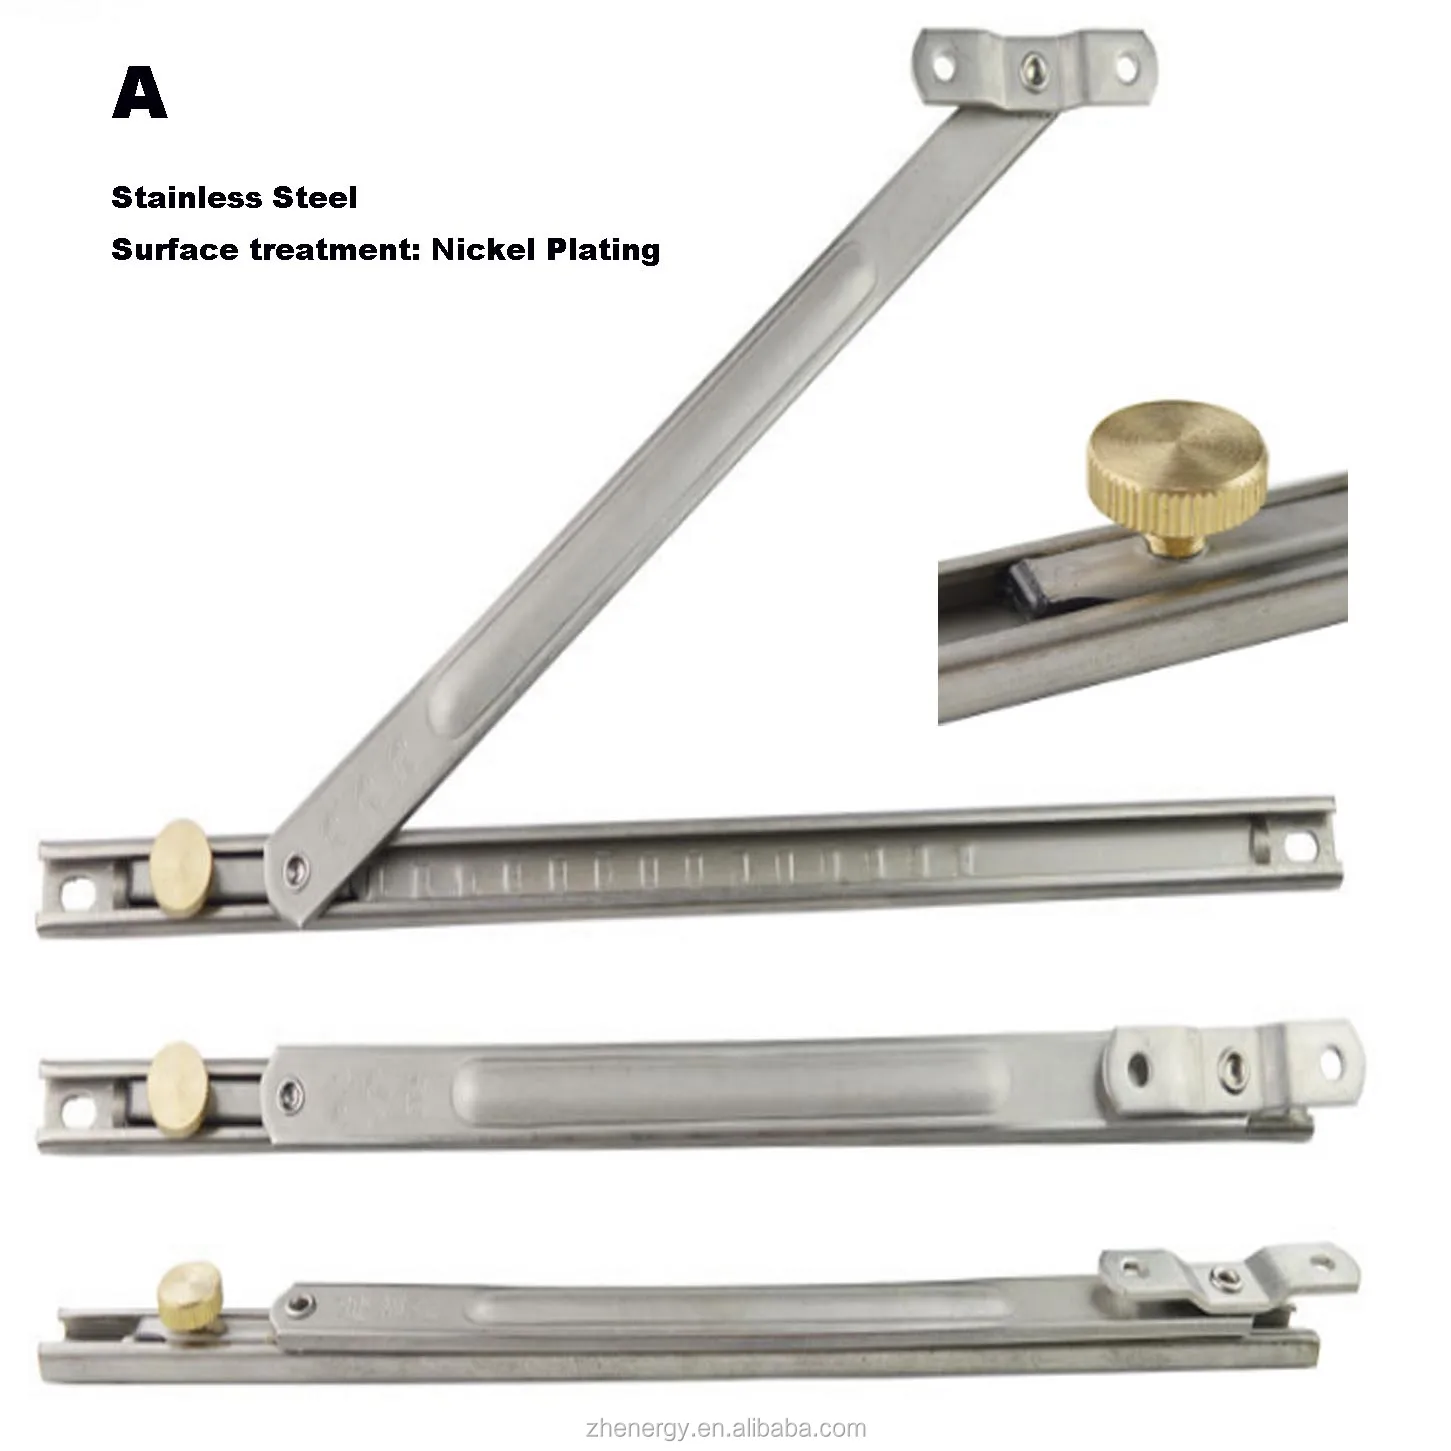
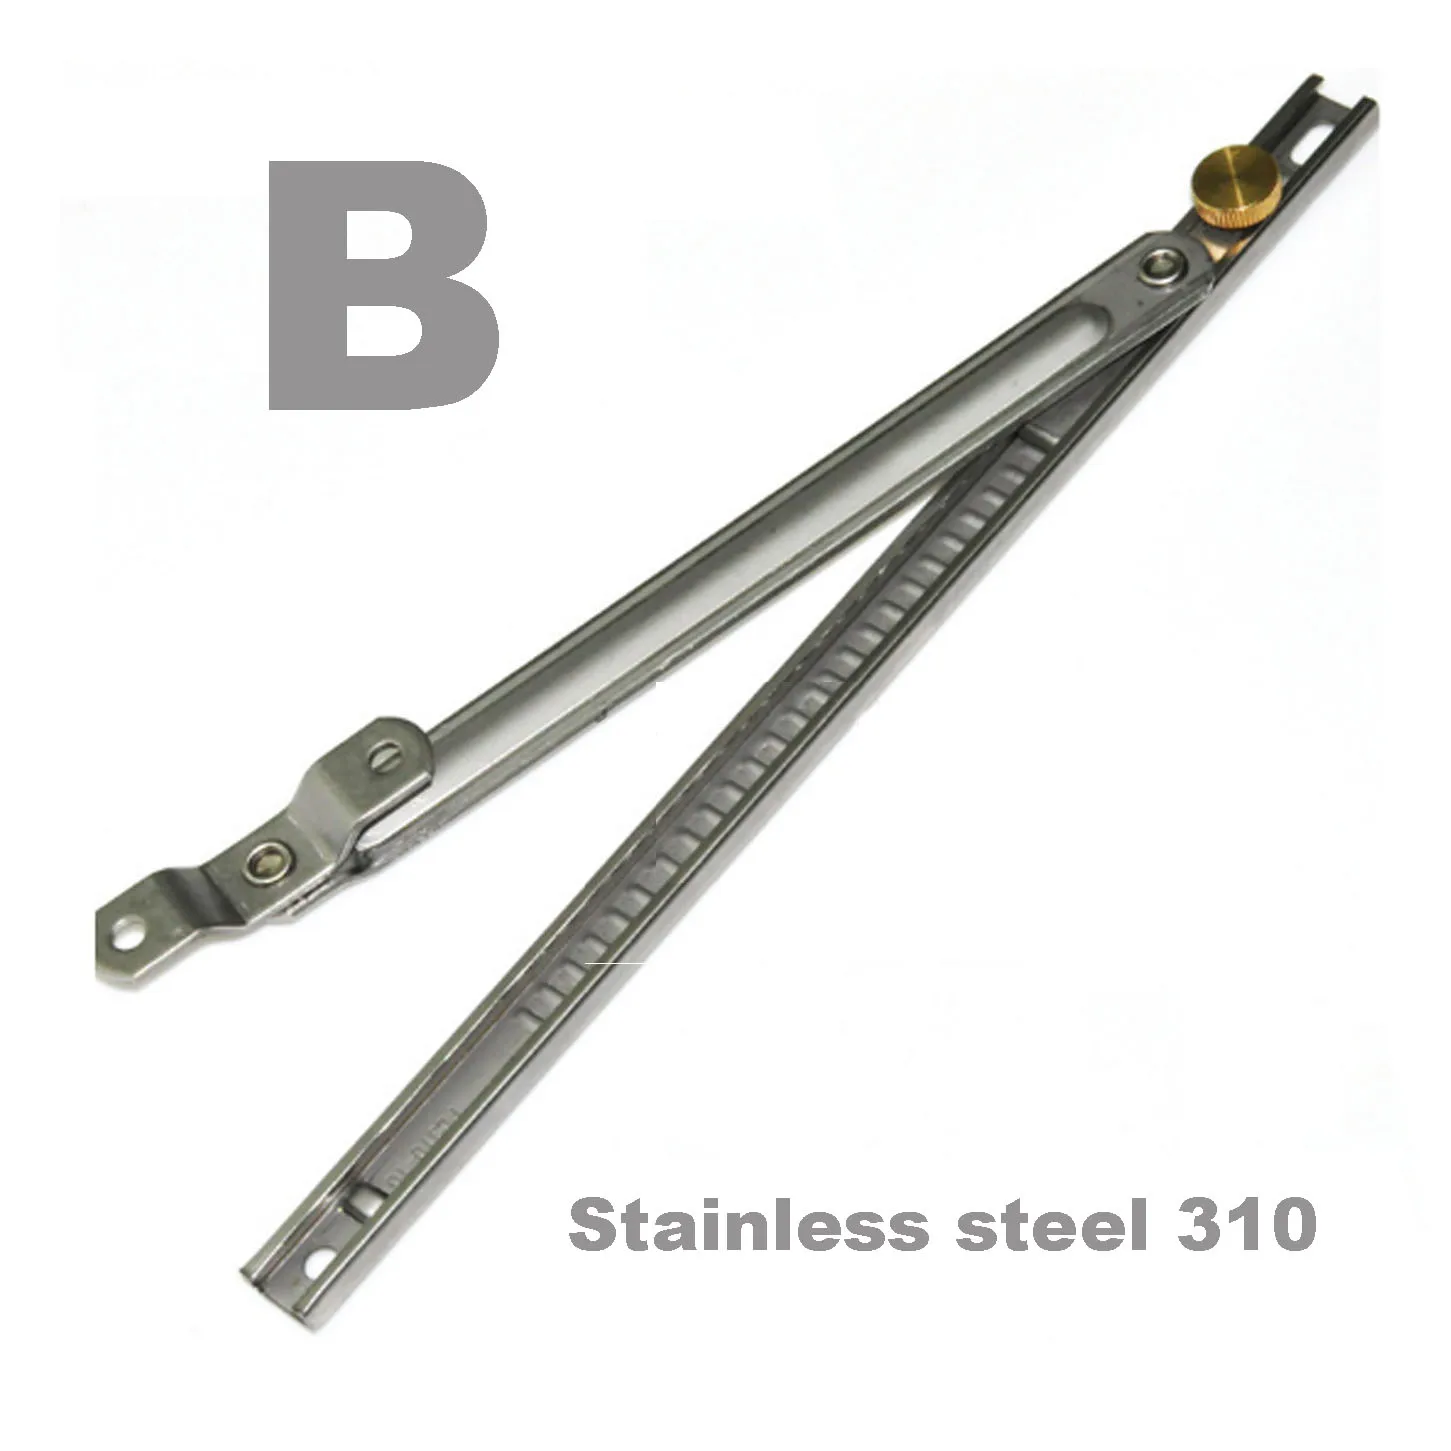
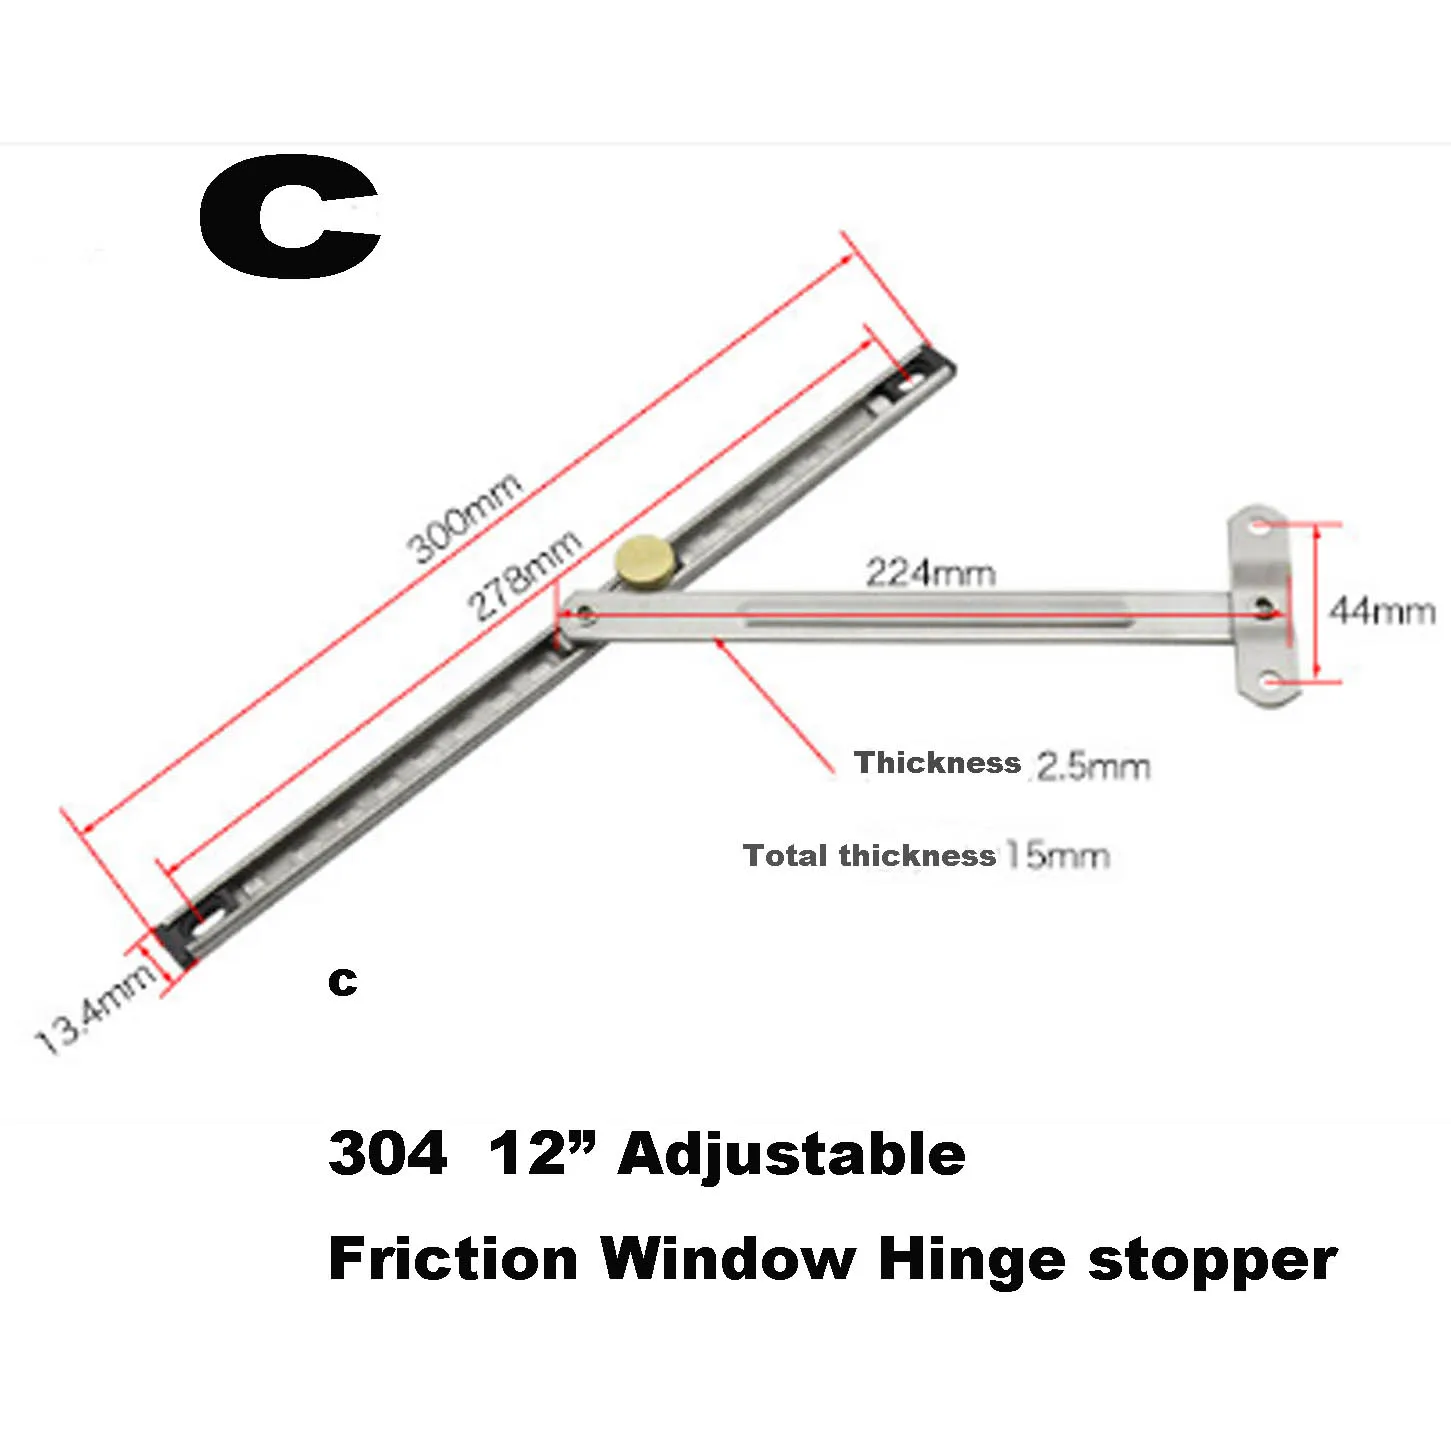
Specification and size: see the following size diagram for detailed parameters.
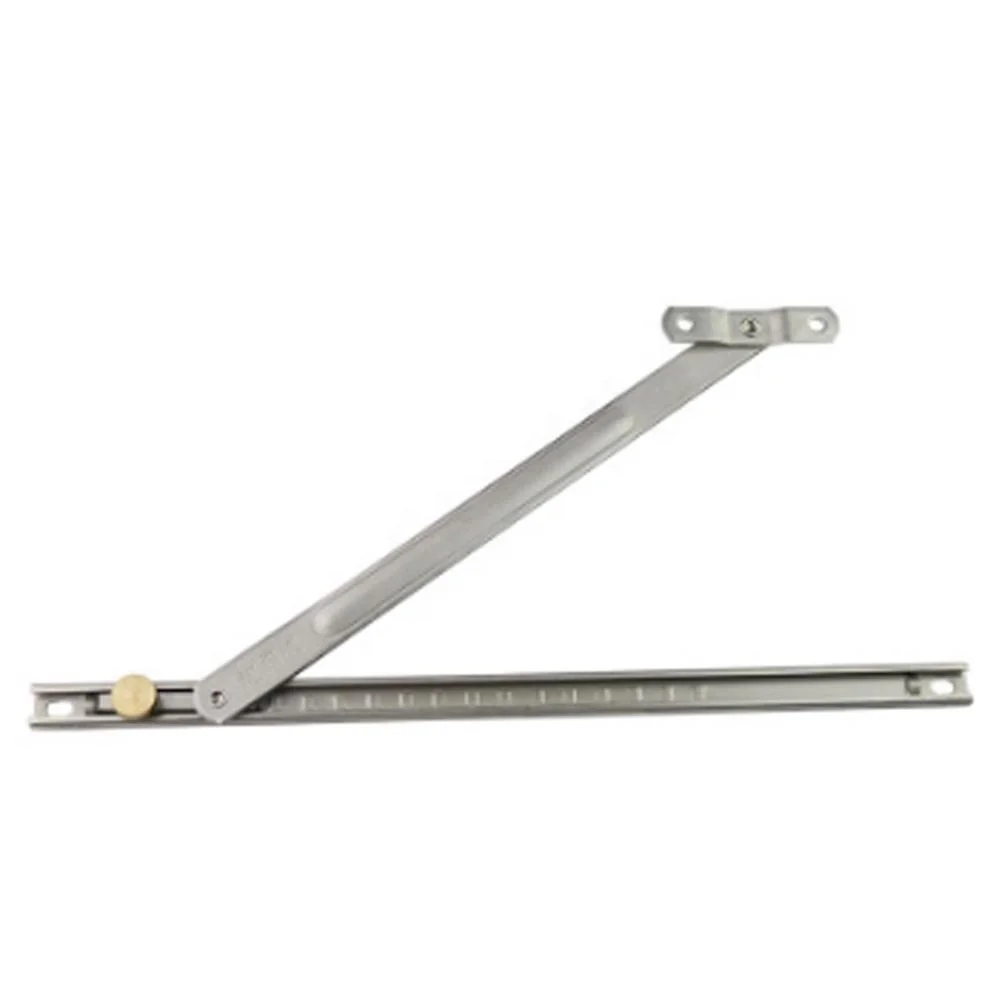
Application: the wind support is also called two connecting rods, which can prevent the window sash from colliding with other objects such as wall or glass when the window is opened, resulting in glass breakage, hardware damage, window damage and other damages.In the flat window installed on the limit of the wind support, that is, can limit the window opening Angle, and have the positioning buffer function, to the flat open type window to play a very good protection role.
Scope of application: general broken bridge aluminum, aluminum alloy flat open Windows, window frames are installed on the tank to 13.5 mm can be used, both inside and outside, the wind, all around, (the casement Windows and casement Windows, turn the tilt Windows, can be installed, will not affect the normal use of the window), hinge is slippery don't need to install the serial connecting window.Note: Windows with a slot width of less than 13.5mm and other profiles are not suitable for installation (such as wood Windows, bars, etc.).
Installation method:
1. Loosen the nut and lengthen the wind (move the joint to the other end);
2. The small head should be rotated to expose 2 screw holes, which should be fixed at the bottom of the window sash, about 10cm from the hinge;
3. After the small head is fixed, open the window sash to 90° and grasp it by hand. With the other hand, open the base of the wind support and put it into the slot of the window frame (the link is still at the end).
4. After installation, you can try opening and closing the window, which Angle should be fixed, opening the window sash to the required Angle, and tightening the nut at the joint;Open and close the window. The joint moves between the two ends of the base. Please pay attention to the correct installation method.
Notes:
If it is a broken bridge aluminum, aluminum alloy window, the need to first in the installation position hole (hole with 3mm diameter of the drill, if the screw screw is more difficult, you can use the electric drill hole a little bit bigger, do not file too big, the diameter of the hole is more than the diameter of the screw, screw can not be fixed), then screw the installation and fixation.Or use electric screwdriver with drill tail screw installation (need to drill tail screw own remarks, 4*16 specification screw can be).
Commodity installation diagram:
Note: this wind support is a schematic diagram, not a real picture of goods